
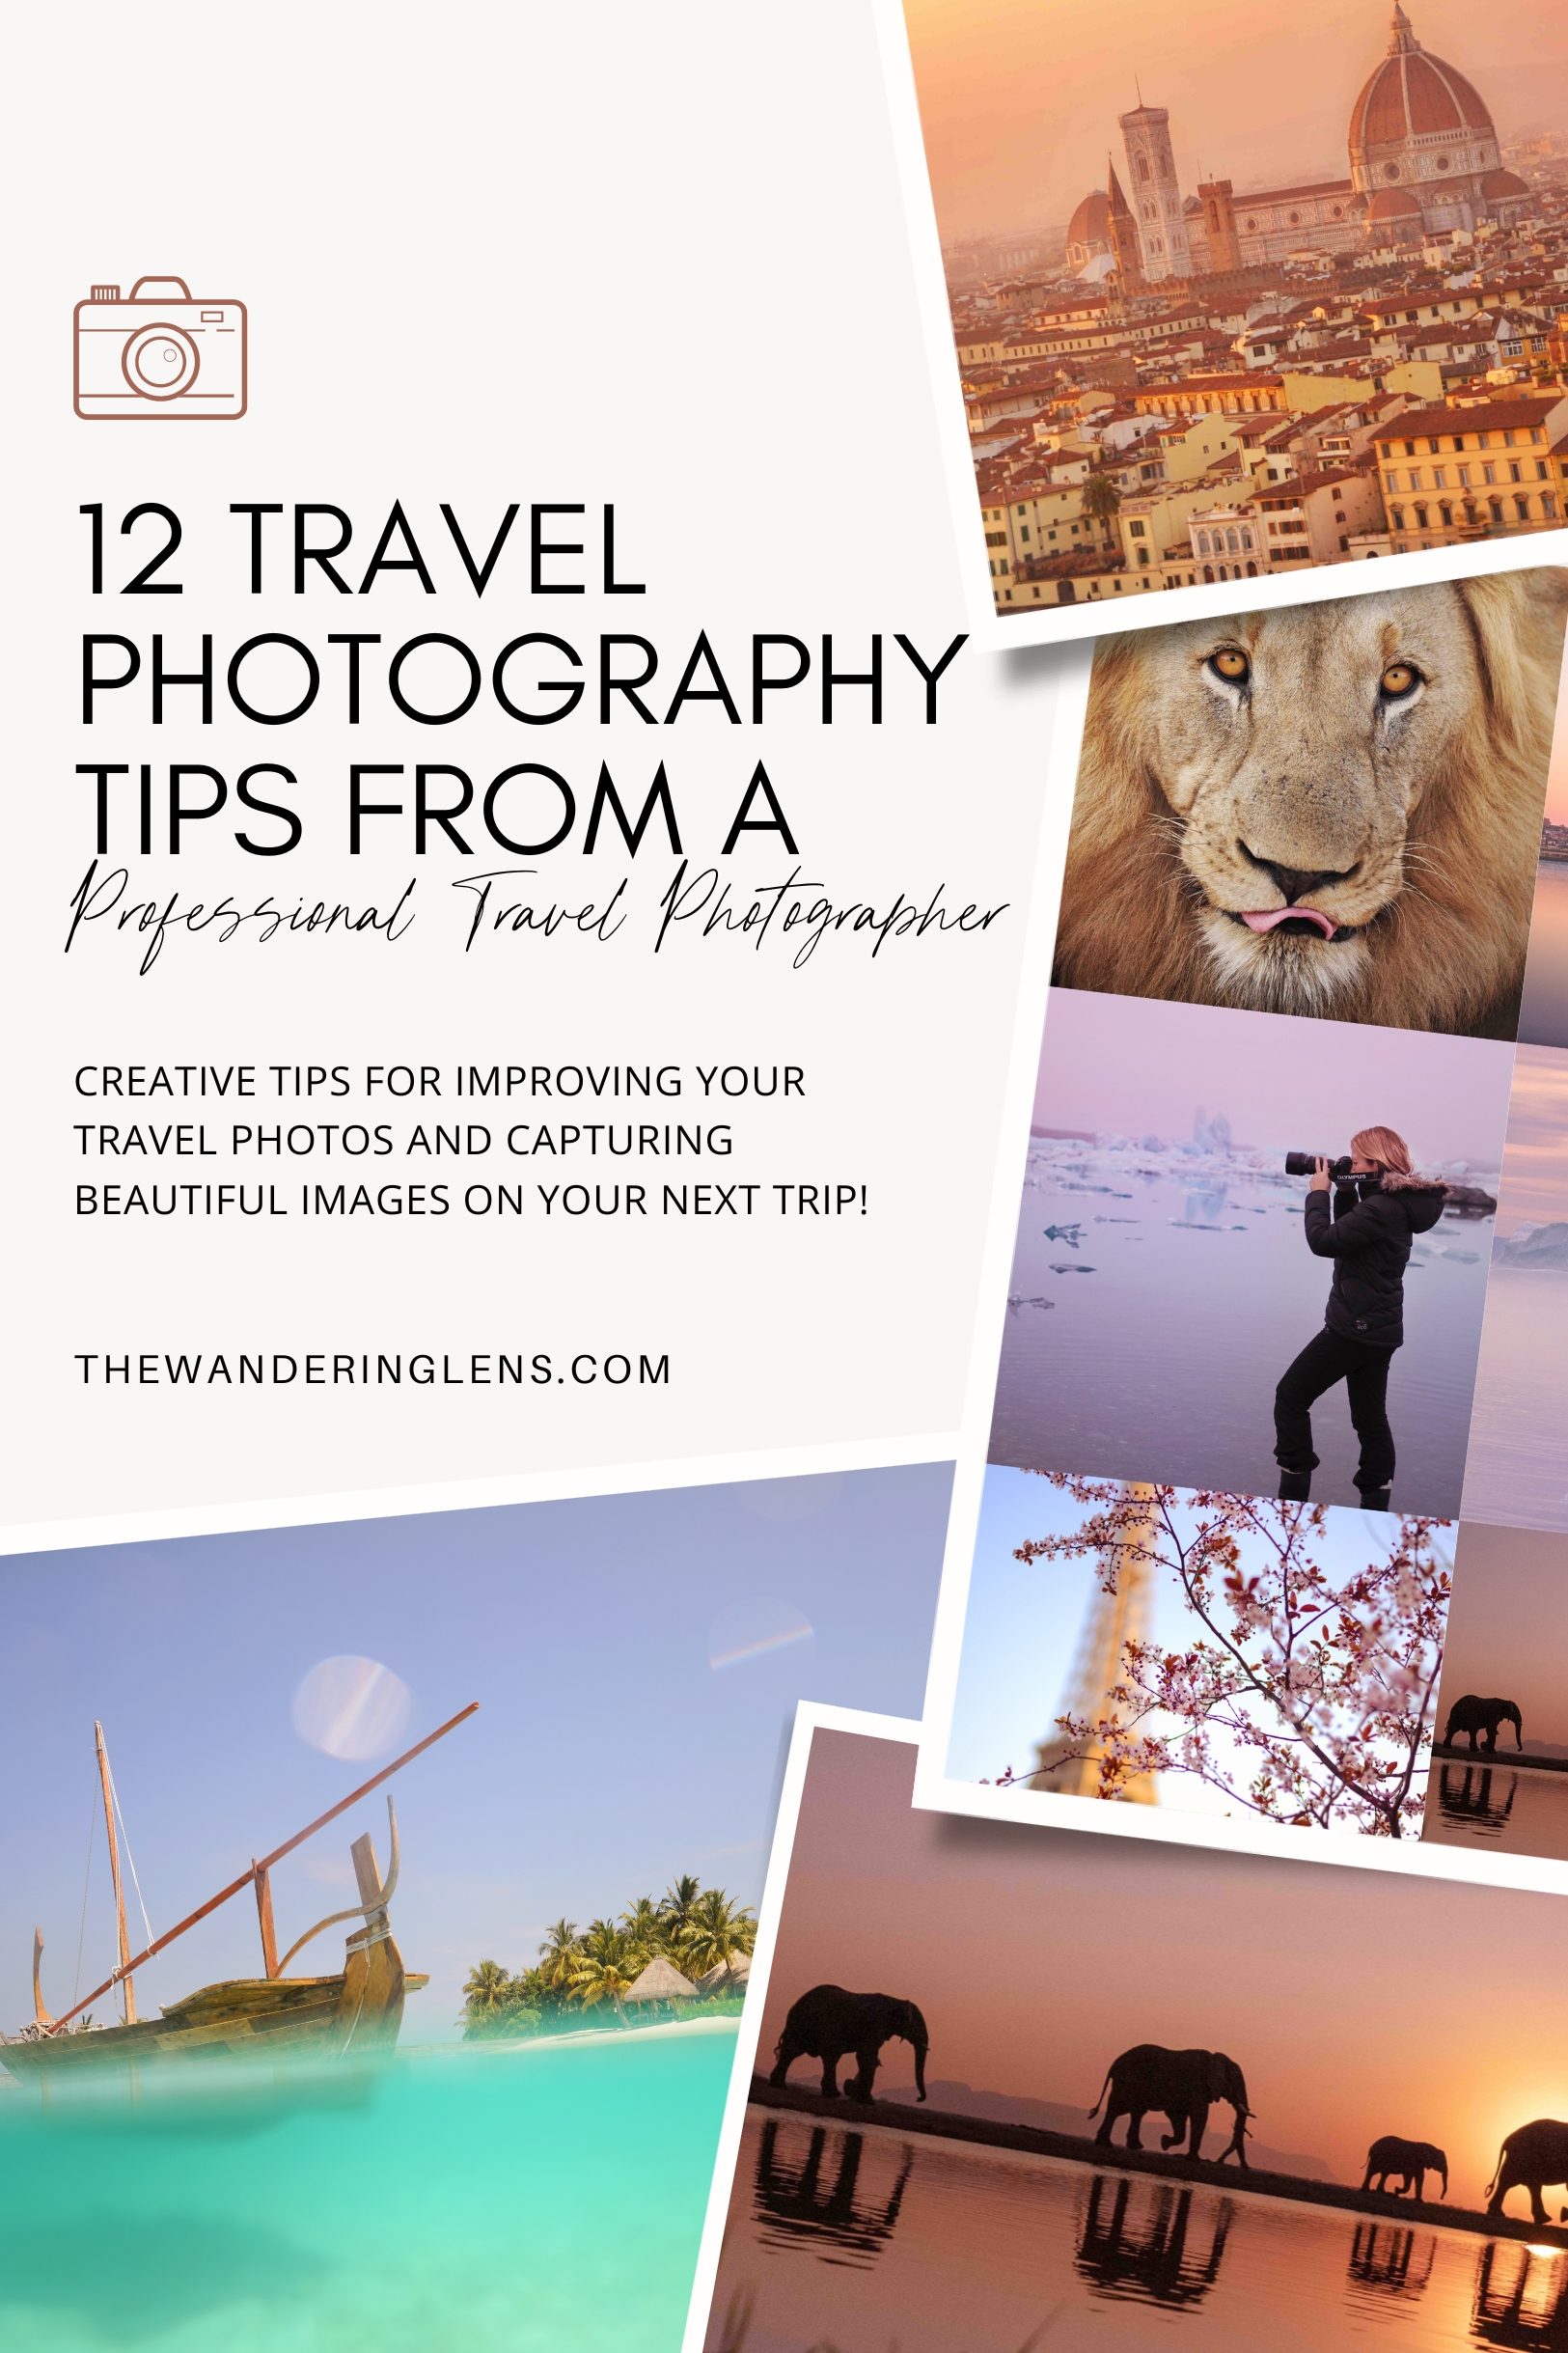
Improve your Travel Photography – Get Creative and Photograph the World
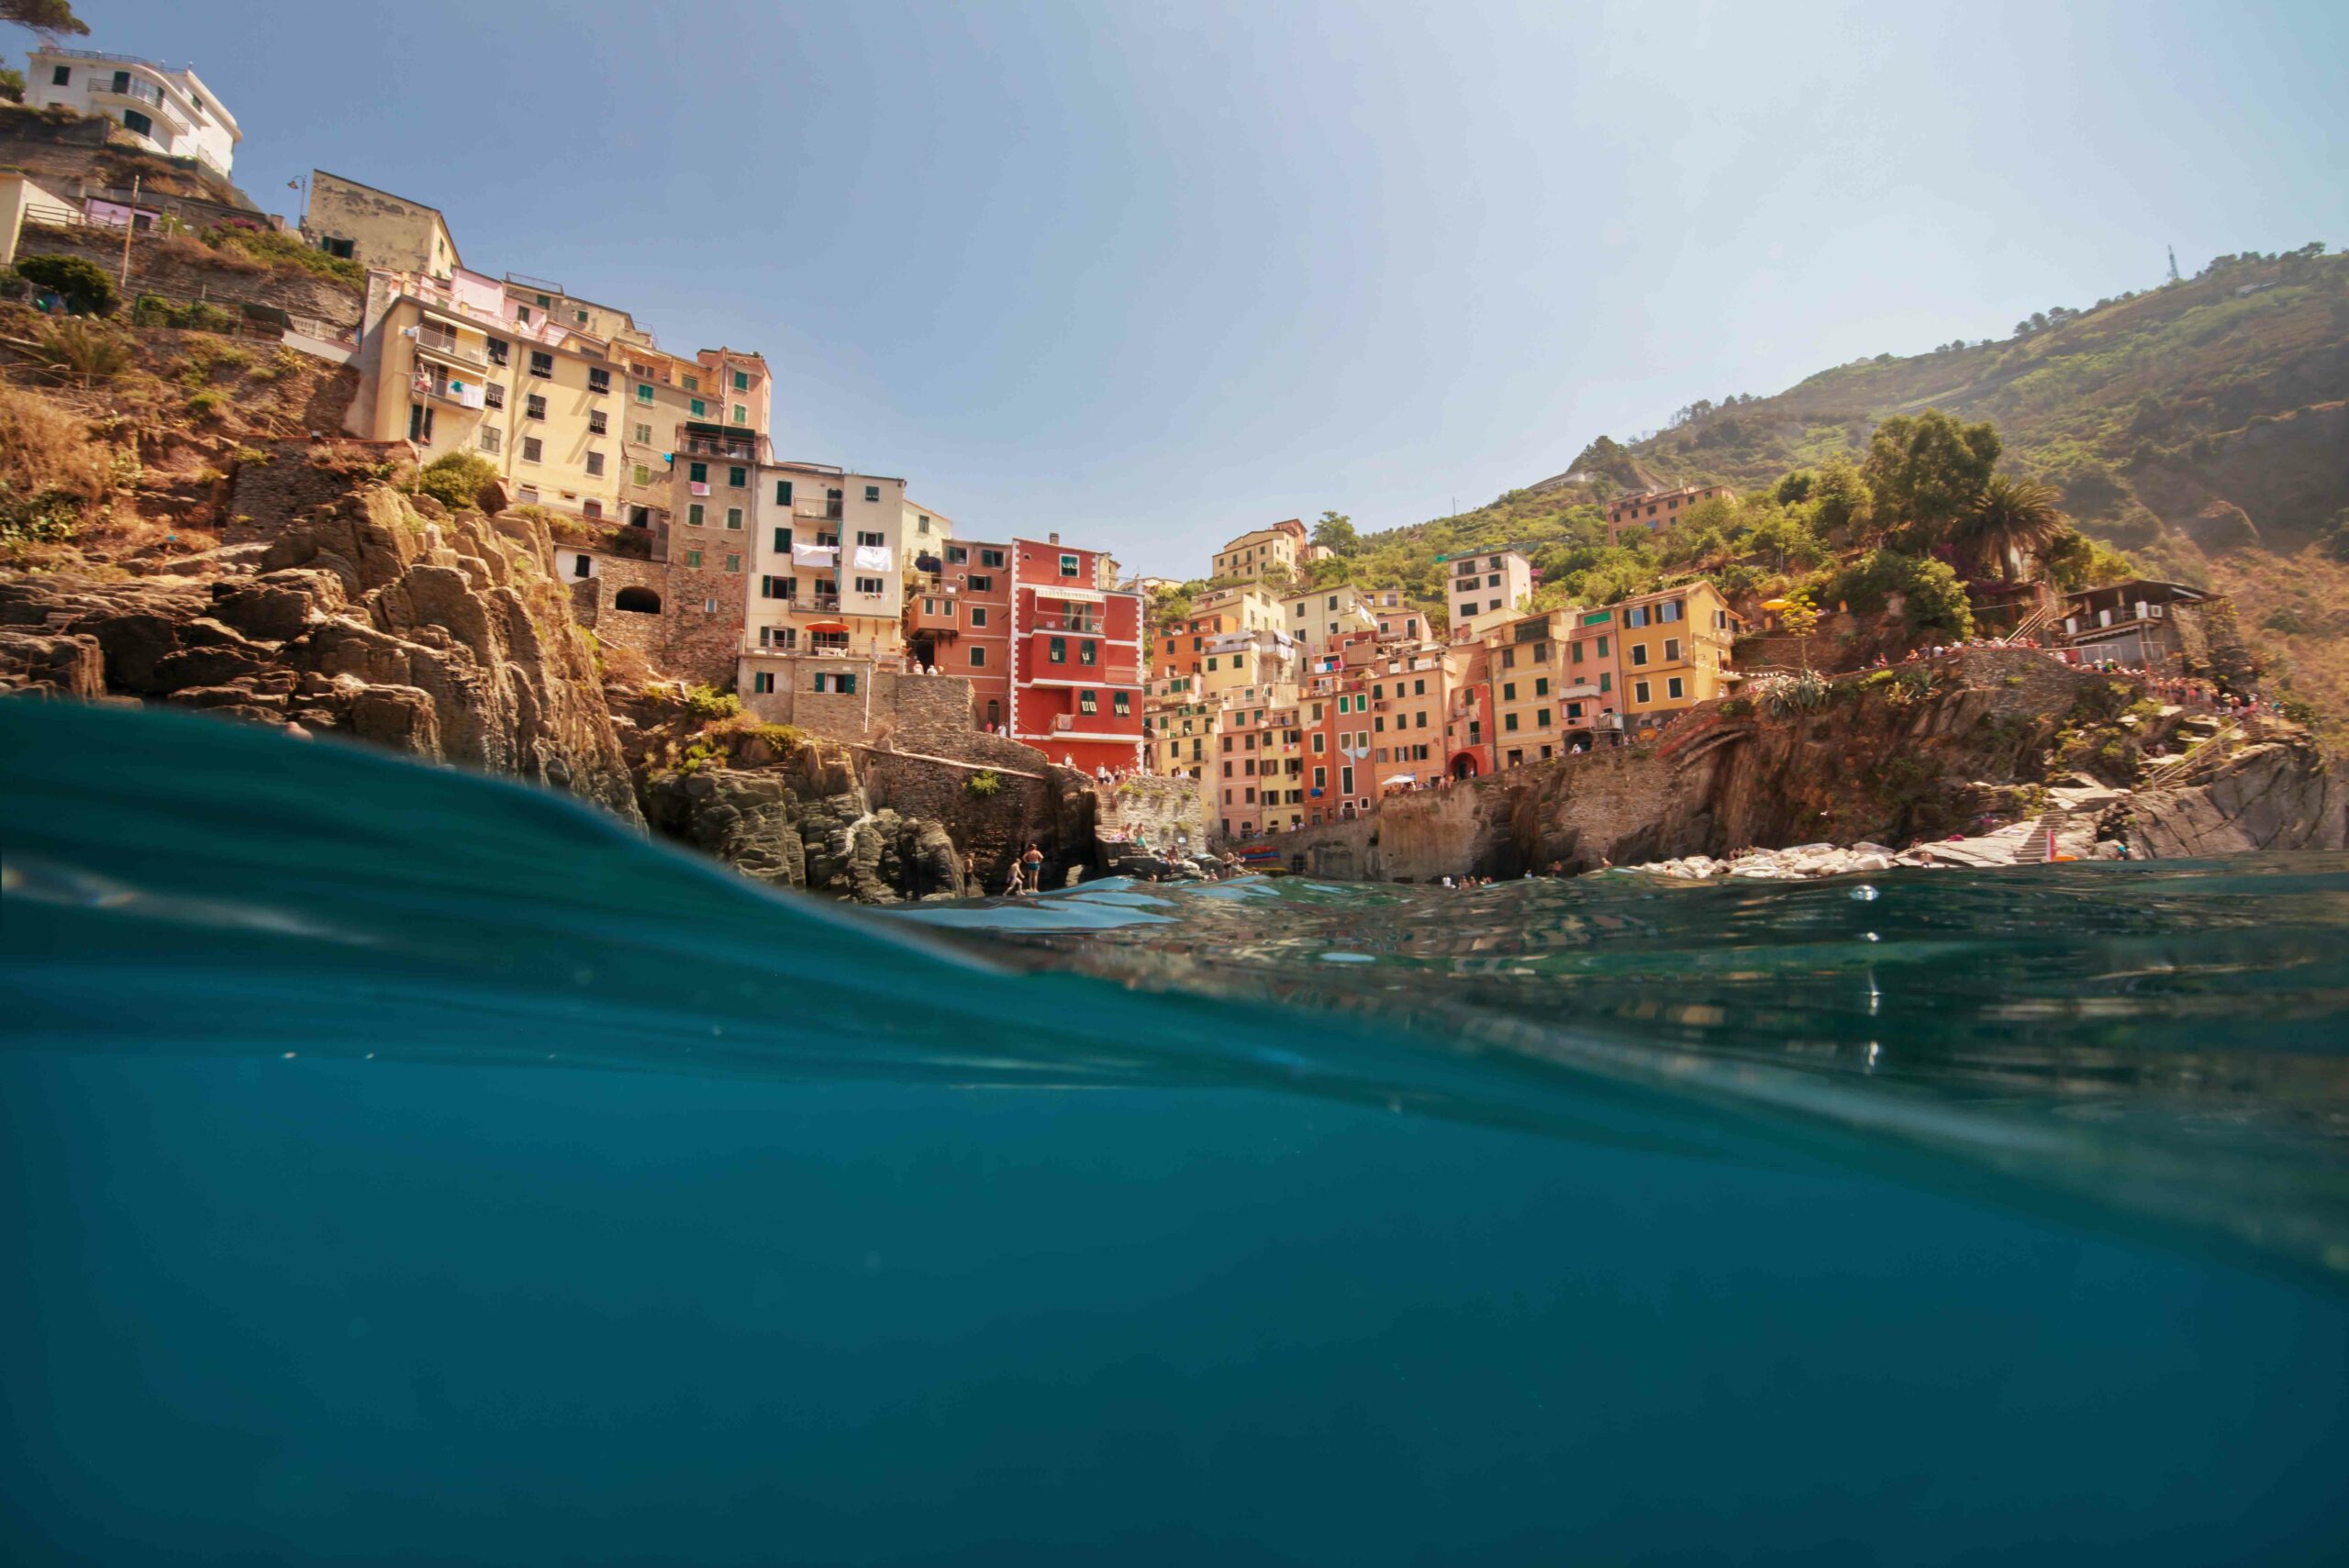
Travel photography offers a creative opportunity to document your adventures and capture the world around you. The places you visit, faces you see and cultures you experience.
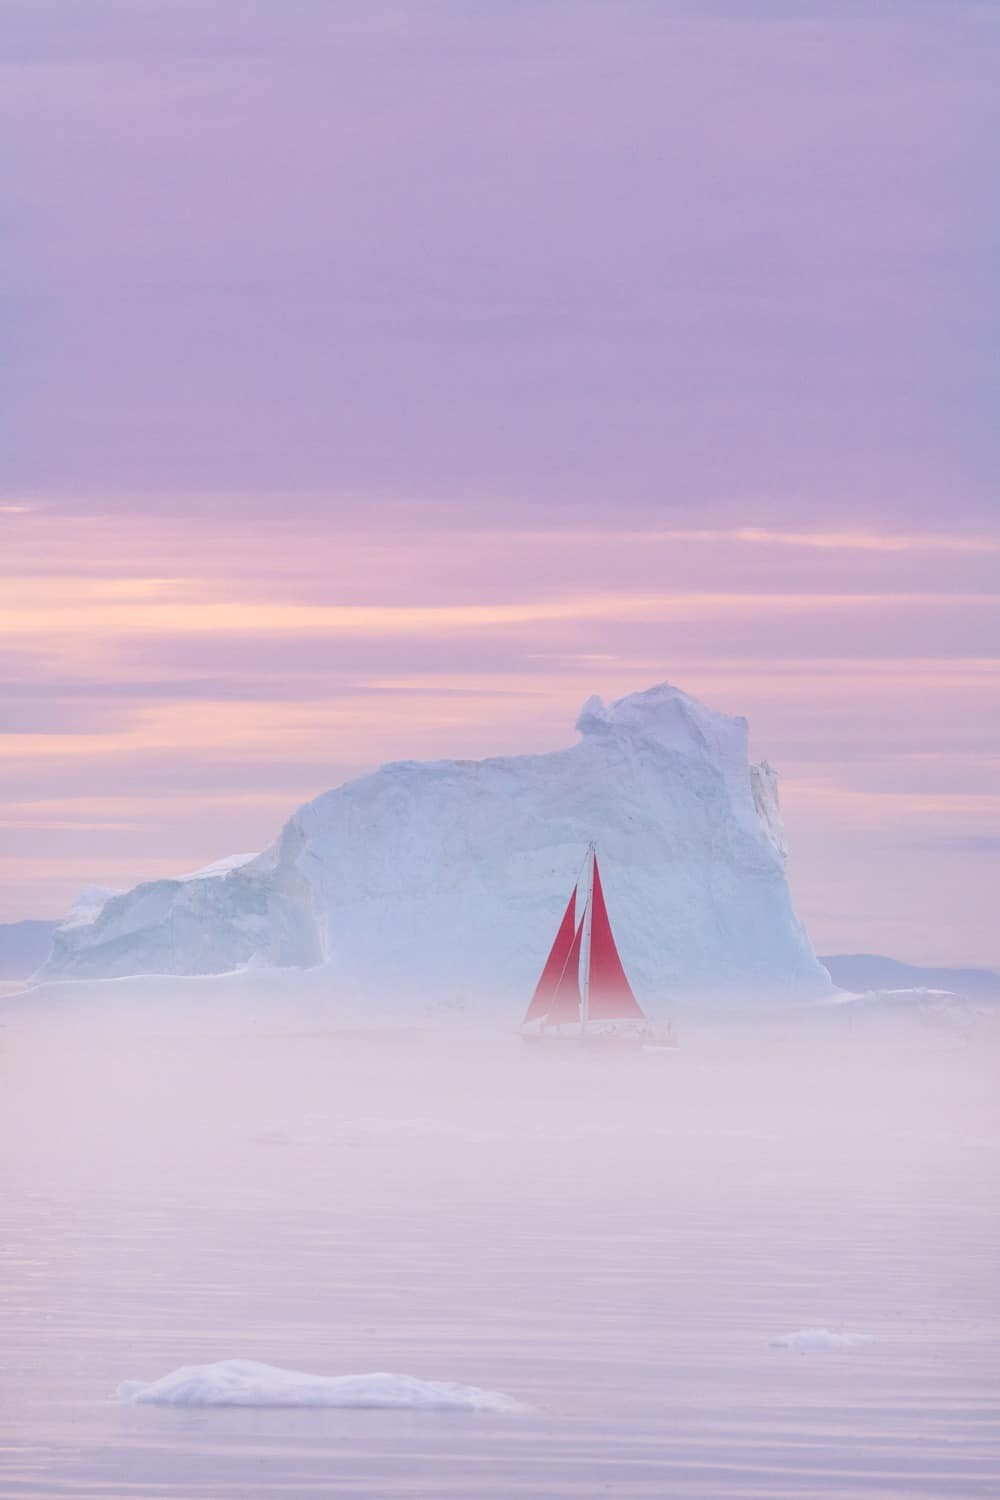
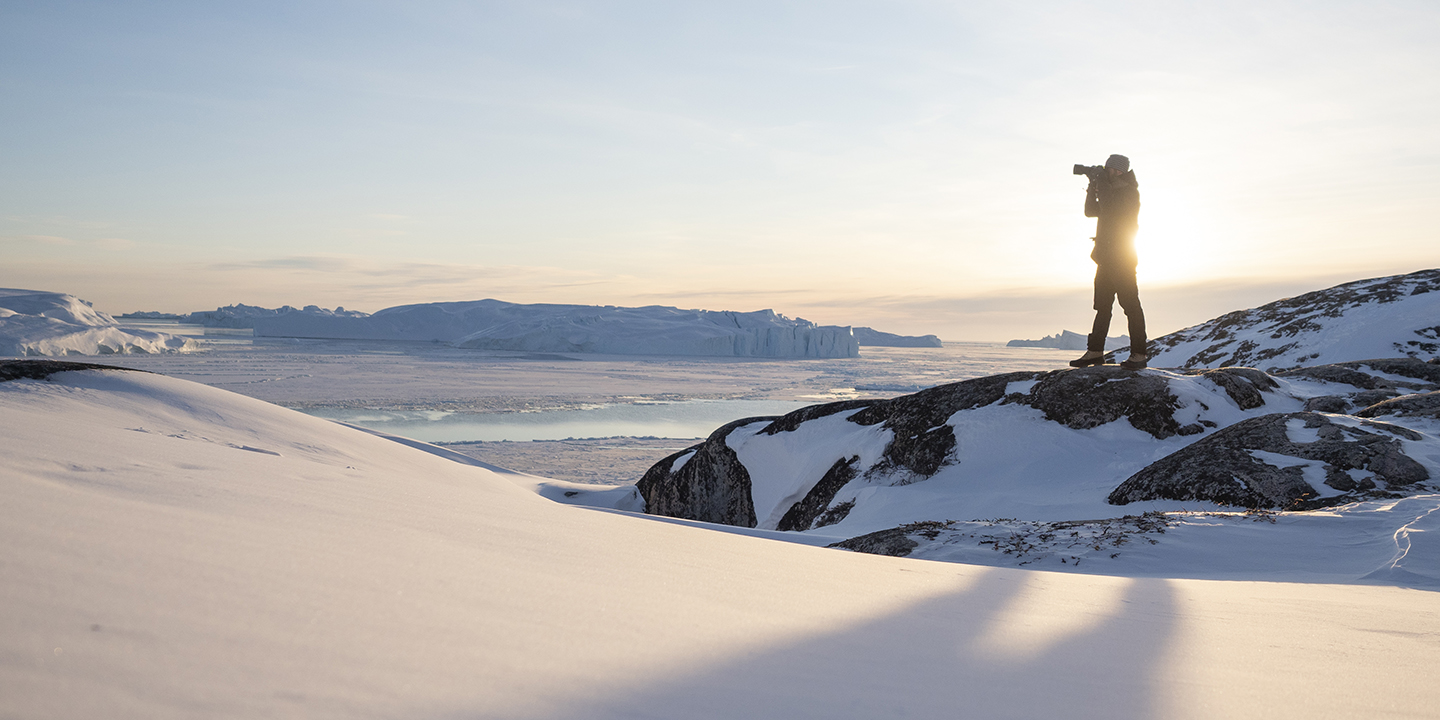
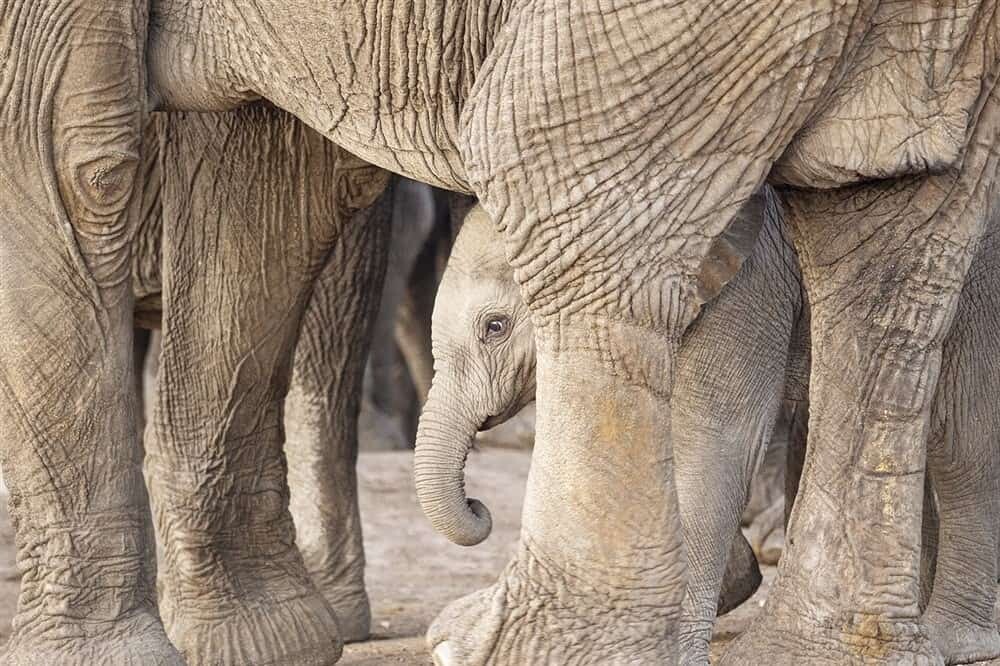
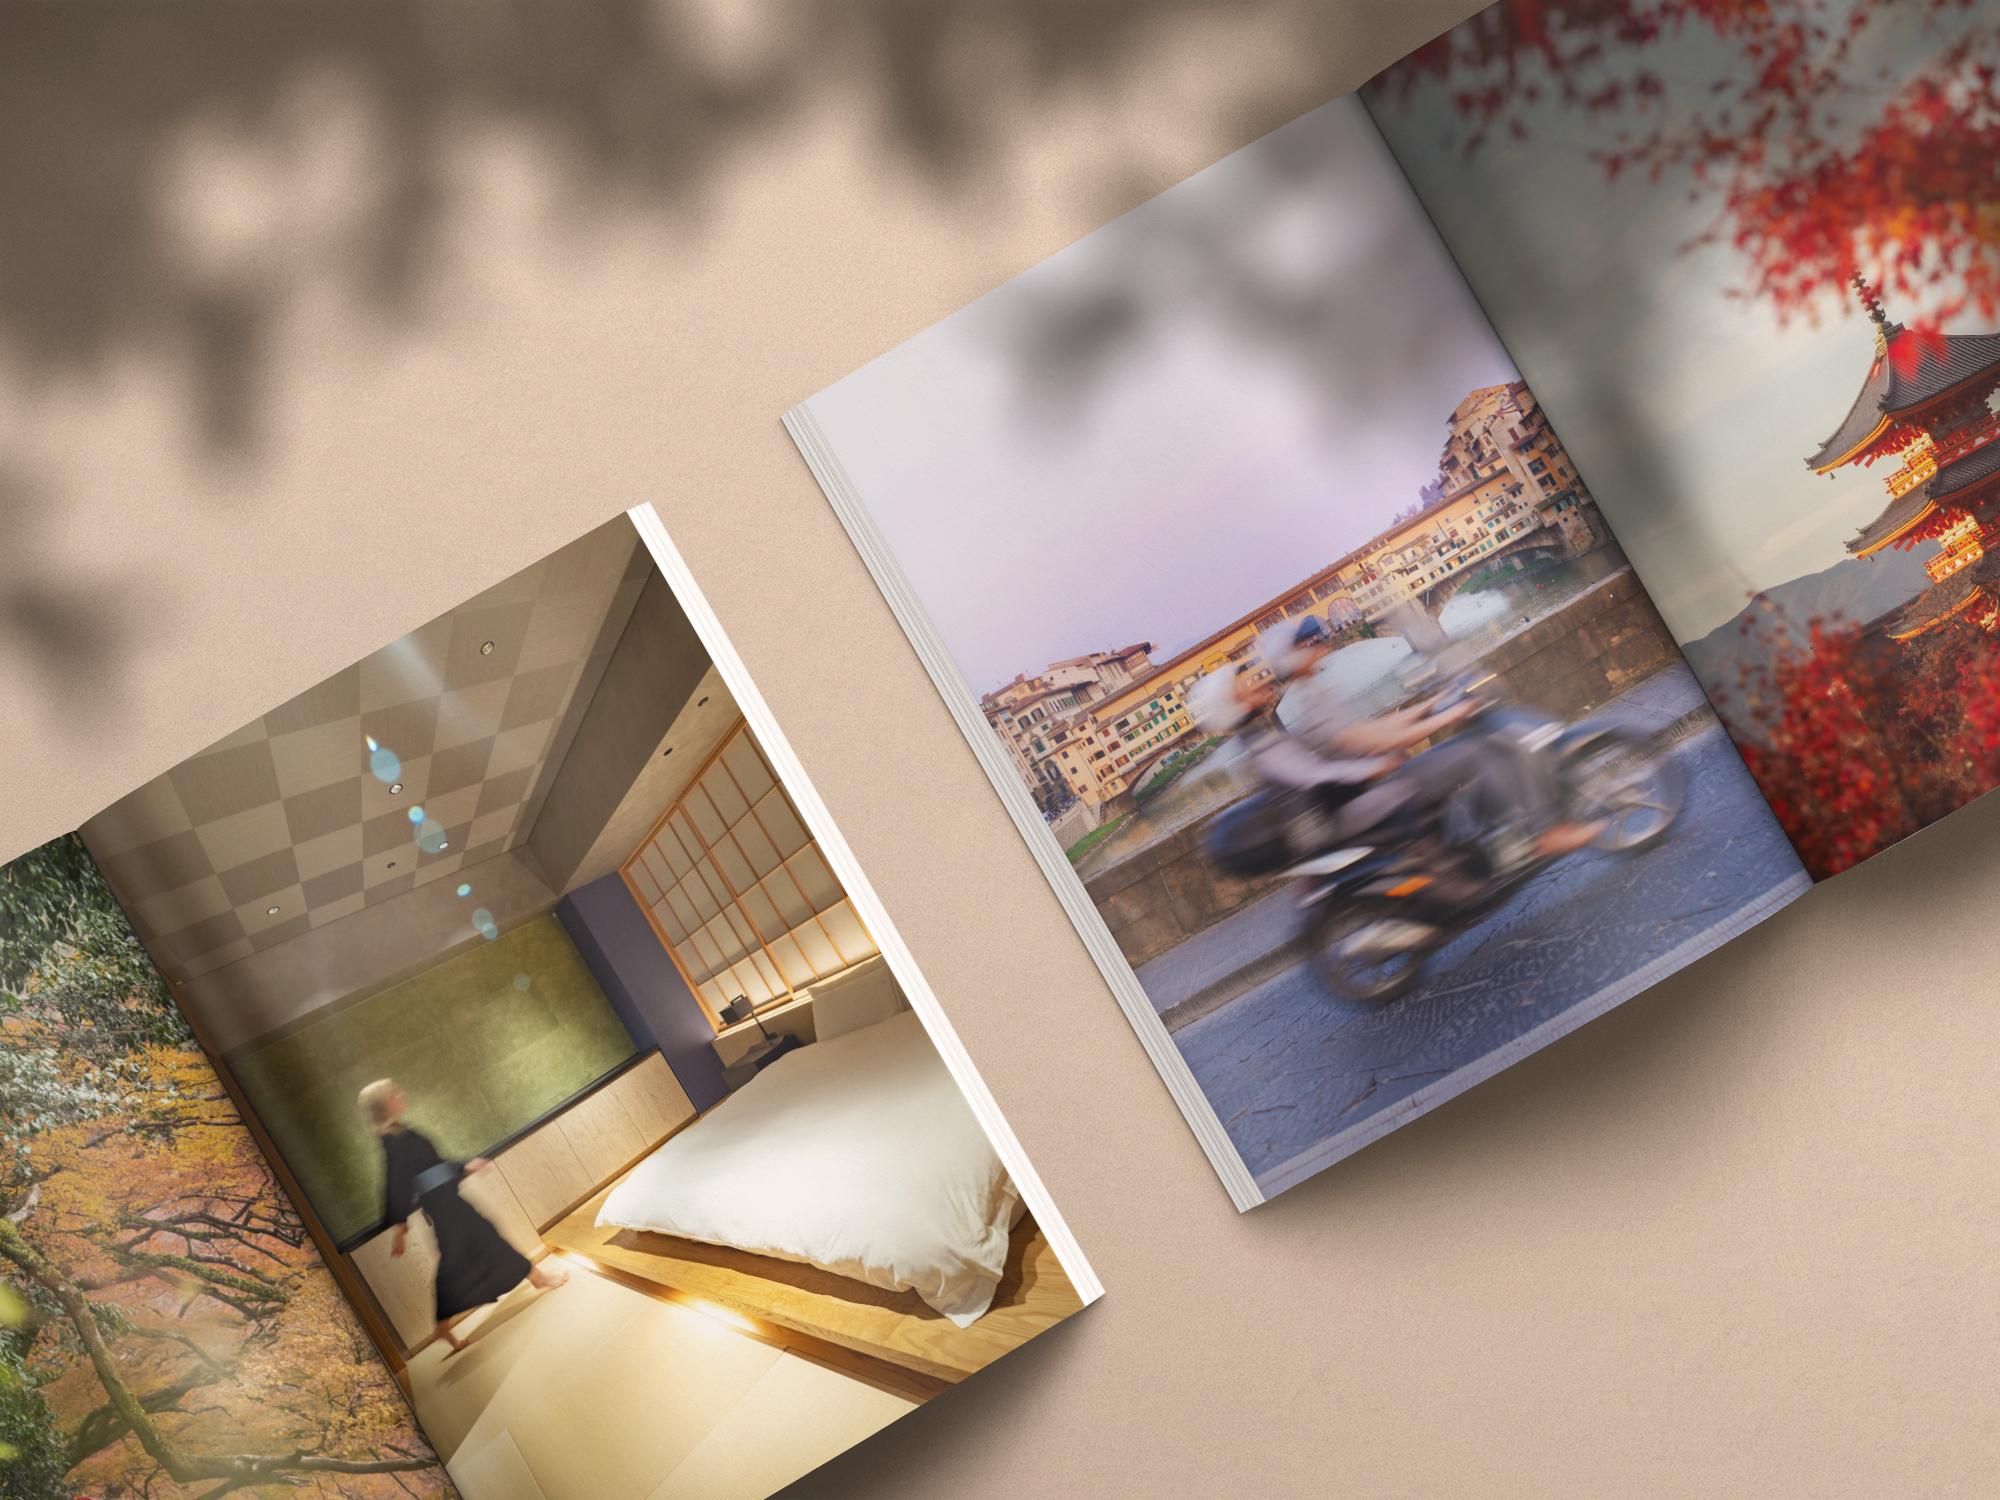
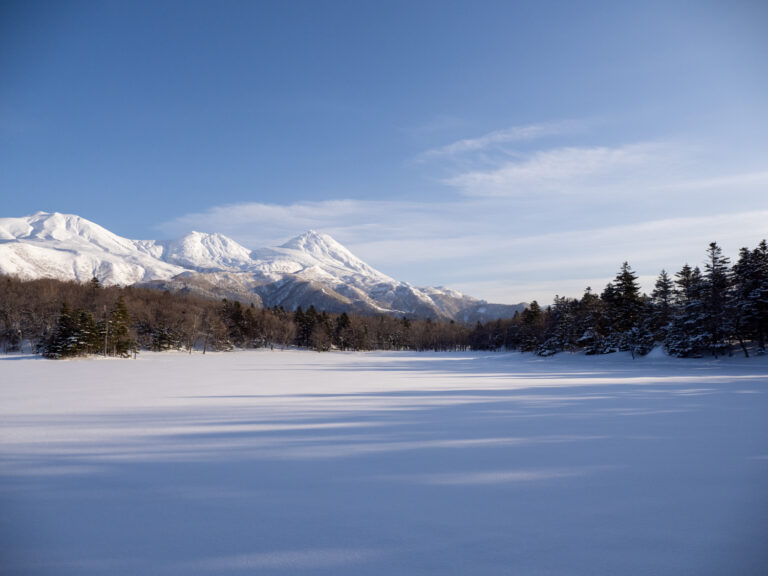
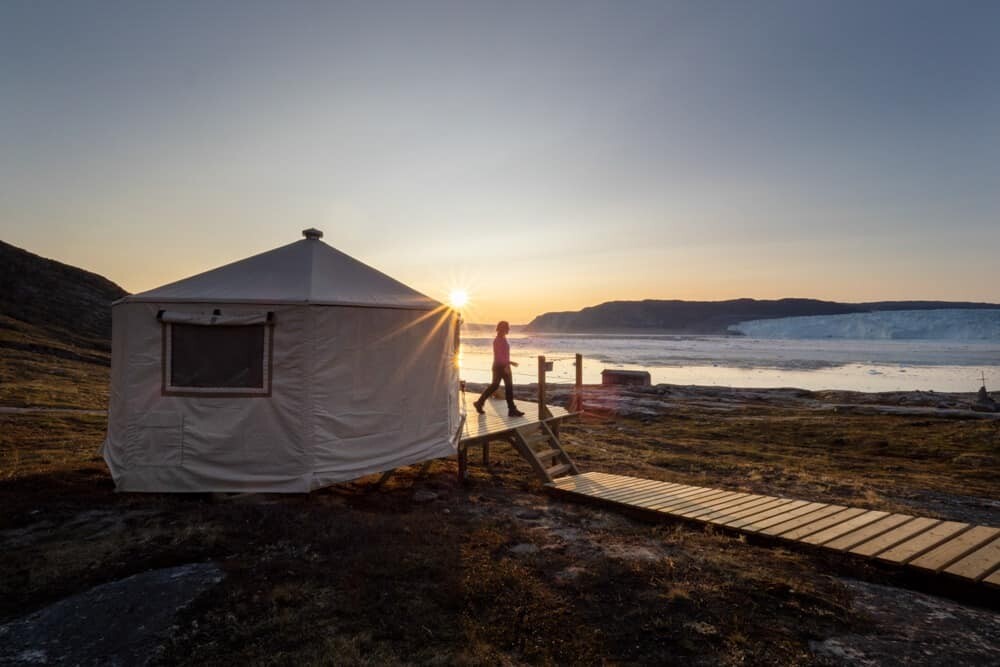
As a professional travel photographer, I’ve photographed icebergs in Greenland, elephants in South Africa, remote lodges in Canada, and the temples of Japan. There are so many incredibly photogenic experiences and locations out there just waiting for us to photograph them on our travels.
If you’re looking to work as a travel photographer, building a portfolio is one of the best places to start, and what better way to do that, that on your travels? This guide below shares 12 travel photography tips that will help you capture more creative images on your next trip.
From composition to packing your camera bag, and storytelling to weather forecasting, browse the guide below and let me know in the comments where you’re travelling next!
Travel Photography Tips
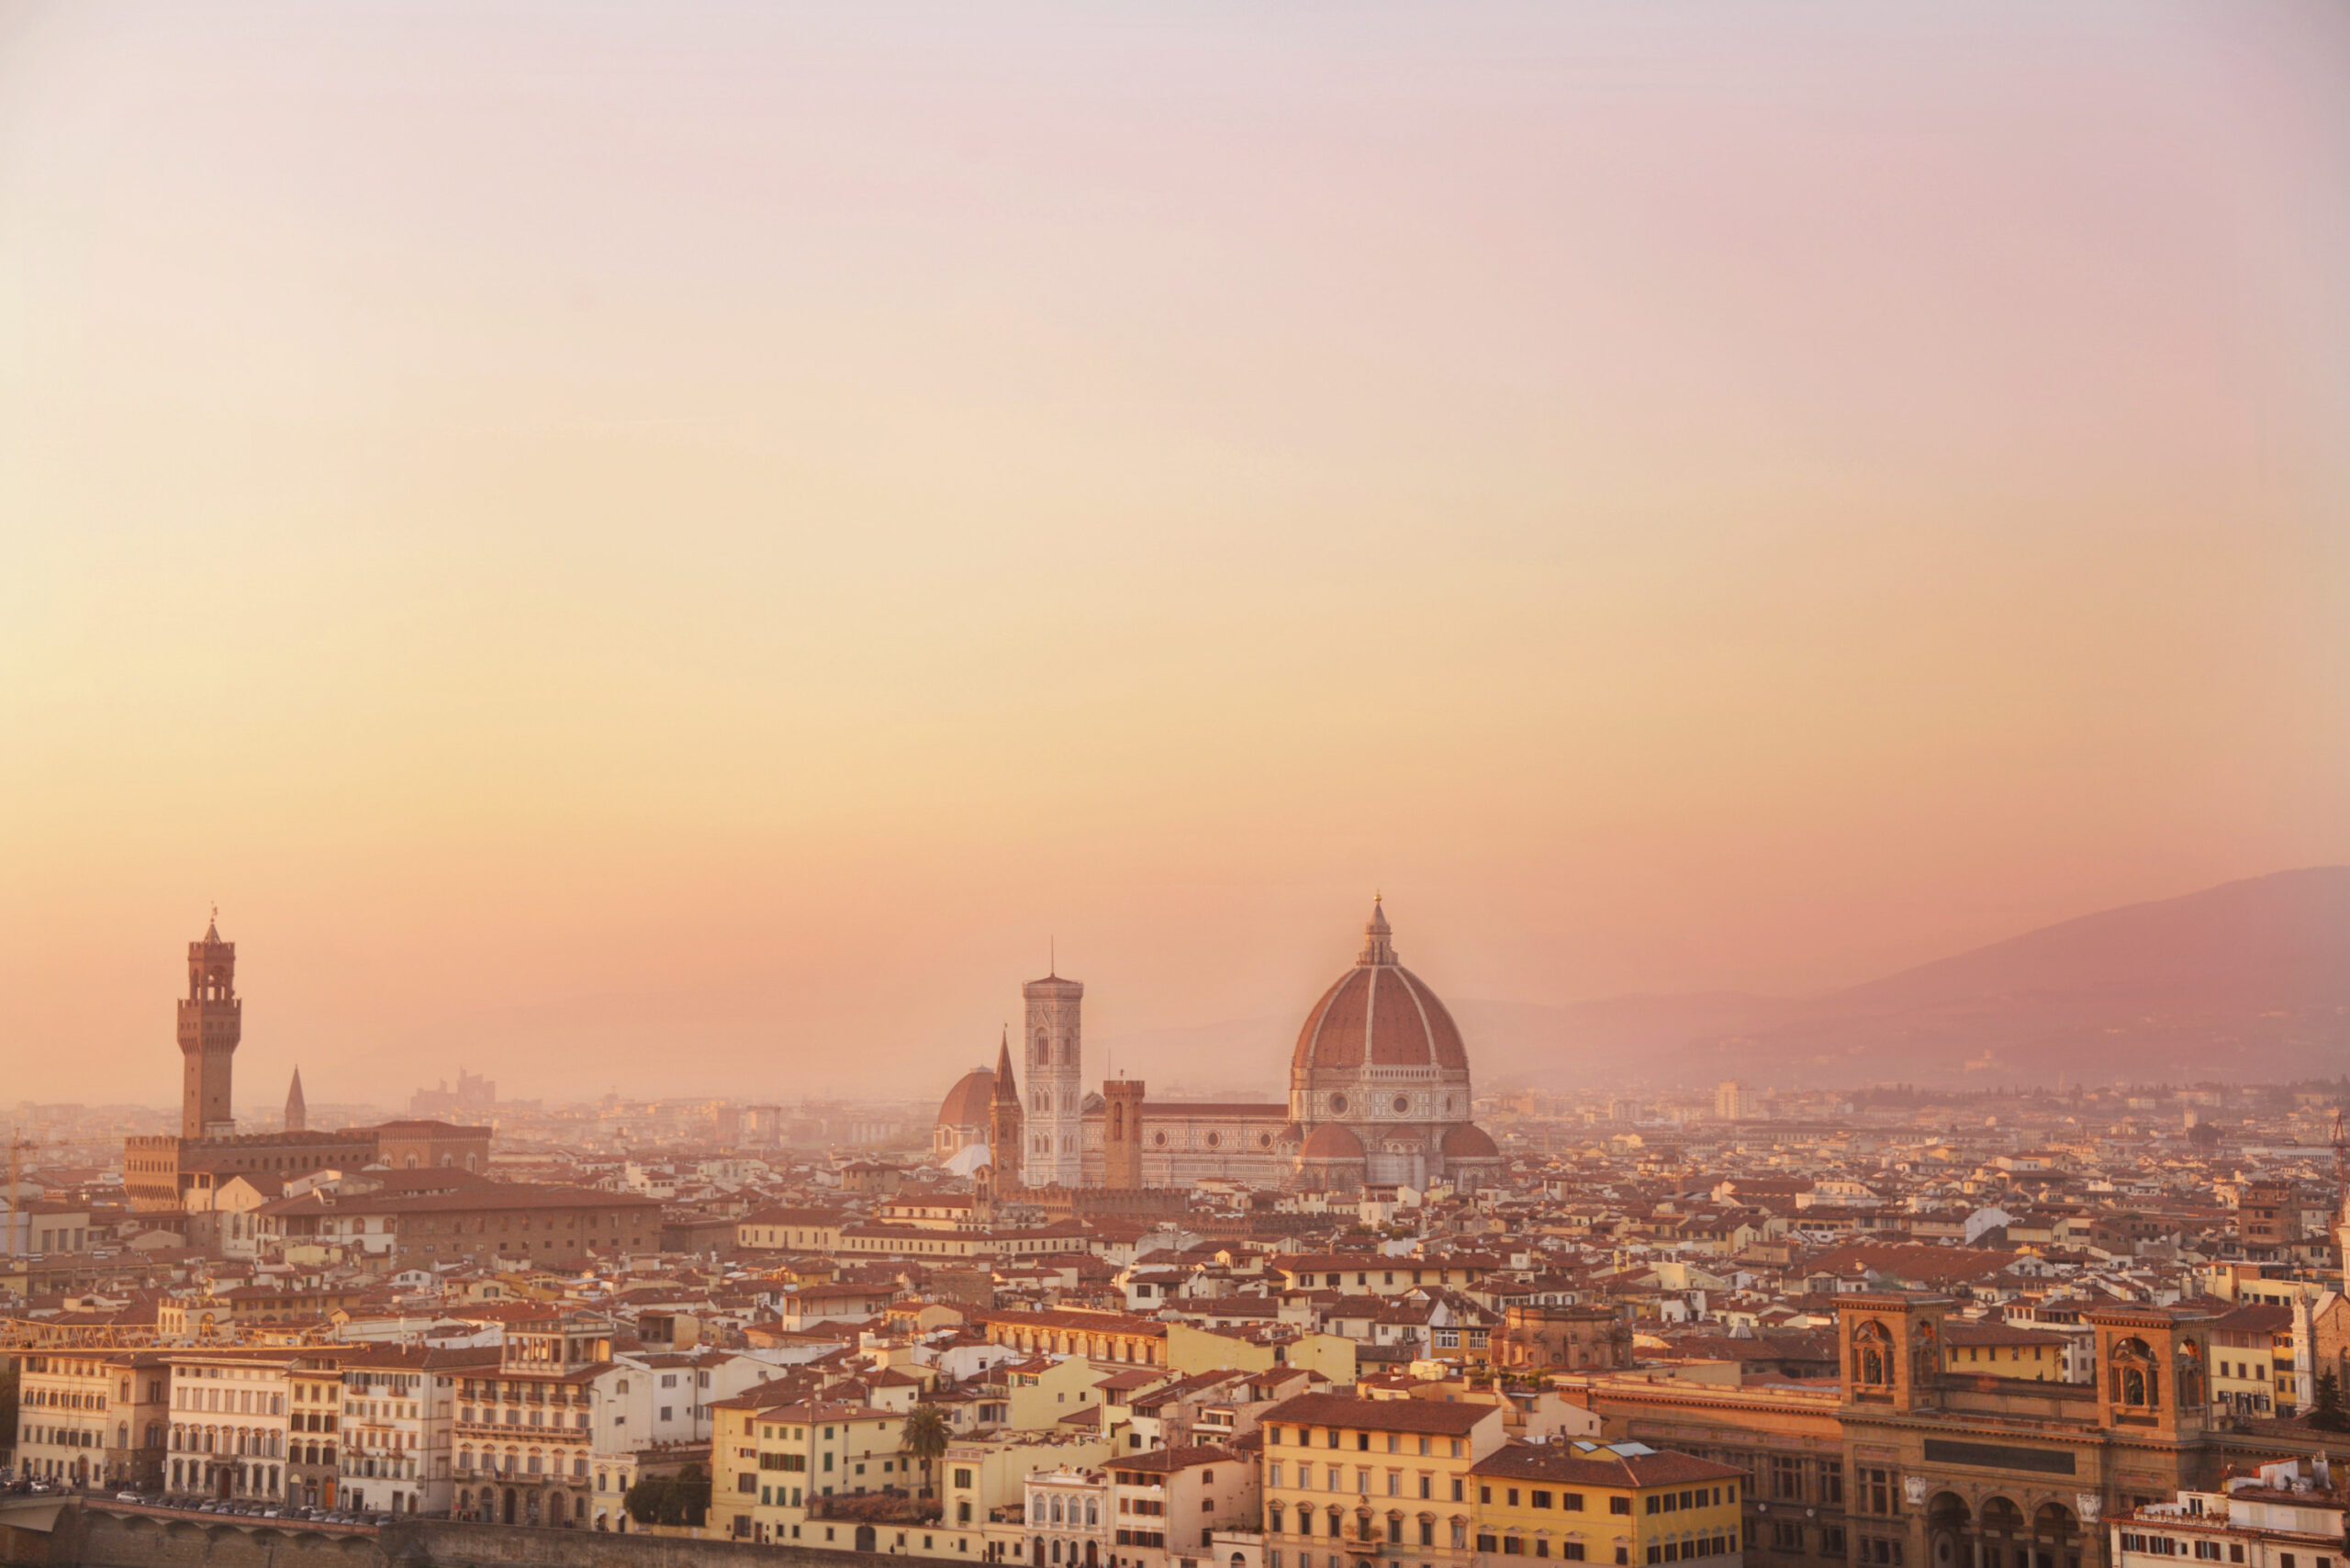
1. Research and Plan Logistics
If you’re serious about taking great photos on your next trip, be sure to research the best places to photograph in the locations you’re visiting. If you’re heading for a major city, you’ll find lots of online guides and resources available that share some photogenic locations and experiences. If you’re seeking adventure and want to photograph landscapes a little more off the beaten path, I’d suggest heading straight for Google Earth or Google Maps first. That way, you can zoom in on the areas you’re going to, browse the maps, look for natural features like lakes, waterfalls, and mountains and start to see how it may be possible to reach them.
By planning to avoid the main viewpoints and popular spots, you’ll end up with more unique images and no doubt, a far more exciting experience!
When planning the logistics, try to research the best times to photograph the location, what the weather conditions will be and how much time it takes to hike/drive/fly to the location.
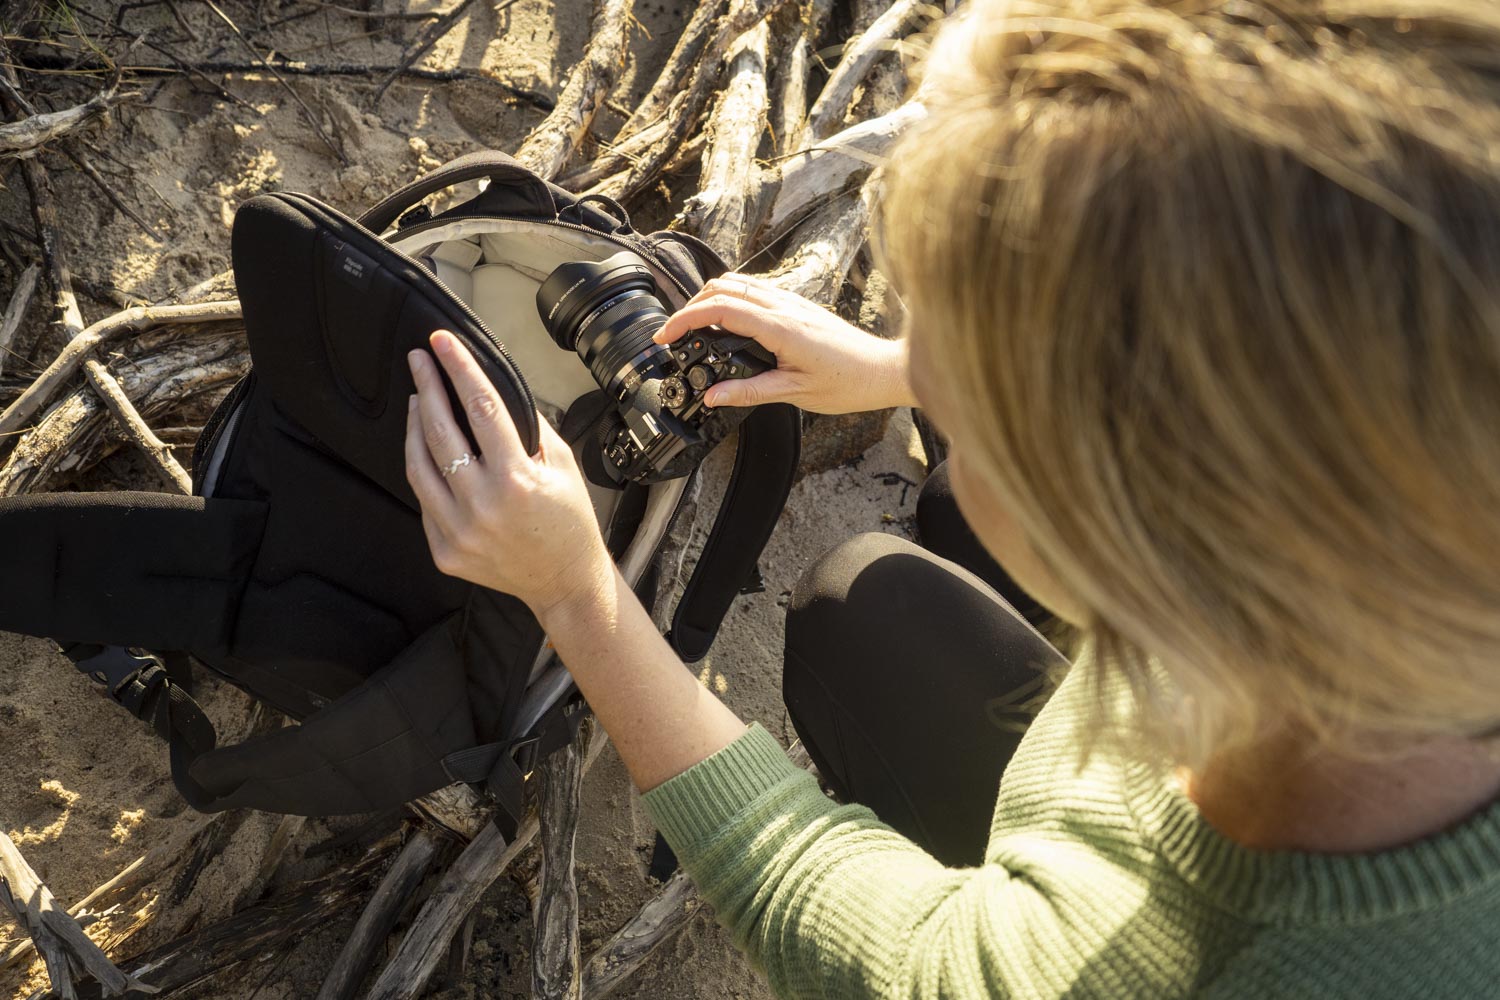
2. Check your camera bag, then recheck it
Being prepared to photograph your travels is an important step in making the journey a little smoother. There’s nothing worse than arriving somewhere, only to find you’re out of batteries, forgot to charge them, or forgot a memory card. This piece of advice comes from experience by the way! When photographing for clients or on assignments, I check my bag a bunch of times before ever leaving the house. When I photograph for fun though, it’s easy to get a little more relaxed and I’ve definitely gone to take a photo, only to find I forgot to put the memory card in my camera…oops!
If you’ll be hiking or spending a great deal of the day outdoors, packing your camera bag nice and light will mean you’ll enjoy the experience more. I travel with my OM SYSTEM cameras (read about my kit here) which are really lightweight cameras, then opt for only 1-3 lenses based on where I’m going and what I’m aiming to photograph.
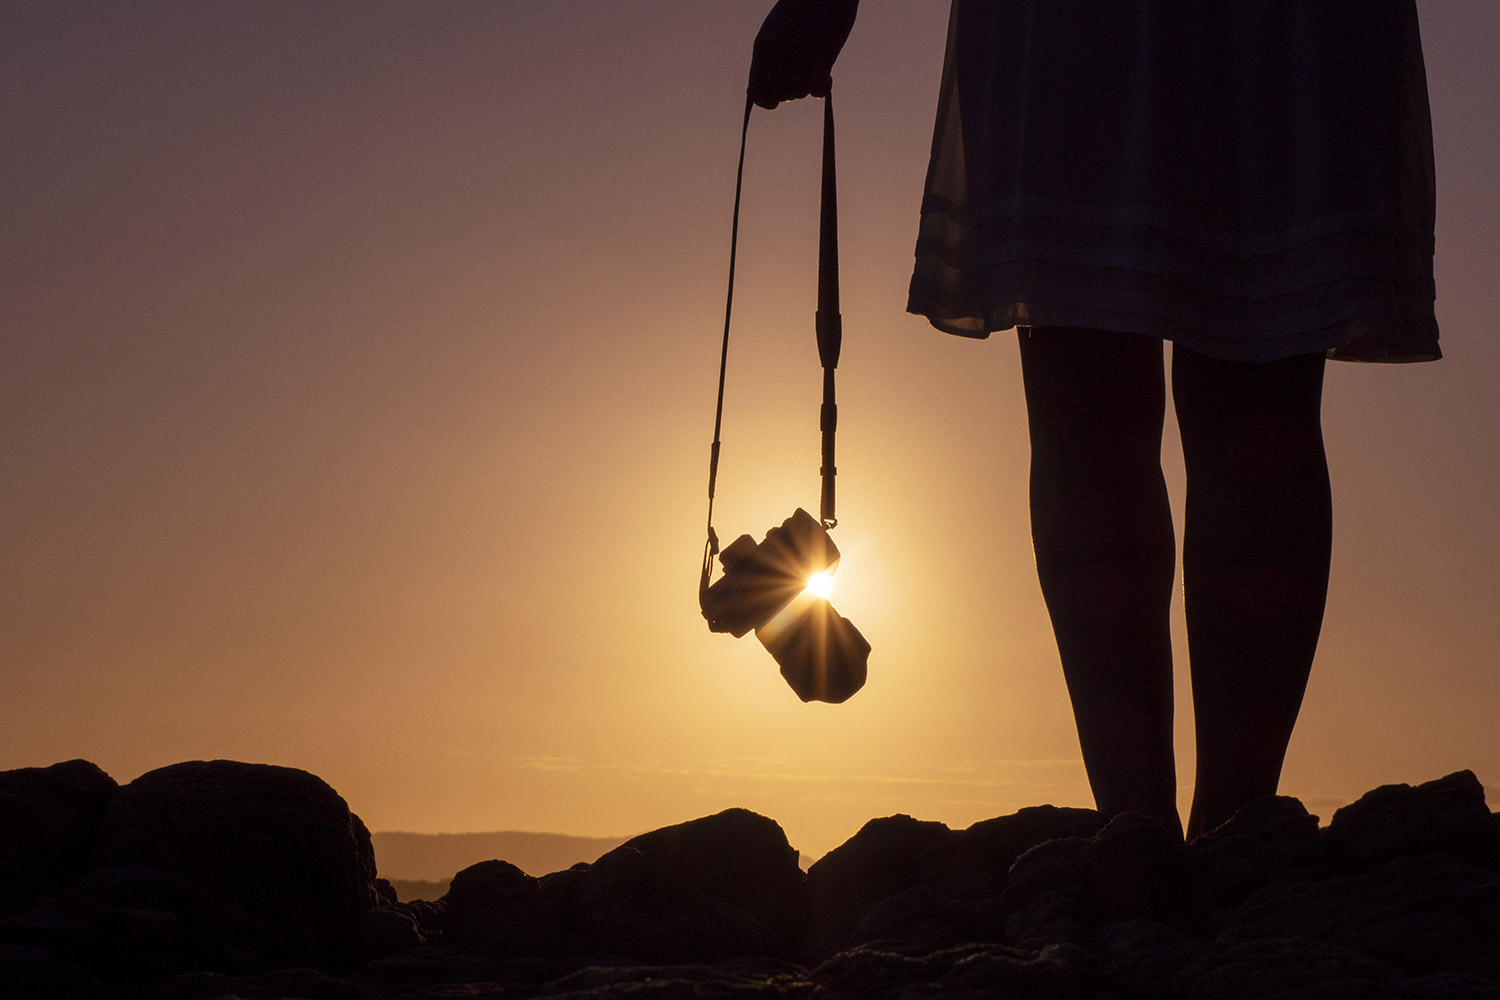
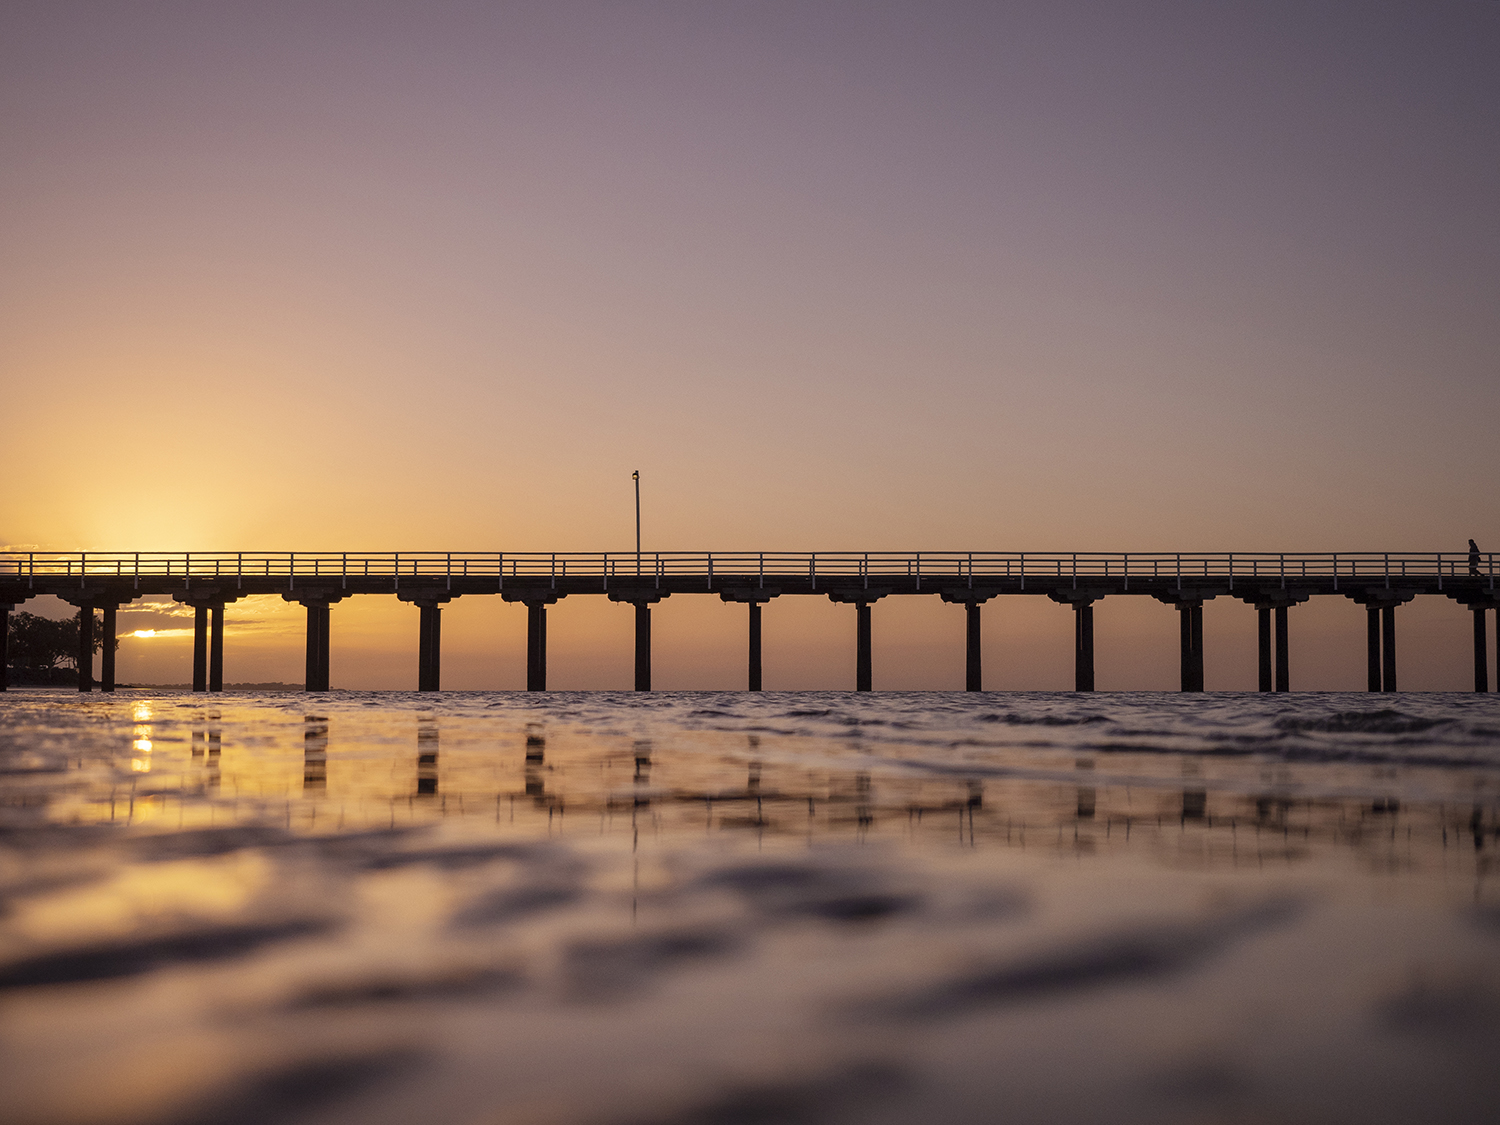
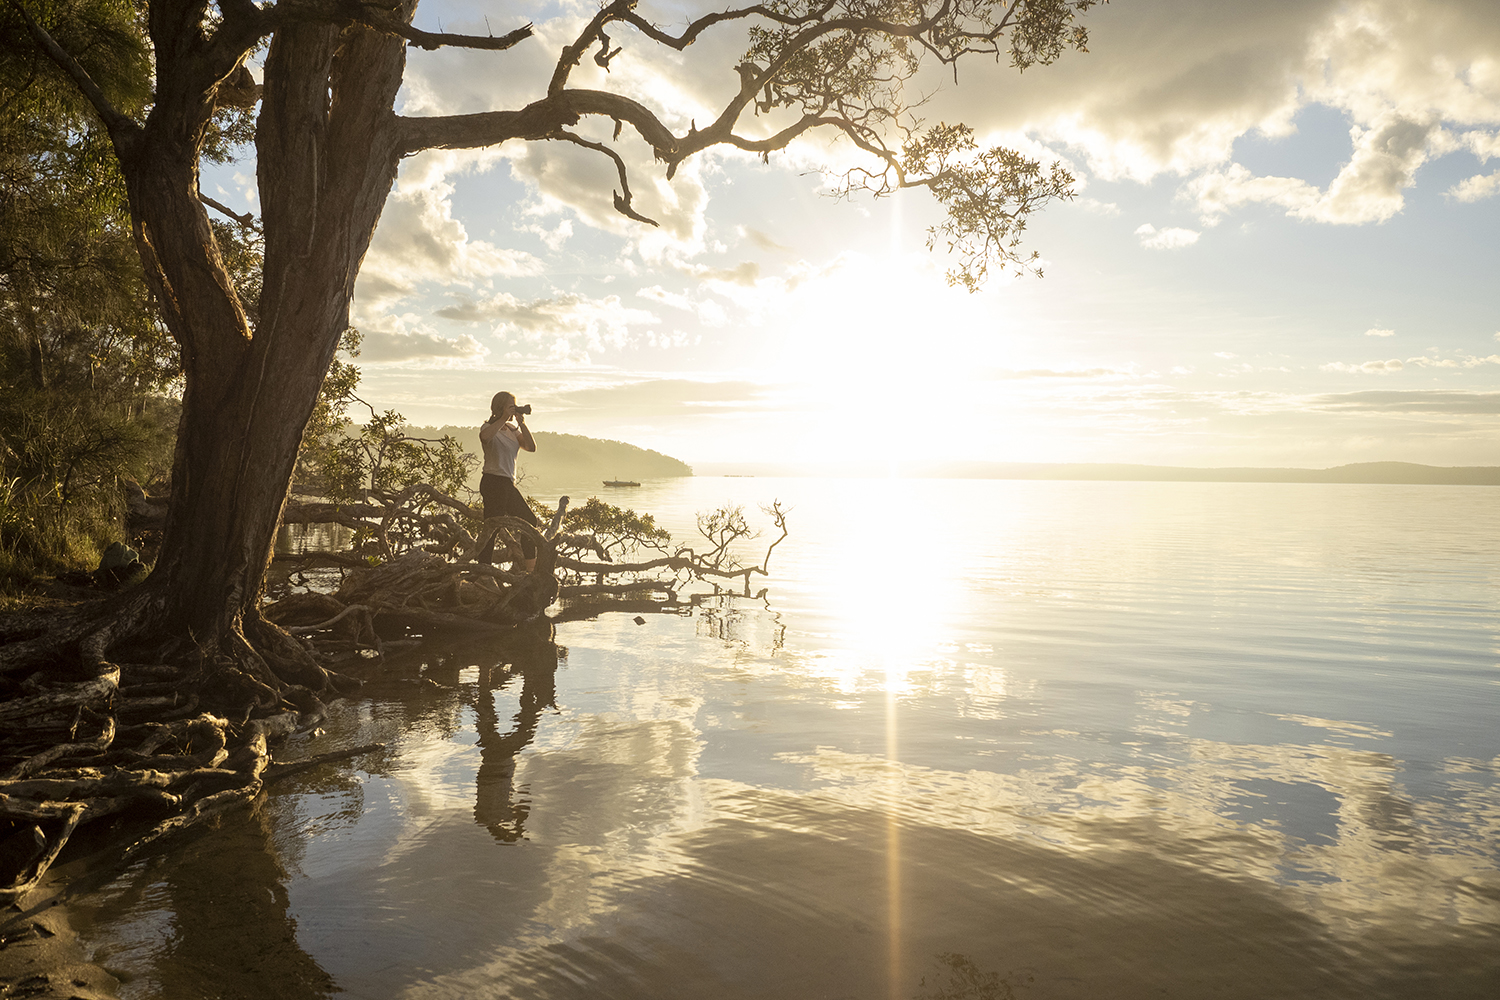
3. Seek out Sunrise and Sunset
Golden hour presents the most beautiful warm light and works wonders for landscape photography. Capturing the glowing sun before it dips below the horizon is one of my favourite things to photograph, and I always make sure I know exactly what time sunset is and arrive nearly an hour before!
Planning your day around where to be and what you’ll photograph during the golden hours of sunrise and sunset, helps you optimize how many locations you can visit and photograph on your travels. When photographing sunrise, aim for somewhere close to your accommodation, then for sunset, you can venture a little further!
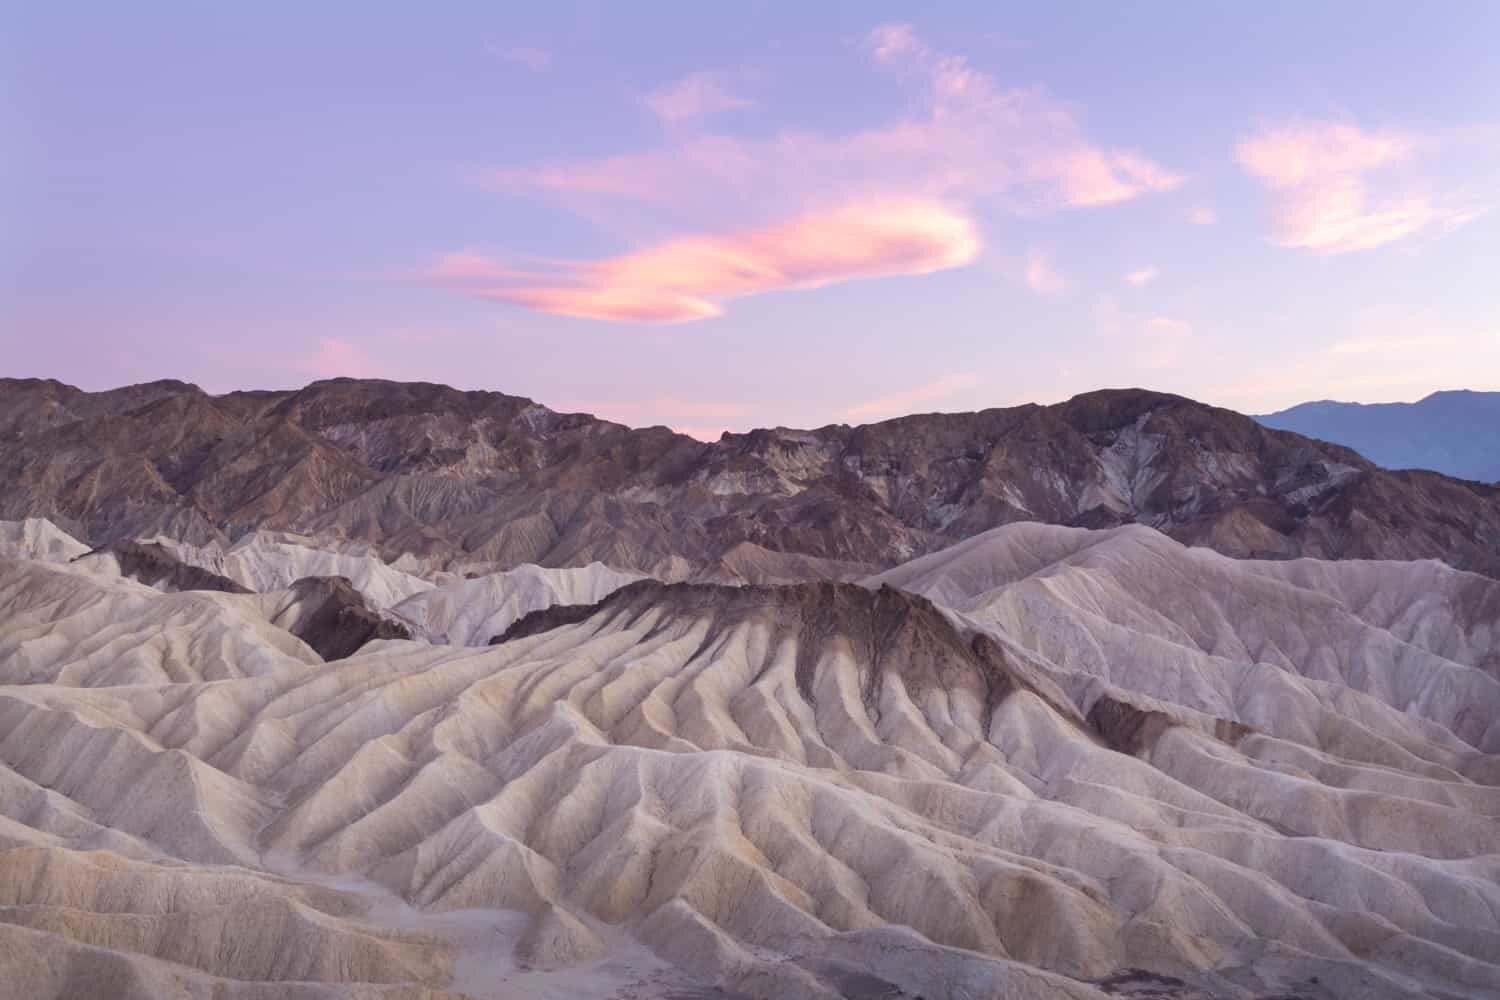
Photographing sunrise and the pastel tones of dusk are what I aim for in my own landscape photography as it helps illuminate the scene in a beautiful way, and typically has less crowds or wind.
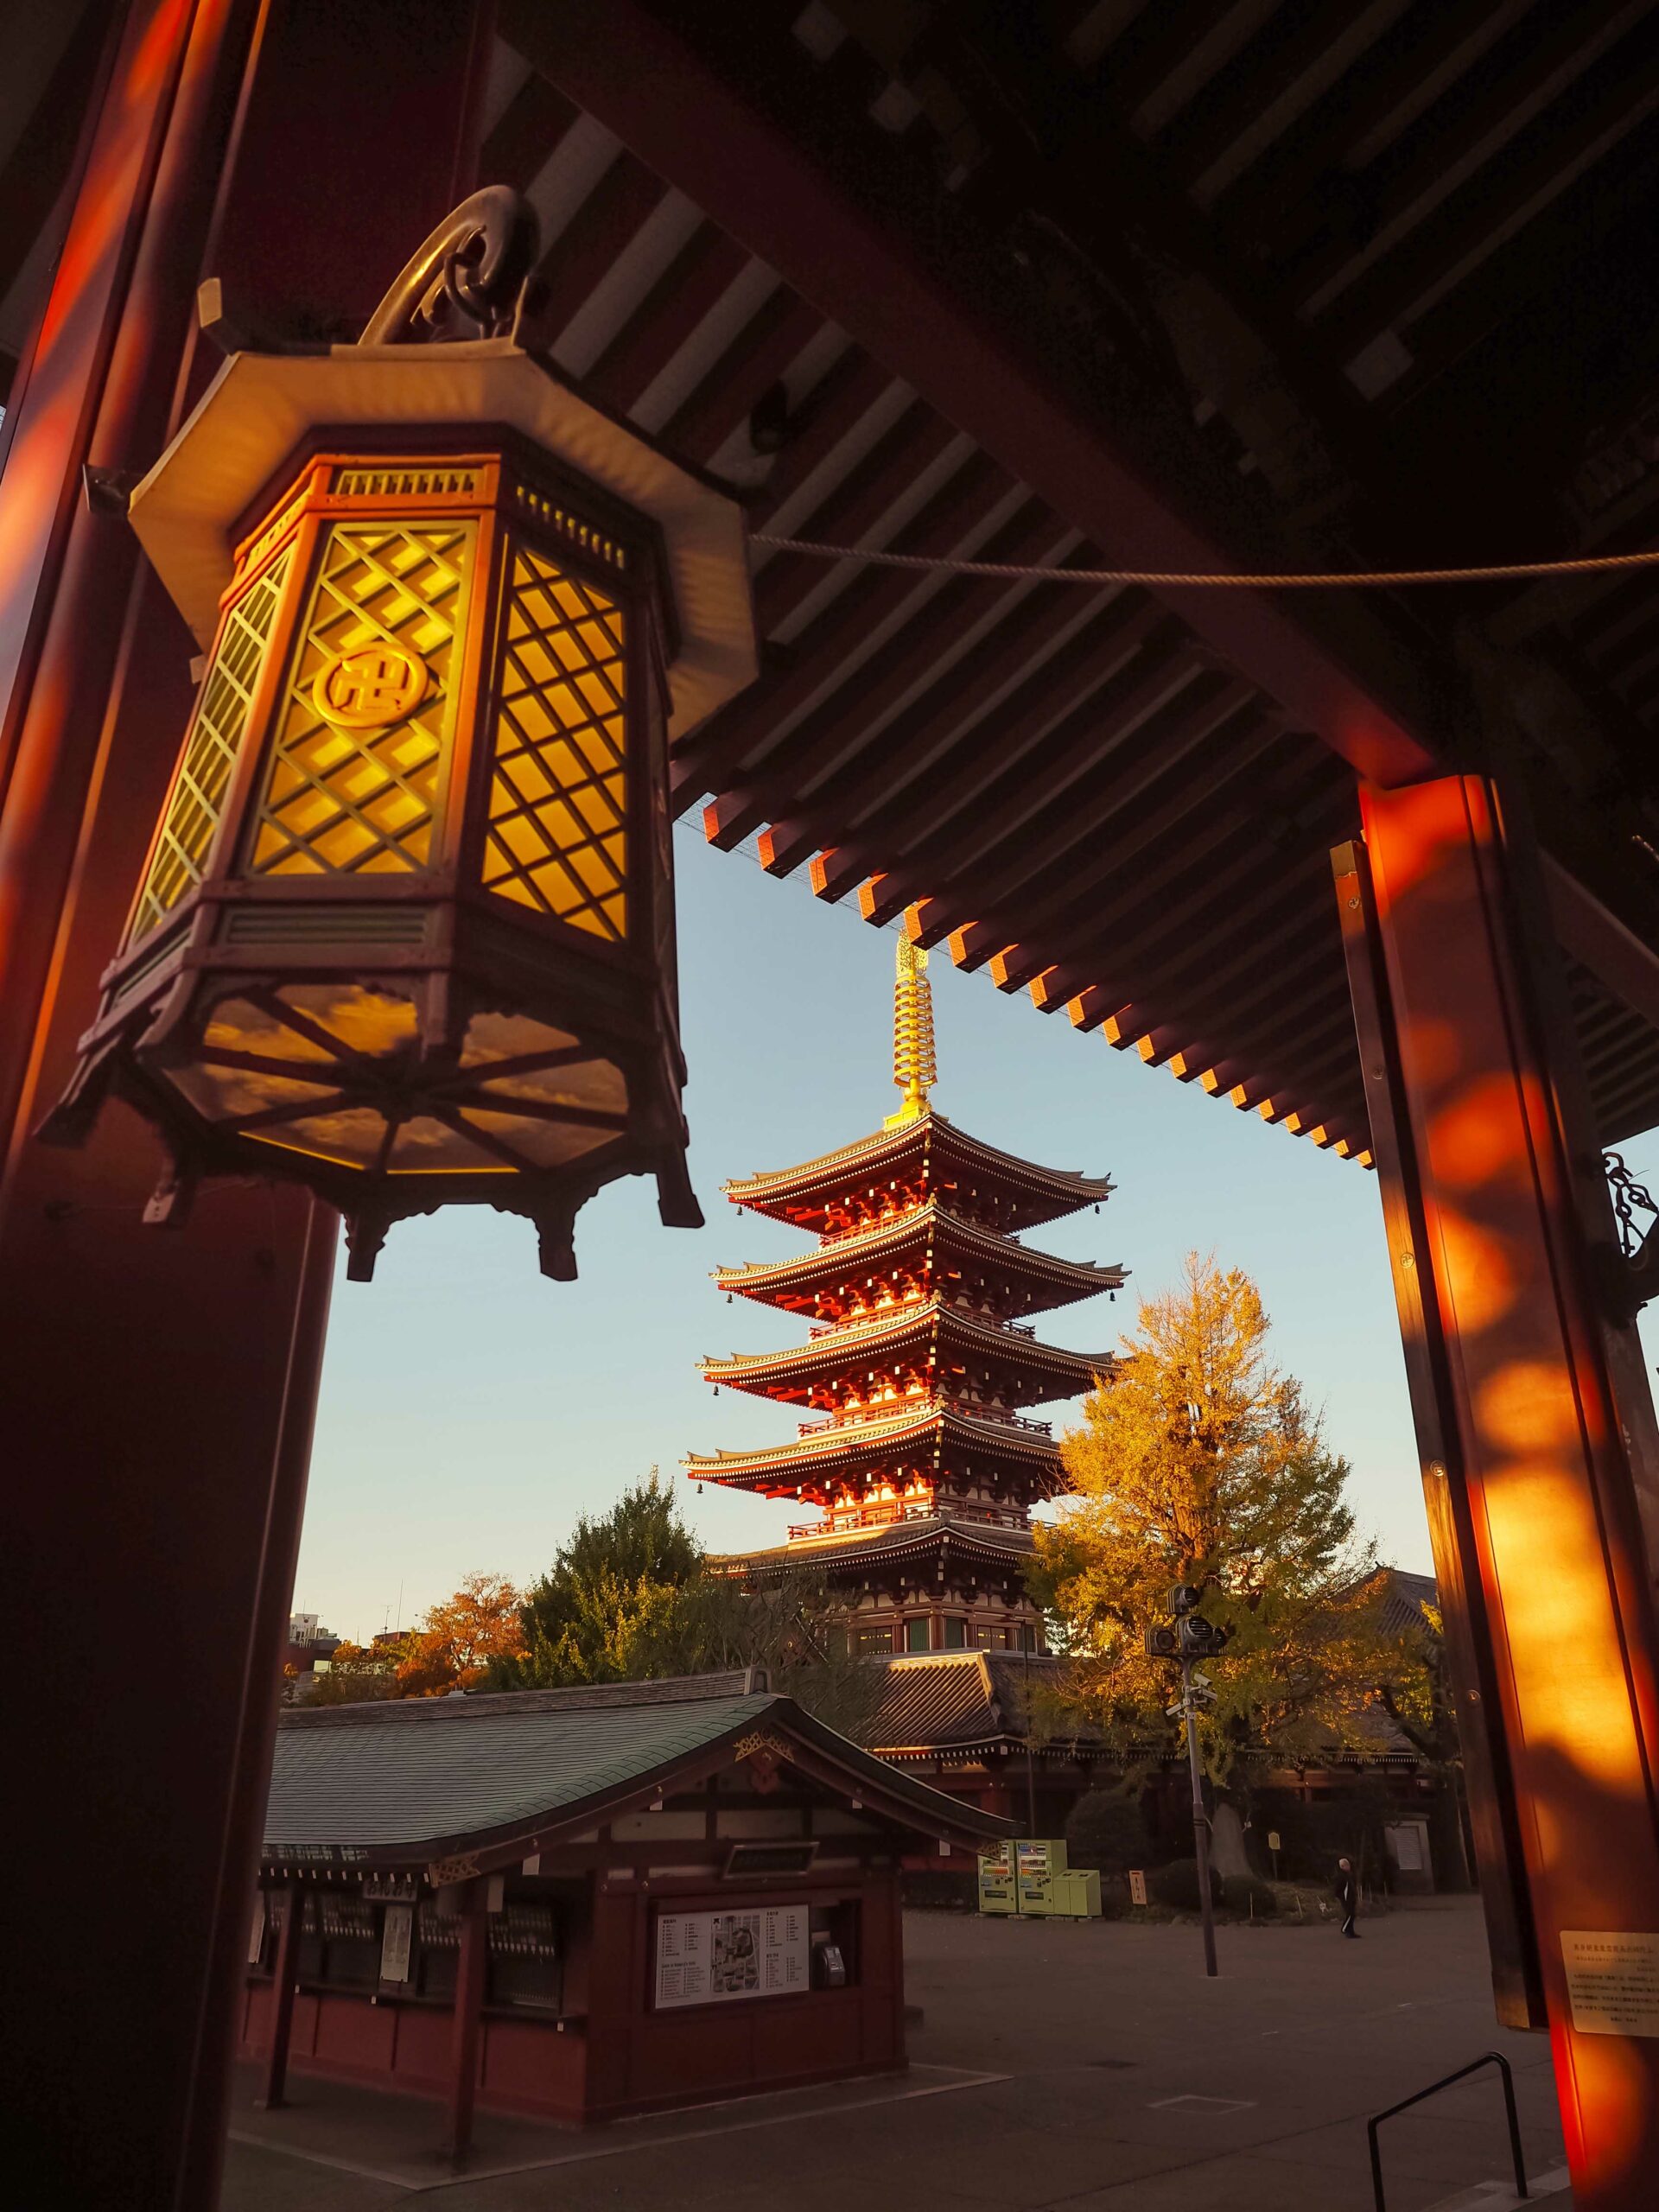
4. Think Creative + Look for Unique Angles
Once you arrive at a location, don’t just reach for your camera and snap away. Look around, assess the scene and start to get a feel for the stories you can tell with your camera. This way you’ll produce more considered photos, and discover exciting features and subjects to include within the image.
I always like to move around too, not just stand still at a marked viewing platform, but really explore the surrounding area and seek out the potential of unique angles. Don’t forget to bend down, look for ways to incorporate various elements of the scene within the image! It’s amazing how many angles open up once you take a moment to look around and observe the scene and what’s happening within it.
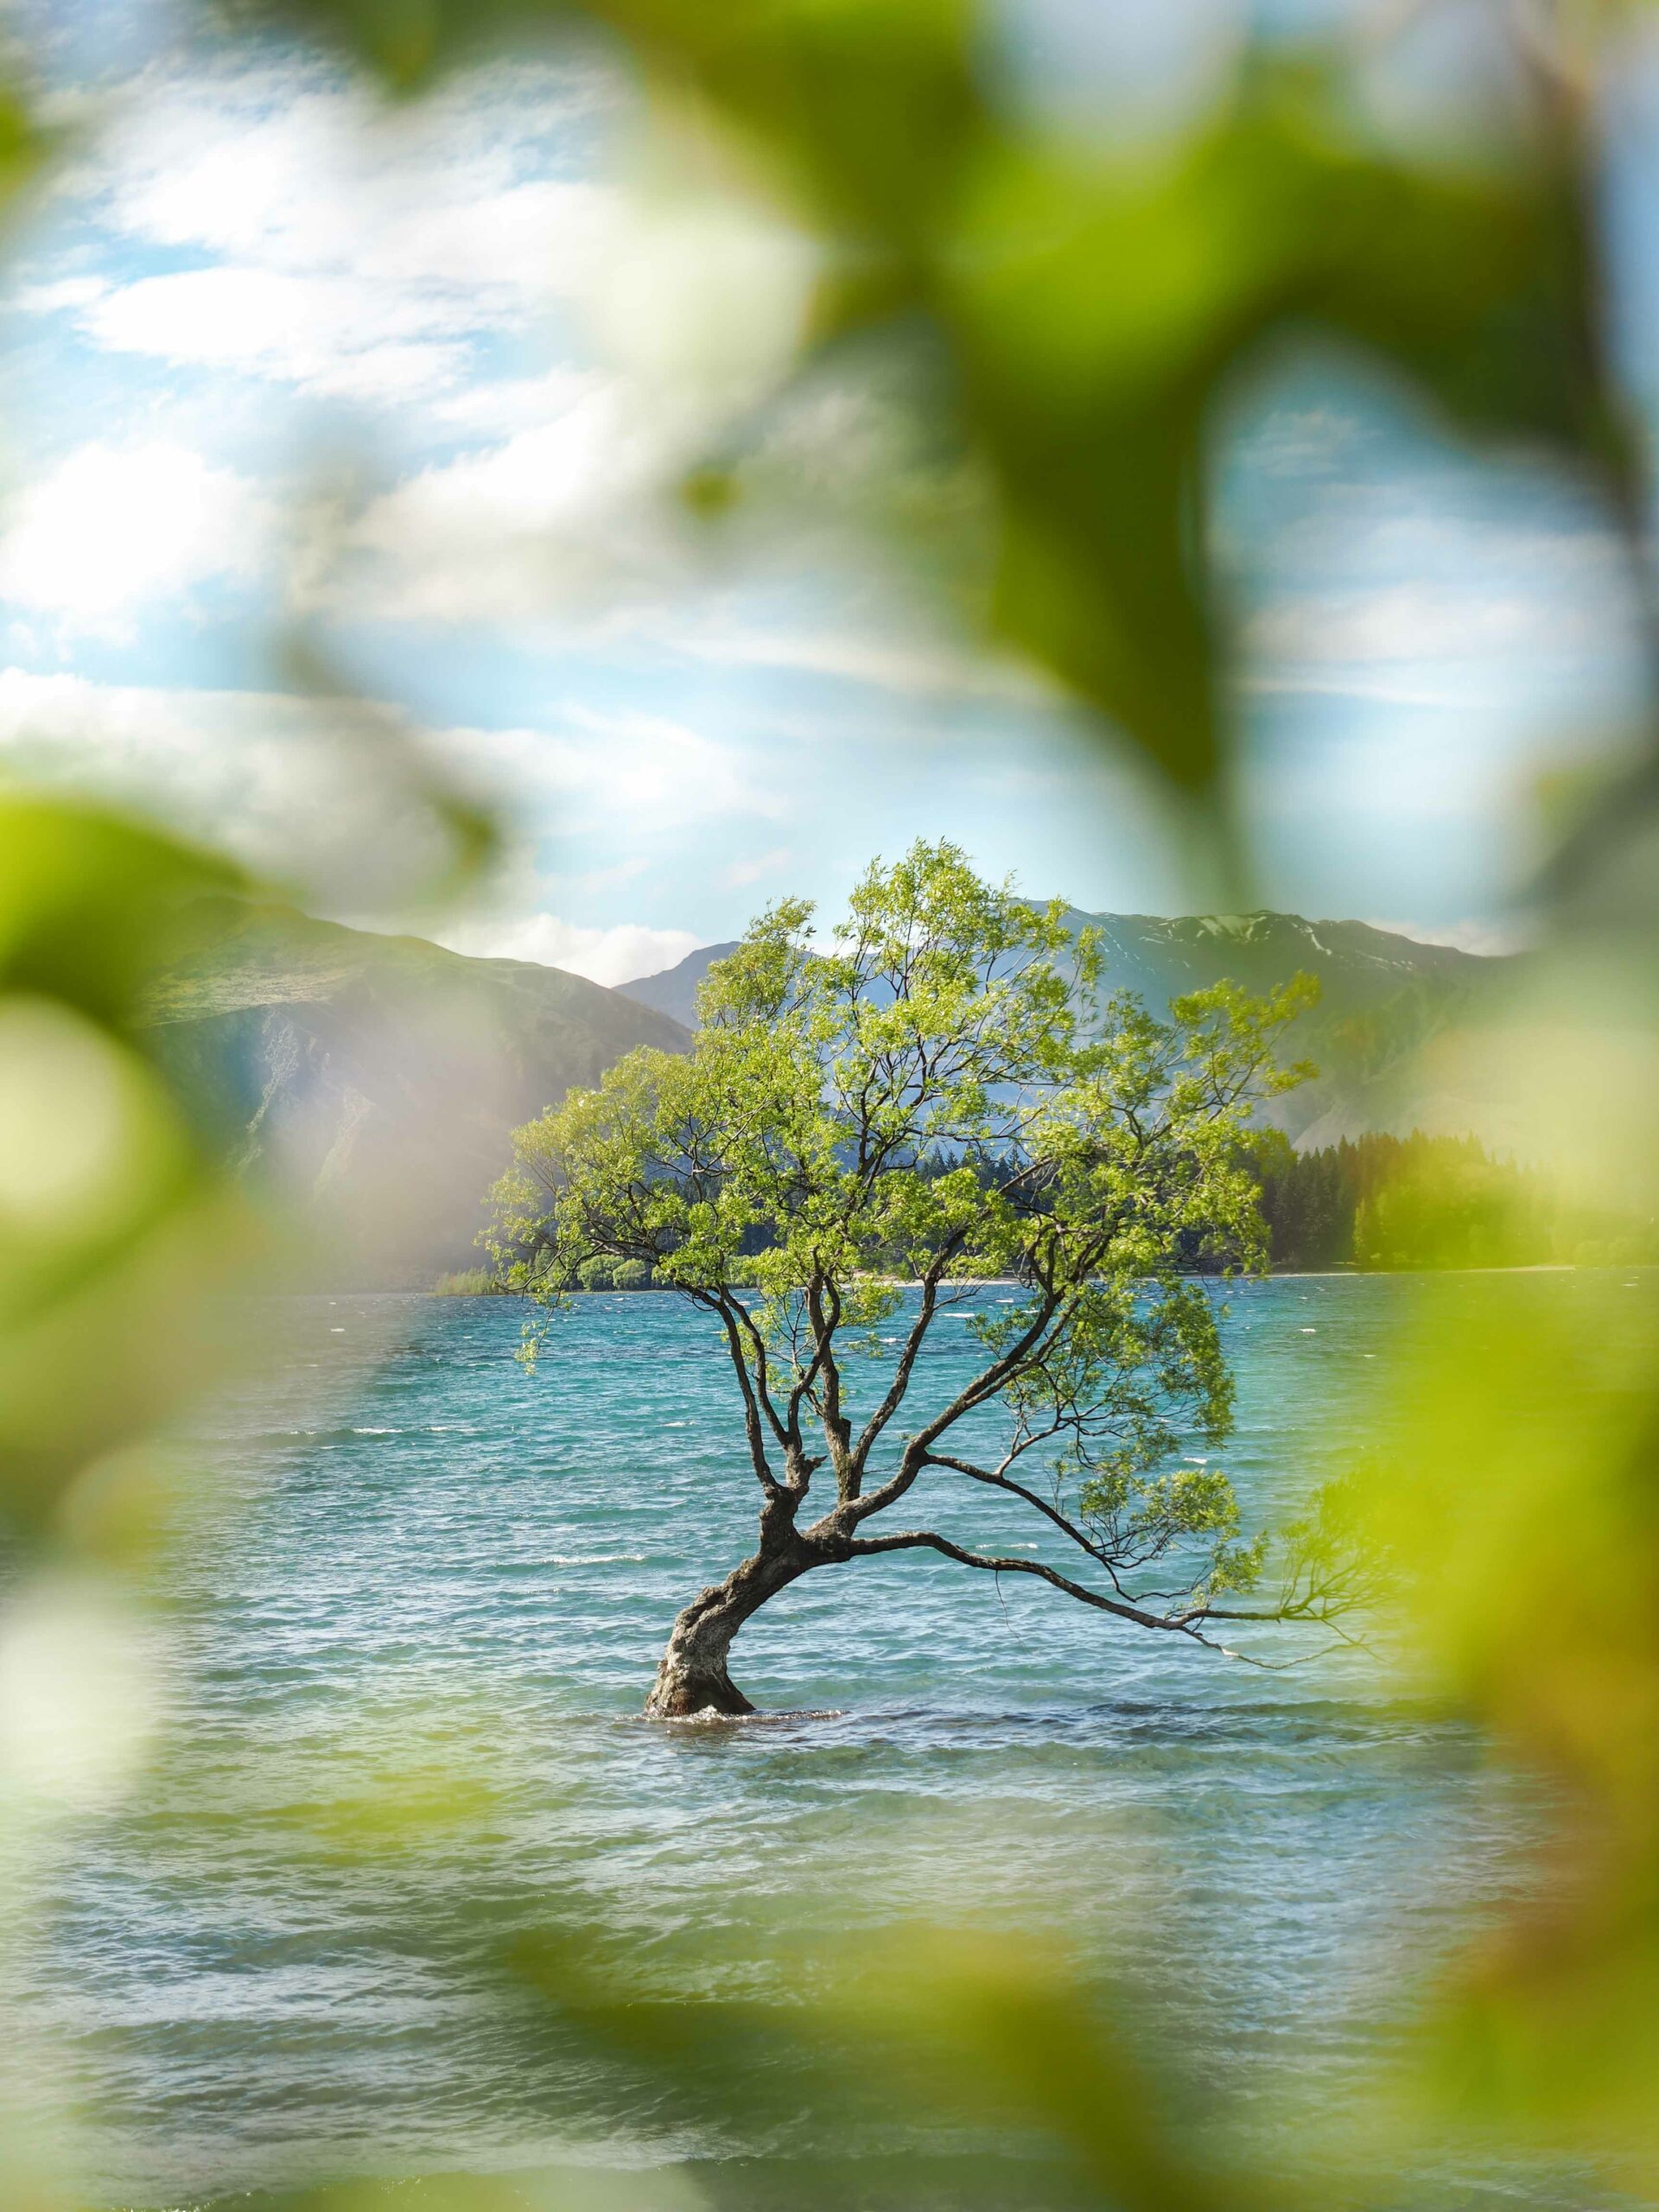
5. Get creative with Composition
This topic is my favourite of all within photography. Within the online courses I teach, composition is something I always enjoy sharing tips about, because it’s so incredible what you can achieve with just a simple adjustment in your creative process.
Composition is essentially, how you compose the elements of a scene, within a single image. So in a landscape photograph, a lake for example, it could be that you’ll be composing the rocks on the shore, the water and distant mountains. How you can approach that creatively, is by getting really low to photograph through the rocks so the water leads viewers towards those mountain peaks. Or you could opt to completely exclude the rocks, instead zooming into the mountains and using any visible greenery nearby to frame their shape.
Composition is where you have the chance to make your photography stand out. If you’re photographing alongside friends or other photographers, you’ll probably all end up creating something entirely different! Look for leading lines, reflections or foreground features. Need to work on your composition skills? Join The 3-Week Composition Reset to refresh your creativity and learn to ‘see’ the world in a new way – find all the details here.
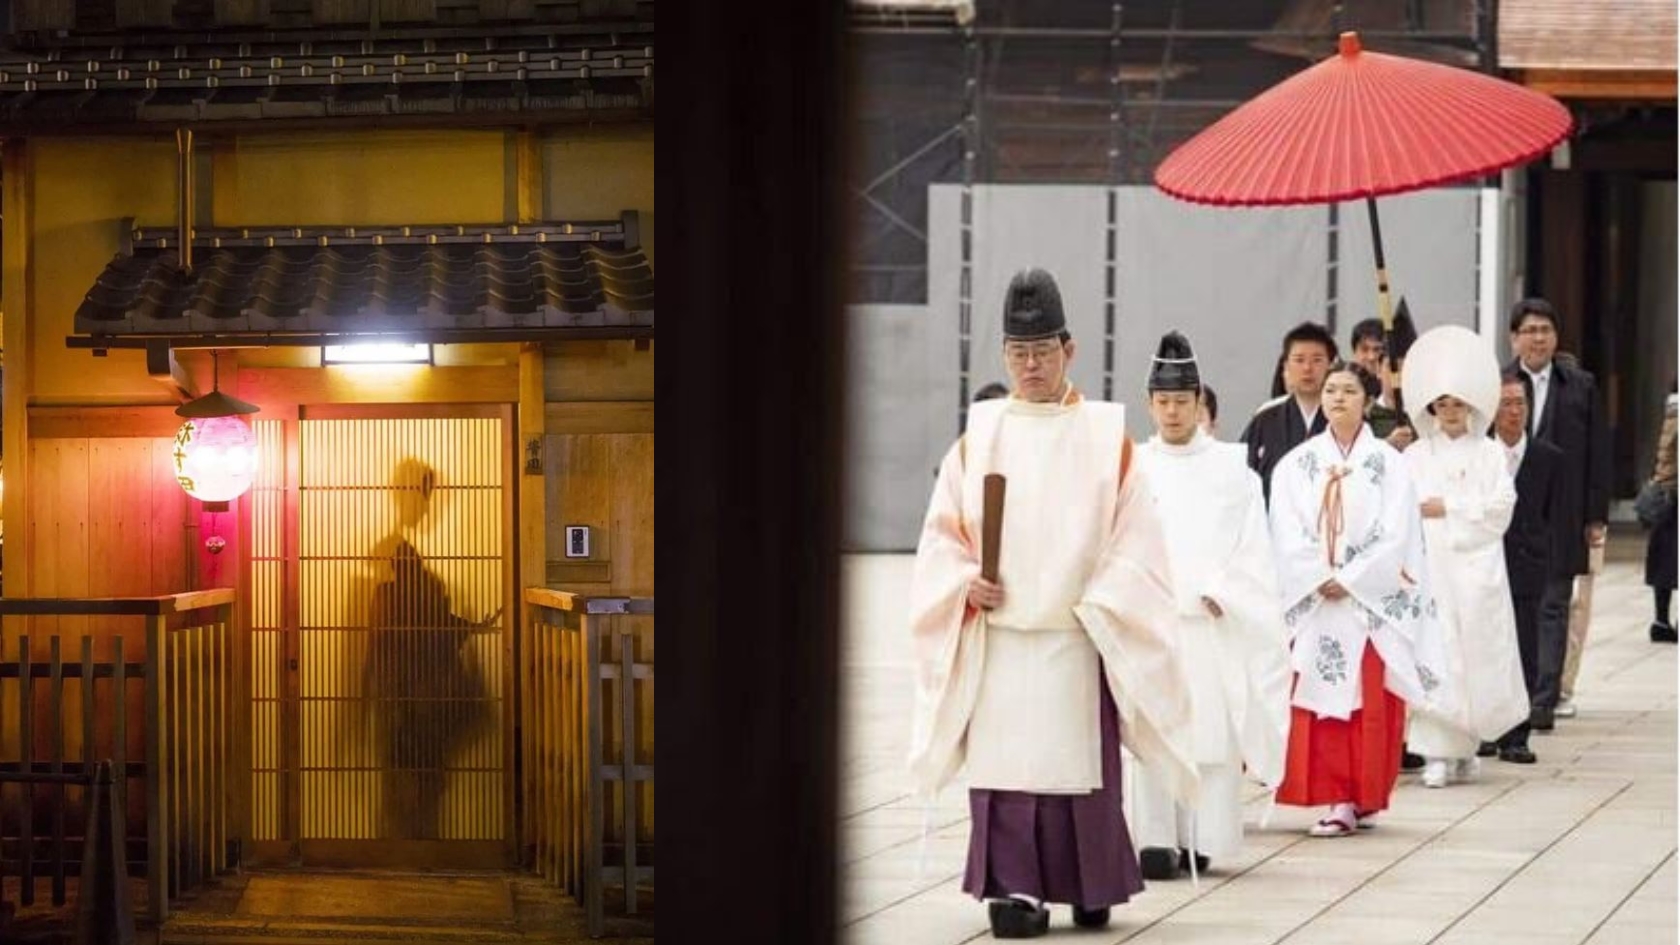
6. Document Cultures
Are you visiting somewhere with cultural experiences or local traditions? If so, research prior to visiting to know what you can and can’t photograph. Being culturally sensitive is very important as a photographer, no photo is worth invading someone’s privacy.
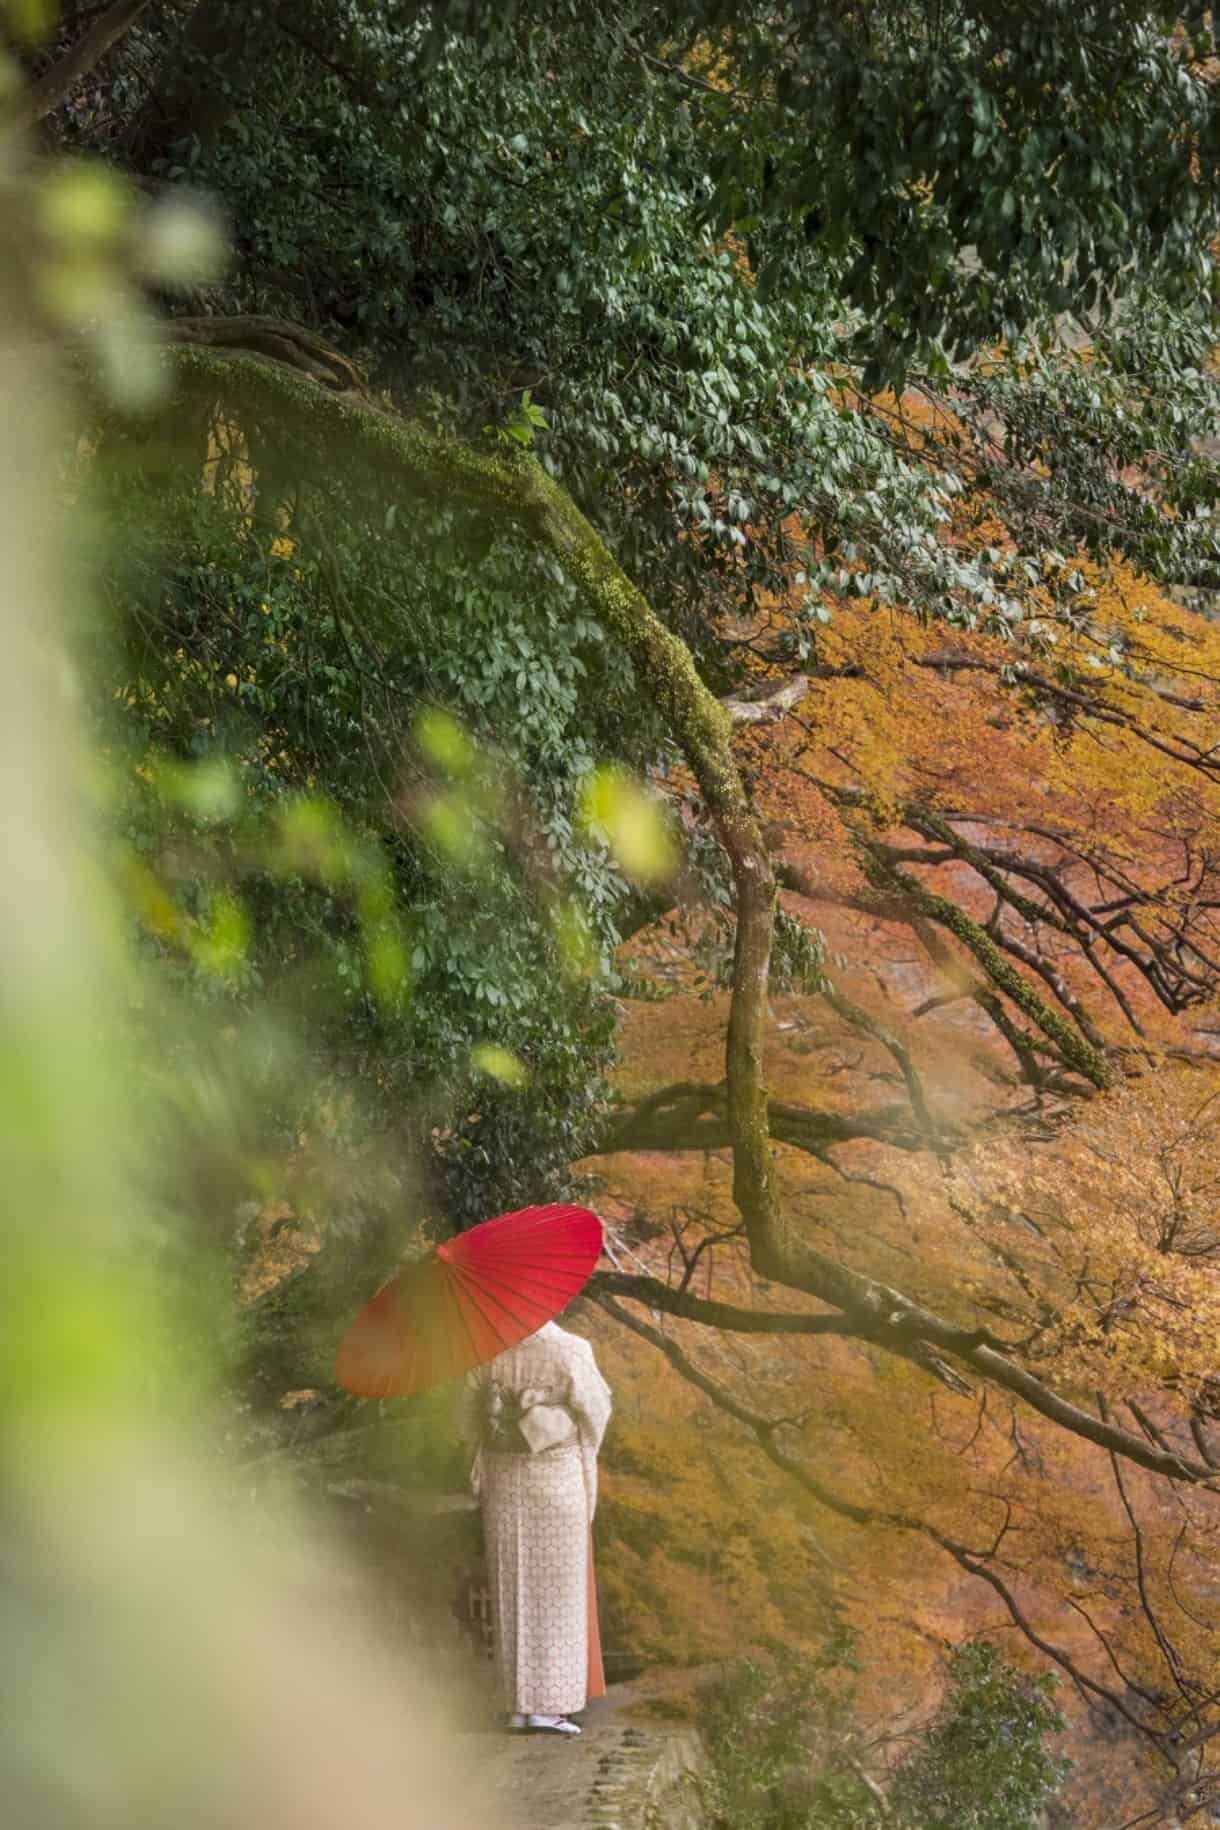
However, if it’s possible to document the experience or destination, try to capture images that highlight the candid moments, finer details and cultural intricacies that solely exist there. Portraits are a wonderful way to showcase people and daily life, always ask before taking someone’s photo though, and I like to try and be as quick as possible, so it doesn’t make them awkward at all – the first smile is usually the most natural!
7. Create Travel Photography with Purpose
Similar to composition, noted above, creating with purpose simply means thinking before clicking that shutter button. We’ve all returned home from our travels with thousands of random photos that we’ll never look at again, but what if we stopped to consider what we’re photographing, how, and why?
Creating photographs with purpose will help to produce a collection of travel photographs that connect, showcase where you’ve been, and help to document and tell a story of your adventures.
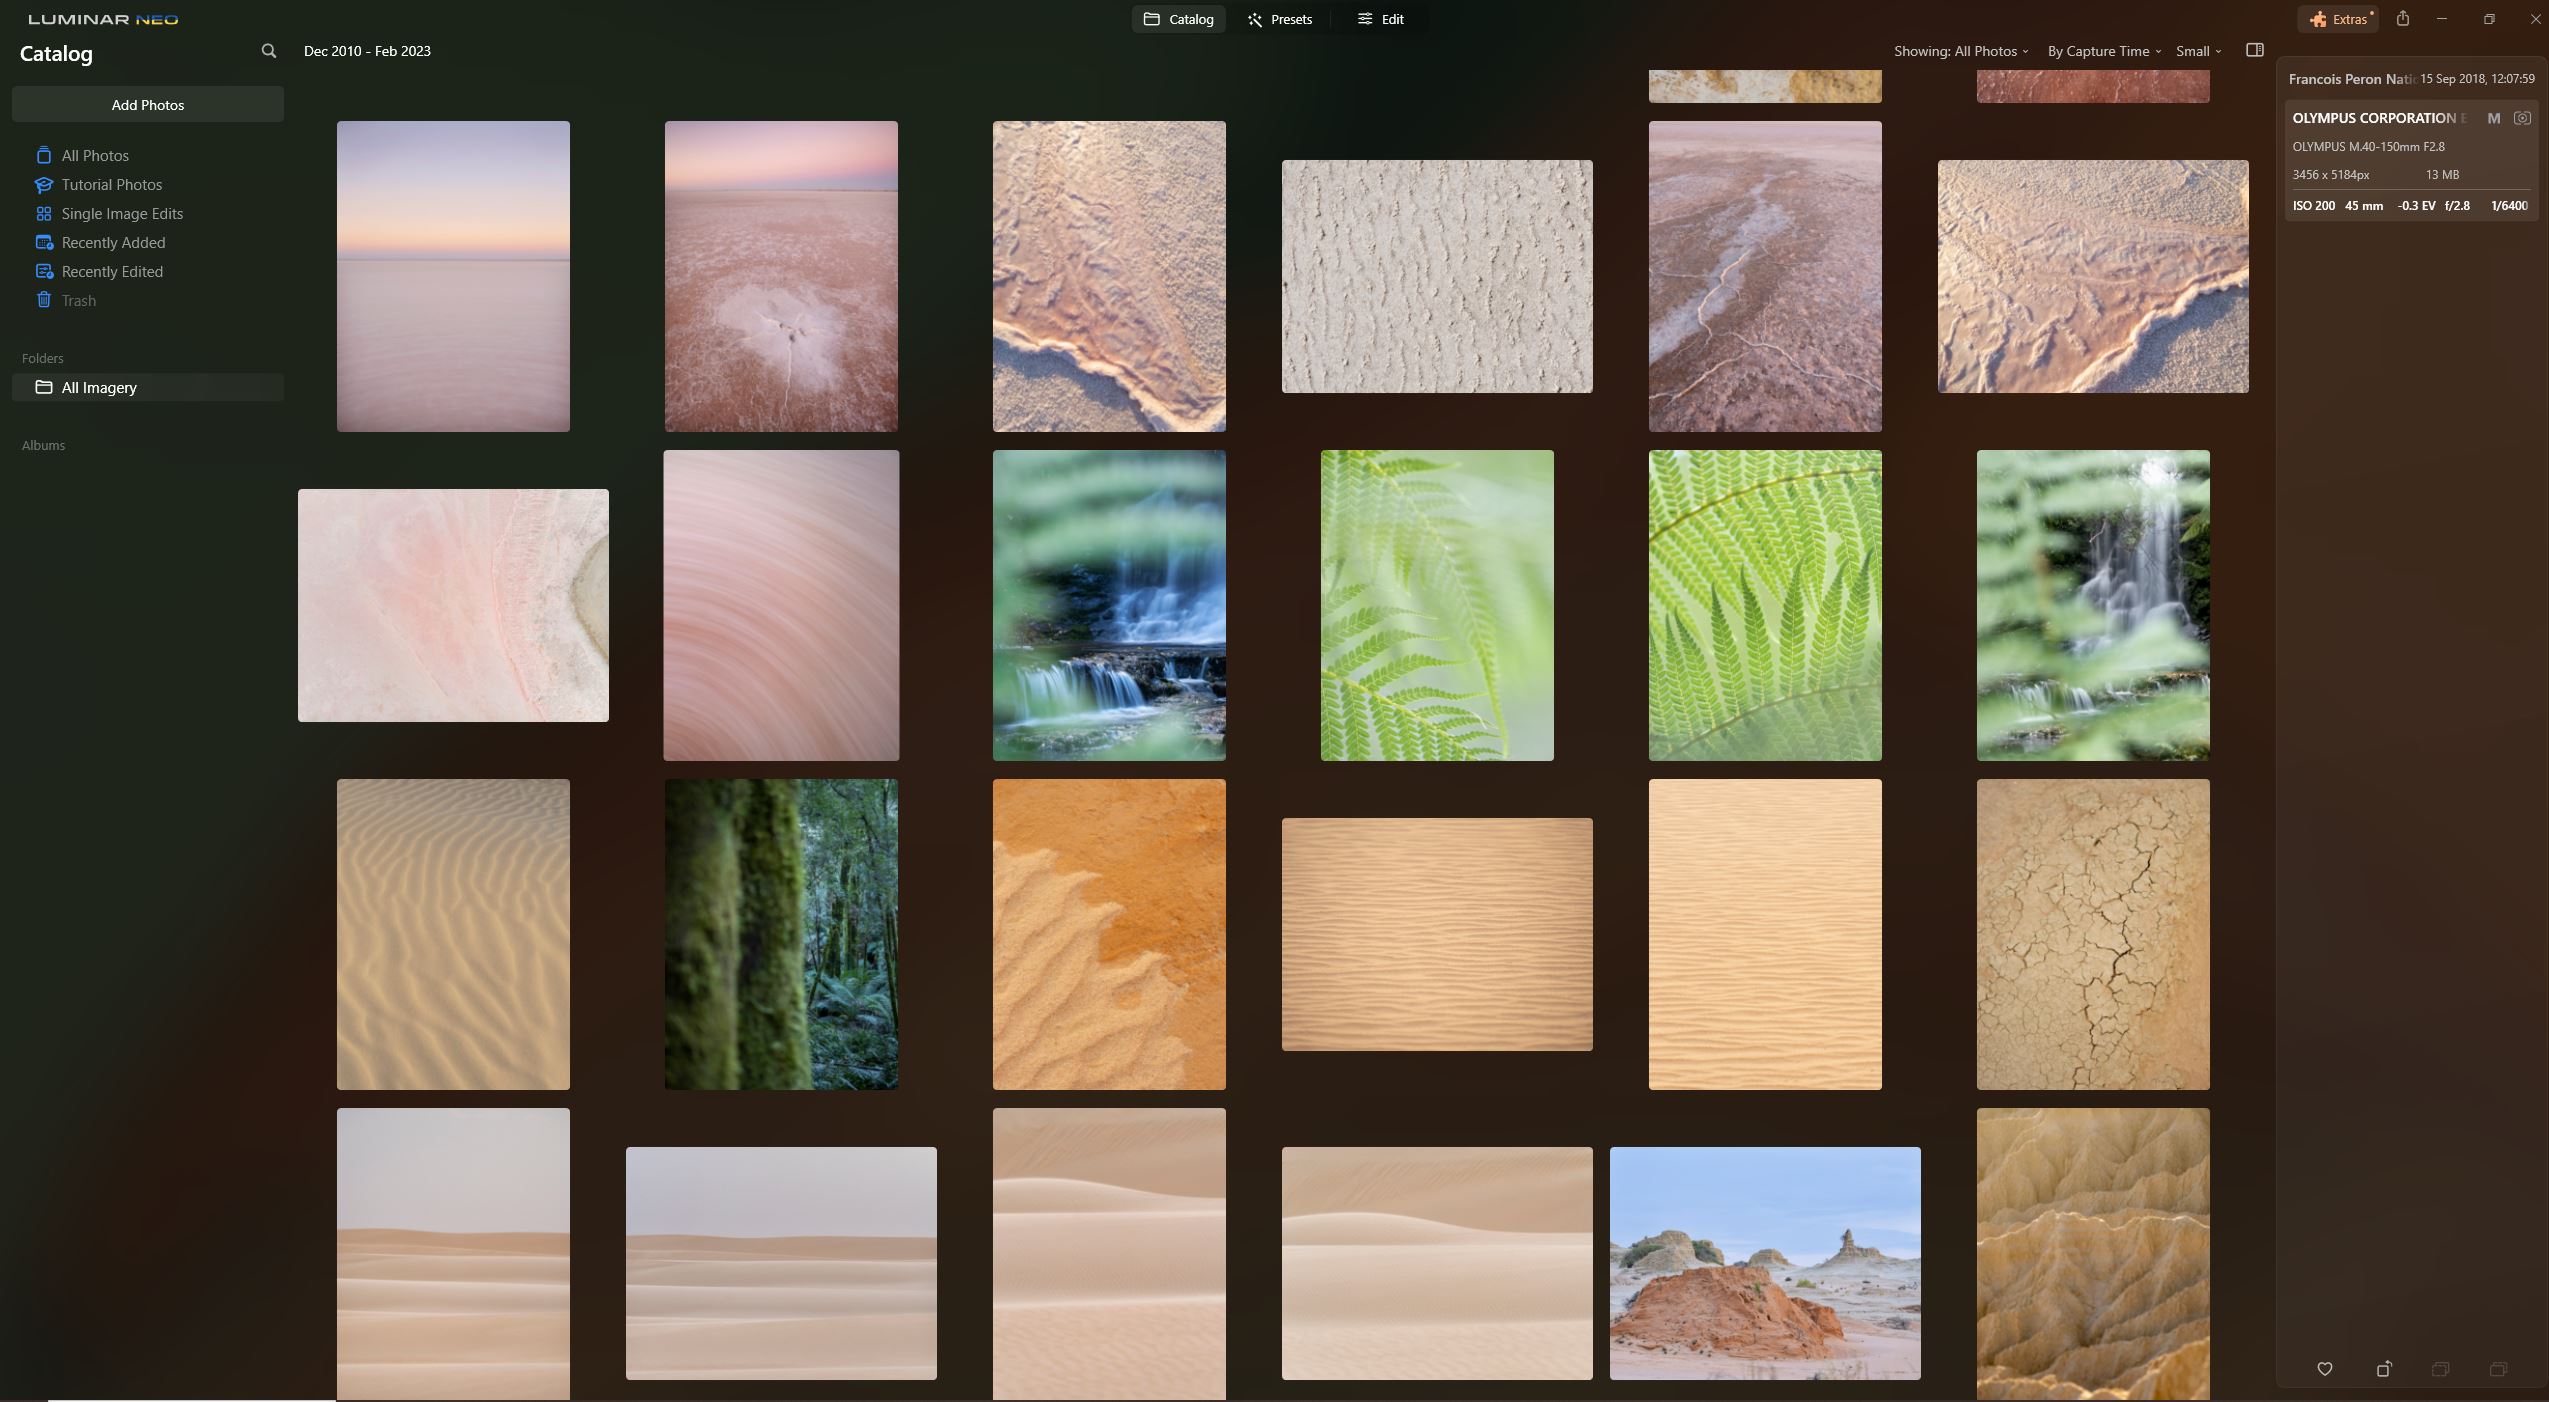
I love to try and capture a collection of varied images, a mixture of detail shots, landscape images, portraits and patterns when I travel. Actually, I’m exaggerating, I’ve been very obsessed with photographing patterns in nature lately so a big portion of my photos have been patterns in sand, dirt, rocks, water…I should probably get back to some variety haha!
8. Stay Steady
Maintaining stability when photographing is the key to sharp, detailed images. You’ll know when stability was lacking because your images may turn out a little blurry!
You can use a tripod if you know you’ll be photographing in low light or aren’t super steady when holding a camera, however if you’re like me and don’t enjoy carrying a tripod around, there are other ways to keep steady when taking photos.
My camera, the OM SYSTEM OM-1, has in-built stability, meaning that it’ll adjust and keep steady, even if there’s slight movement on my part. Otherwise, if your camera isn’t equipped with in-built stability, you can lean on something solid, like a fence, building or table top when taking a photo.
The ‘Photographer’s Stance’ is a bit of a joke, but take a peek at people when they’re taking a photo…we all stand a little like a tripod, don’t we? This stance can actually help with stability, bracing yourself while taking the photo to stay nice and still and avoid any blur in your images.
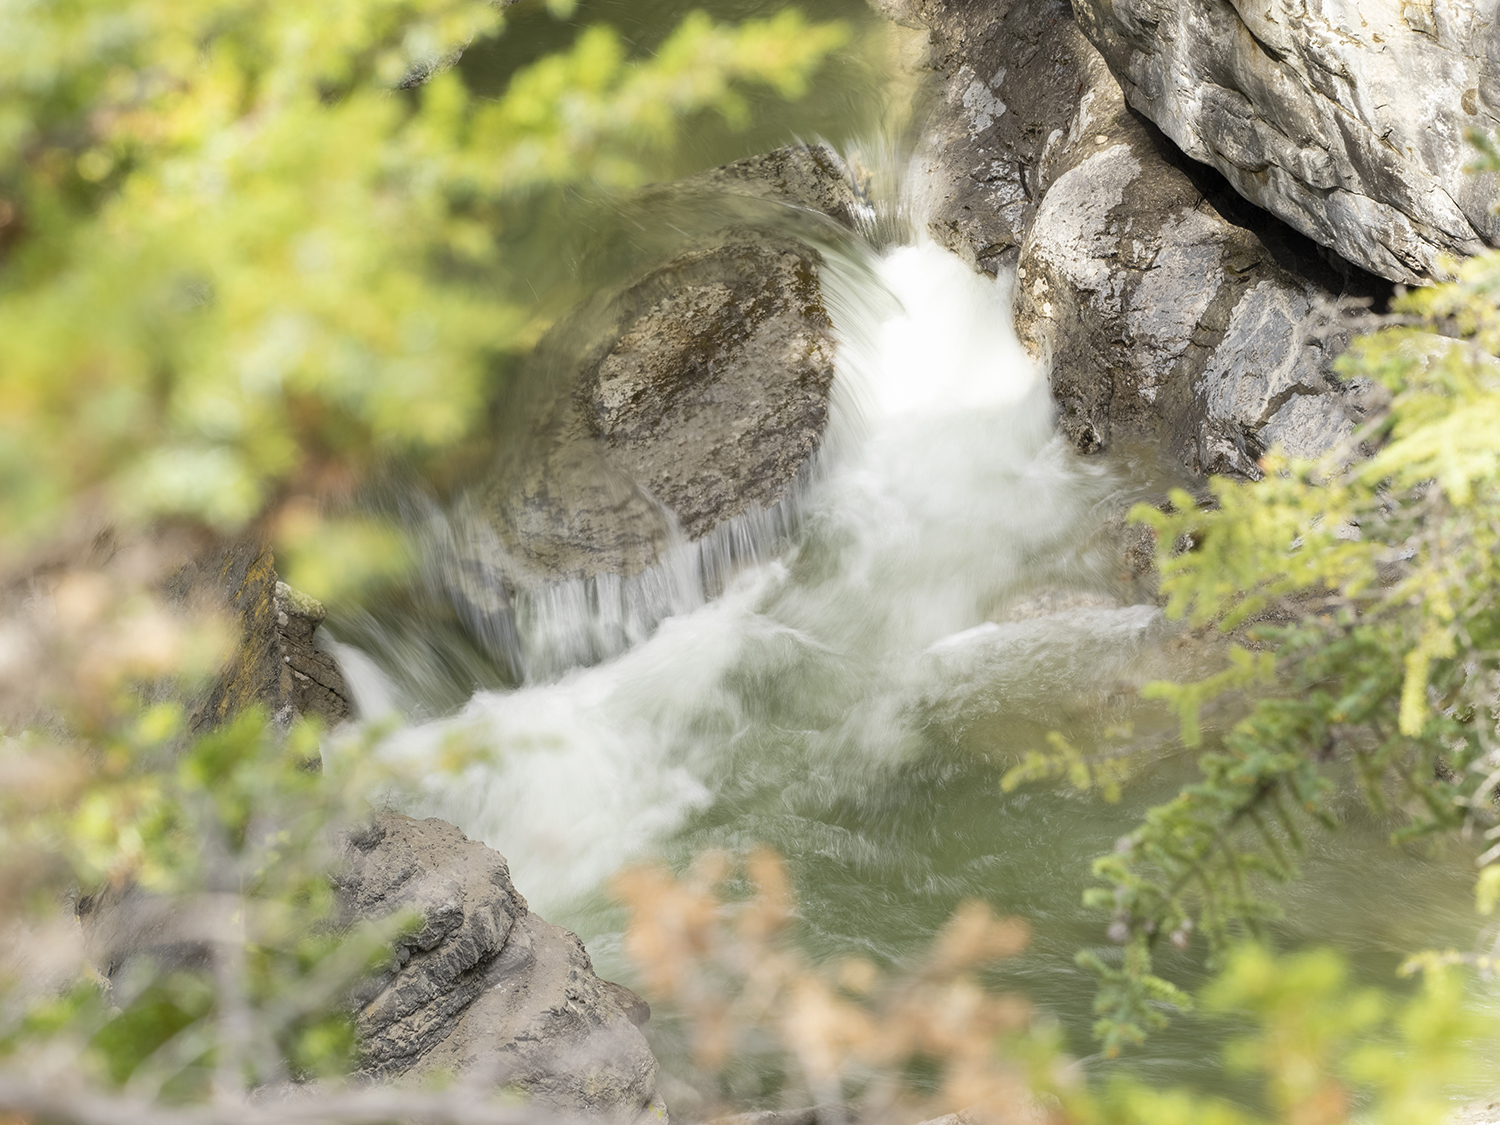
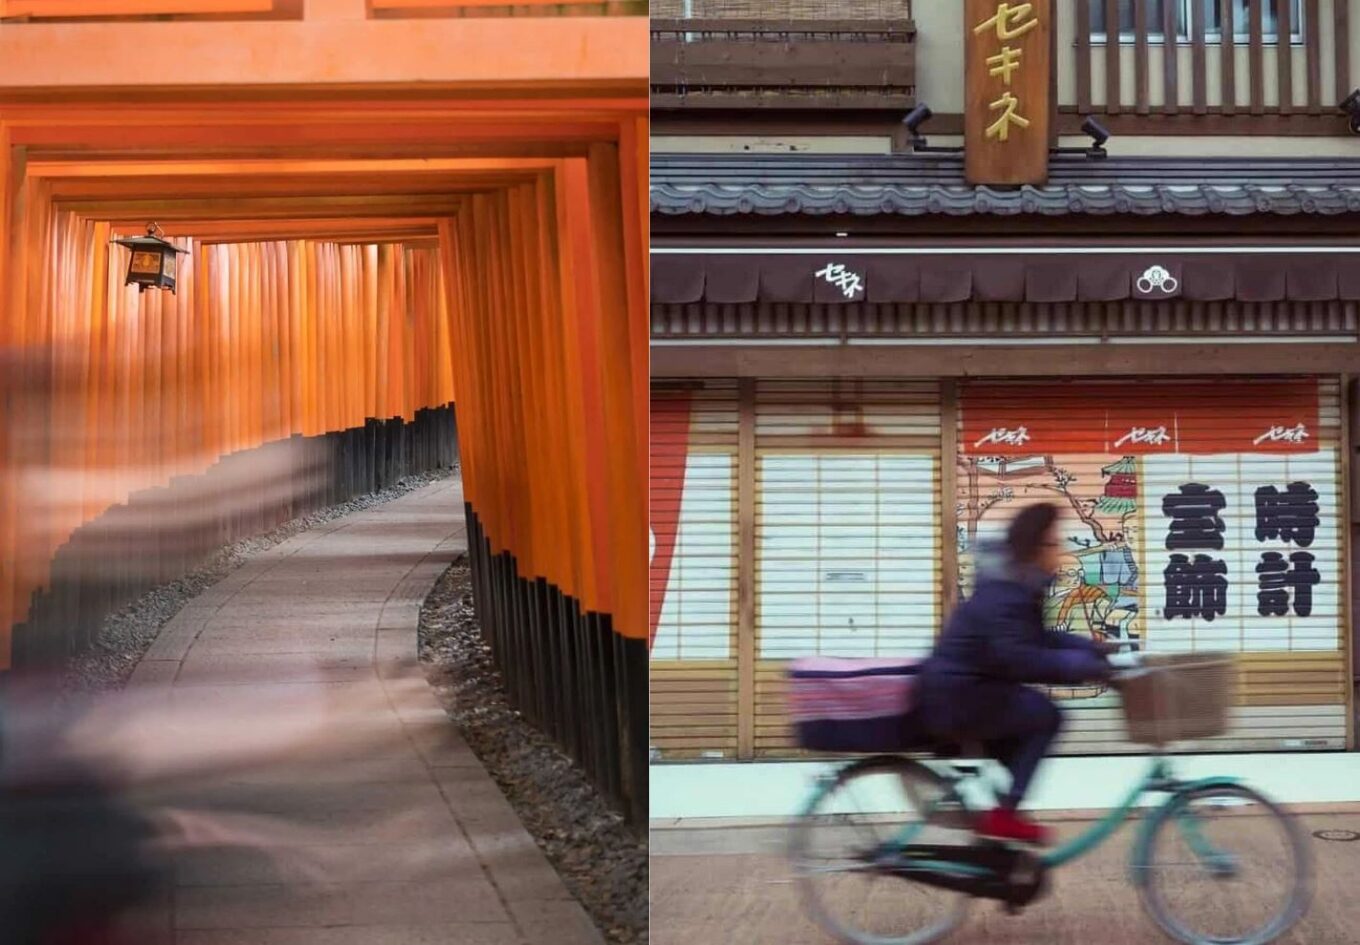
9. Experiment with Shutter Speed
This is something I’ve enjoyed a lot recently, particularly producing travel photos with a more artistic result. Shutter speed is related to the time your shutter is open, exposing available light on to the camera sensor. The longer a shutter is left open, the more light is let in.
A fast shutter results in a quick shot with less light, a slow shutter means your cameras shutter is left open longer, resulting in a long exposure image. You can actually hear the sound your camera makes when taking an image, if it’s a simply click, you’re probably shooting with a fast shutter speed, or on auto. If you hear a click…pause…then another click, it’s probably a longer exposure. Eventually you’ll learn to know exactly how long the shutter speed is and be able to quickly adjust for the result you’re seeking.
Experimenting with shutter speed is a great way to incorporate movement and light into your image. You can read a guide here about ICM Photography, and another guide here that I wrote about using Live ND with the OM SYSTEM.
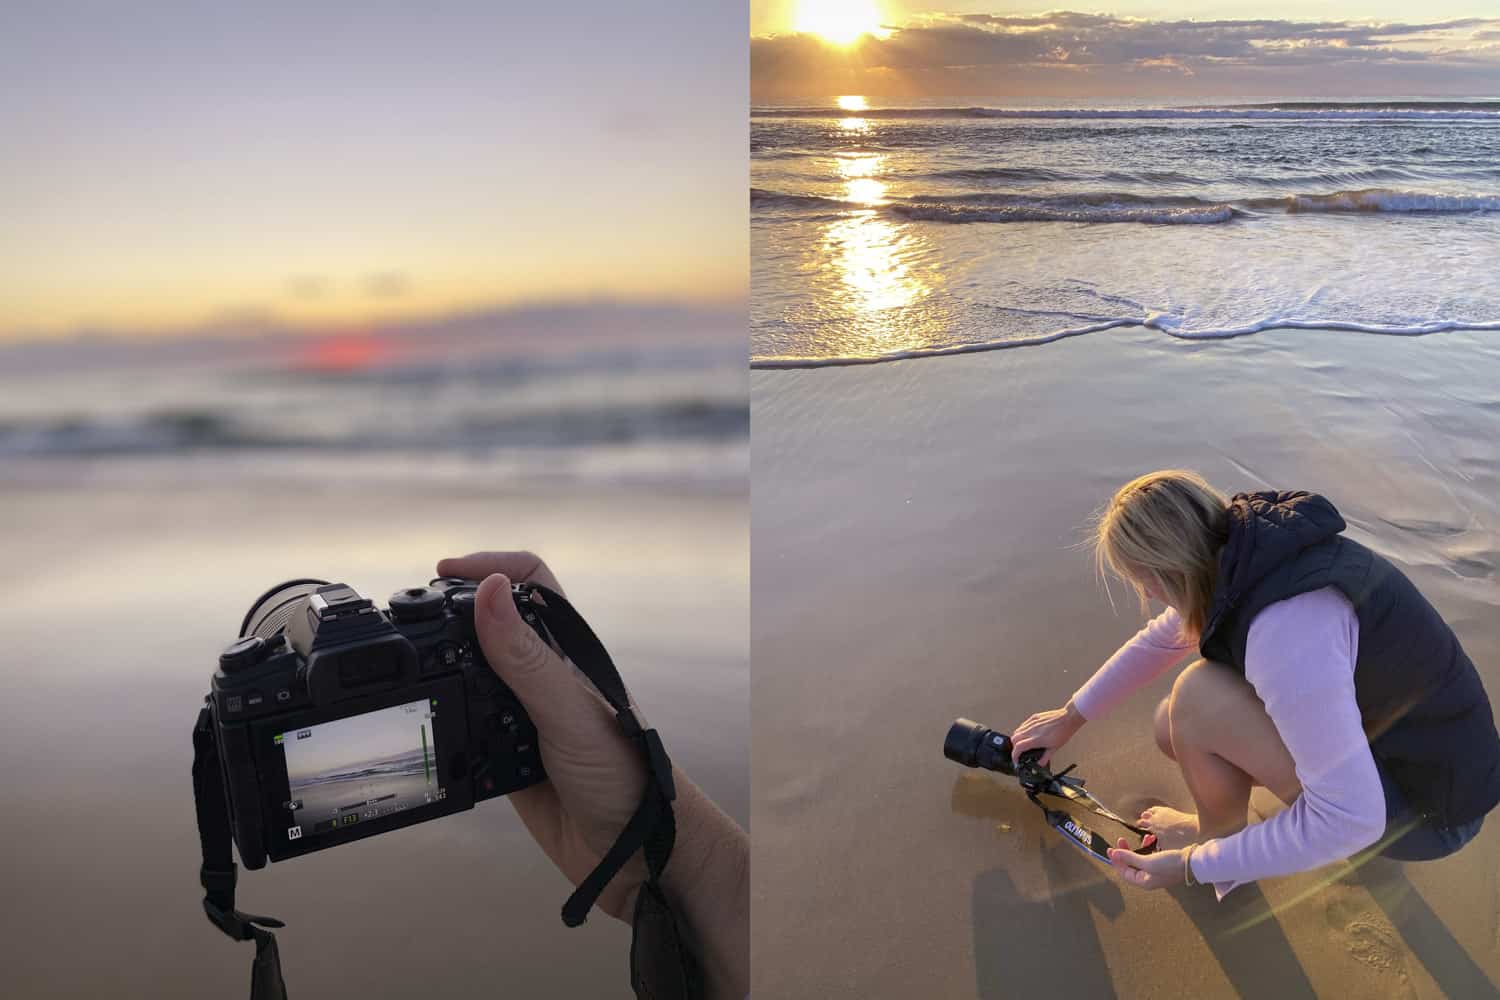
10. Get comfortable with your camera settings
Travelling is a great opportunity to learn photography and get comfortable with your camera while taking travel photos. We’re usually so much more inspired to use our camera when exploring a new destination, so use this chance to press a few new buttons on your camera or flick over to manual mode and challenge yourself to learn how it works.
Controlling the ISO, shutter speed and exposure can help to produce an image that reflects the scene around you. Learn to work with light and capture it correctly so you’re exposing the highlights and shadows well.
Don’t pressure yourself to jump straight to manual mode, travel photography in particular is usually filled with capturing fast moments, and fiddling with manual mode never works (for me anyway!). I prefer to shoot in aperture priority mode, this enables me to quickly adjust the ISO and exposure, while the shutter speed is then calculated by the camera. Alternatively, if I need to capture an image in a certain way, I’ll then switch to manual and play with the shutter speed.
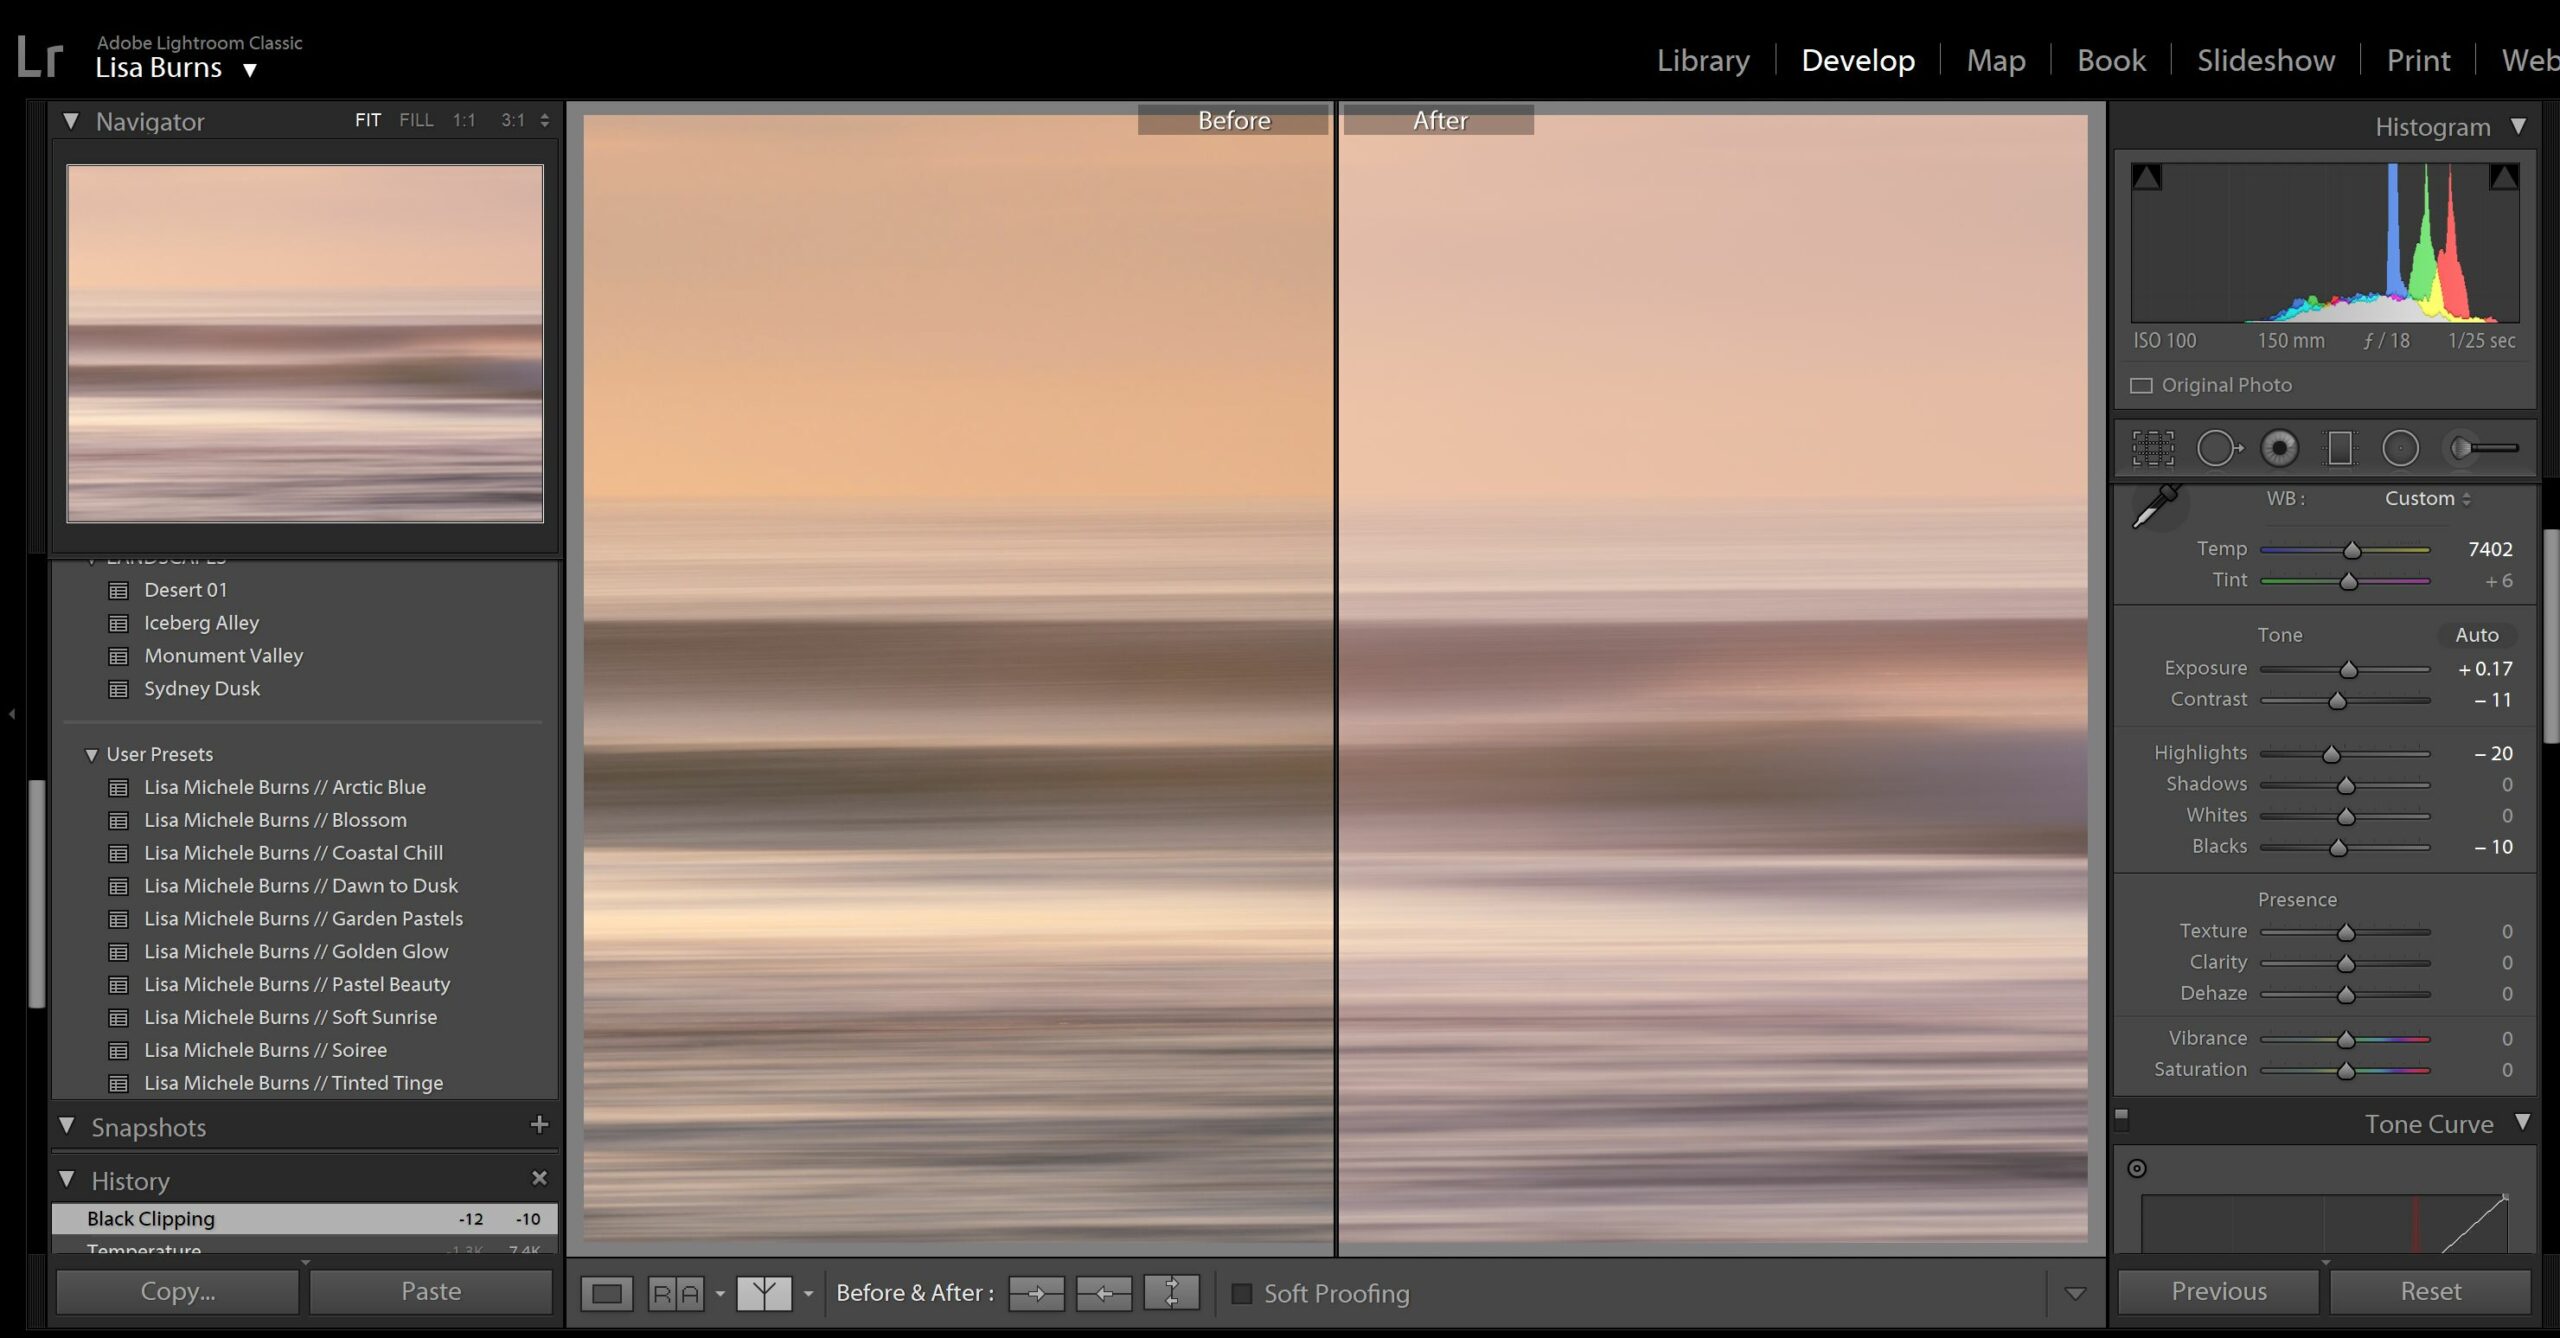
11. Edit and Enhance your Photos
While AI is presenting some interesting editing opportunities in travel photography (hello fake scenes and fantasy dream locations), enhancing your travel photos can form part of the creative process. I love saving my images from a day out, browsing through to pick out the favourites, then editing them that night while travelling.
Editing doesn’t have to make your image wildly different from the original, it can simply enhance the tones, colours and scene a little. Avoid adjusting the saturation too much as this can easily result in your travel photos looking a little too colourful.
When editing, consistency is key. If you’re looking to compile a collection of photographs from one location or destination, aim to keep the editing and tones to a cohesive style. This will also help to identify the work as yours, rather than a random collection of presets and colour combinations.
12. Become a Storyteller
Travel photography gives you the chance to create stories about the places and faces you see on your travels. When you pick up a travel magazine, the images help to tell the story alongside any written articles. They visually share why you should visit, what you can see, or creatively highlight the beautiful features of a scene or subject.
If you’re keen to work as a travel photographer, telling stories with your work will provide opportunities to approach publications and pitch article, or photo feature ideas. Producing a collection of images that connect together to create a visual narrative, will go a long way when sharing your work with editors or tourism professionals.
You can read more about the ‘Art of Storytelling here’, or if you’re looking to work professionally as a travel photographer, The Freelance Travel Photographer Course guides you through all the steps required to develop a professional portfolio, network, find work and create longevity with your career in the travel industry. You can start online anytime, with no time pressure as the entire course is designed to be self-paced!
The Benefits of Travel Photography
Travel photography is such a rewarding way to see the world. By taking photos when we travel, we’re staying present, practicing mindfulness and peering deeper into the world around us. With all creative pursuits, practice always helps so I’d encourage you to keep your camera out, and capture as many photos as you can, being considerate of which compositions work best, and creative techniques you can use to enhance the outcome of your travel photos.
Related Travel Photography Articles on The Wandering Lens –
How to Become a Professional Travel Photographer
The Benefits of Working Freelance as a Travel Photographer
Photography Tips Archive – Camera Settings Advice + Creative Techniques
7 Travel Photography Jobs to take you around the World
Want to learn with The Wandering Lens? Explore the self-study courses and discover your potential in travel photography!
Are you craving a creative career, struggle to know where to start as a photographer and need a little guidance?
These creative courses have been written for you and bring together over 17+years of experience and lessons from working in the industry. I want to see others share their talents and get published, sell prints, find clients – to have the confidence to achieve whatever it is you want to within the field of photography.
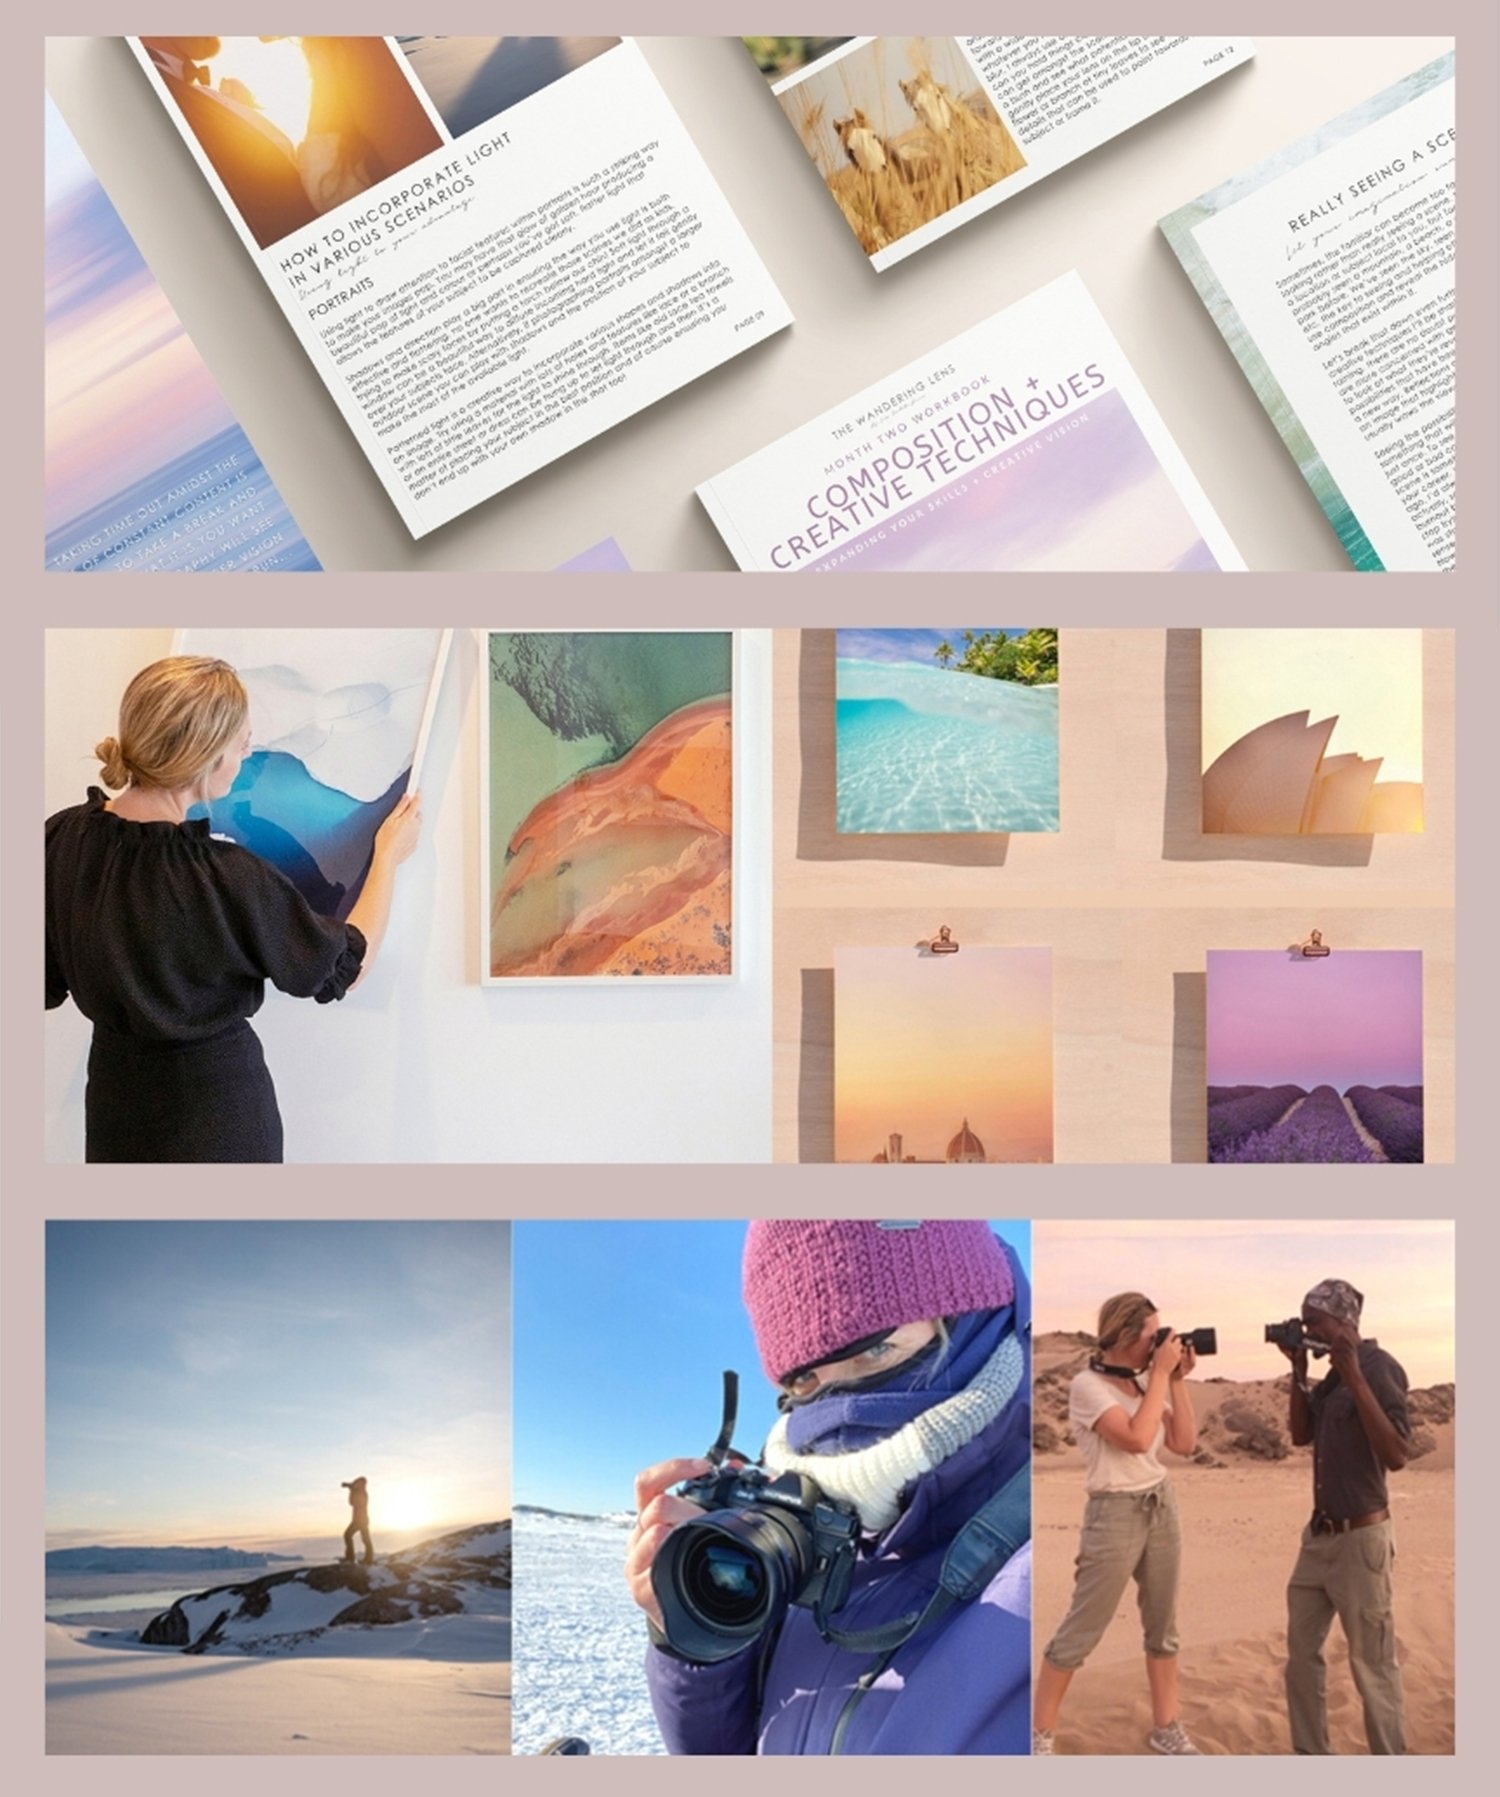
My three comprehensive photography courses are now available for self-study enrolments and upon signing up, I’ll be in touch with instant access to get you set up and logged into the learning portal! You’ll receive access to every workbook within the course program and can work your way through in whichever order you chose.
Which of the following sounds like you most?
#1 You want to find work as a freelance travel photographer? The Freelance Travel Photographer Course is open for enrolments! Learn more here.
#2 You need a creative boost and want to transform your photography? Start with The 3-Week Composition Reset and work through composition and creative challenges.
#3 You’re keen to start a business selling prints? The Print Store Launch Pad will guide you through the entire process from curation and logistics to marketing + sales.
Take a peek at the course options below, if you’d like to discuss which one will suit you, send me an email via hello@thewanderinglens.com and we can chat!

Hello! I’m the founder and photographer behind The Wandering Lens.
With 19+yrs experience as a professional travel and landscape photographer, all advice found on this site is from my personal experience, or that of contributors, on the road. I hope it’s useful for your own travels and would love to hear in the comments about your trips and experiences around the world.
Leave a Comment