
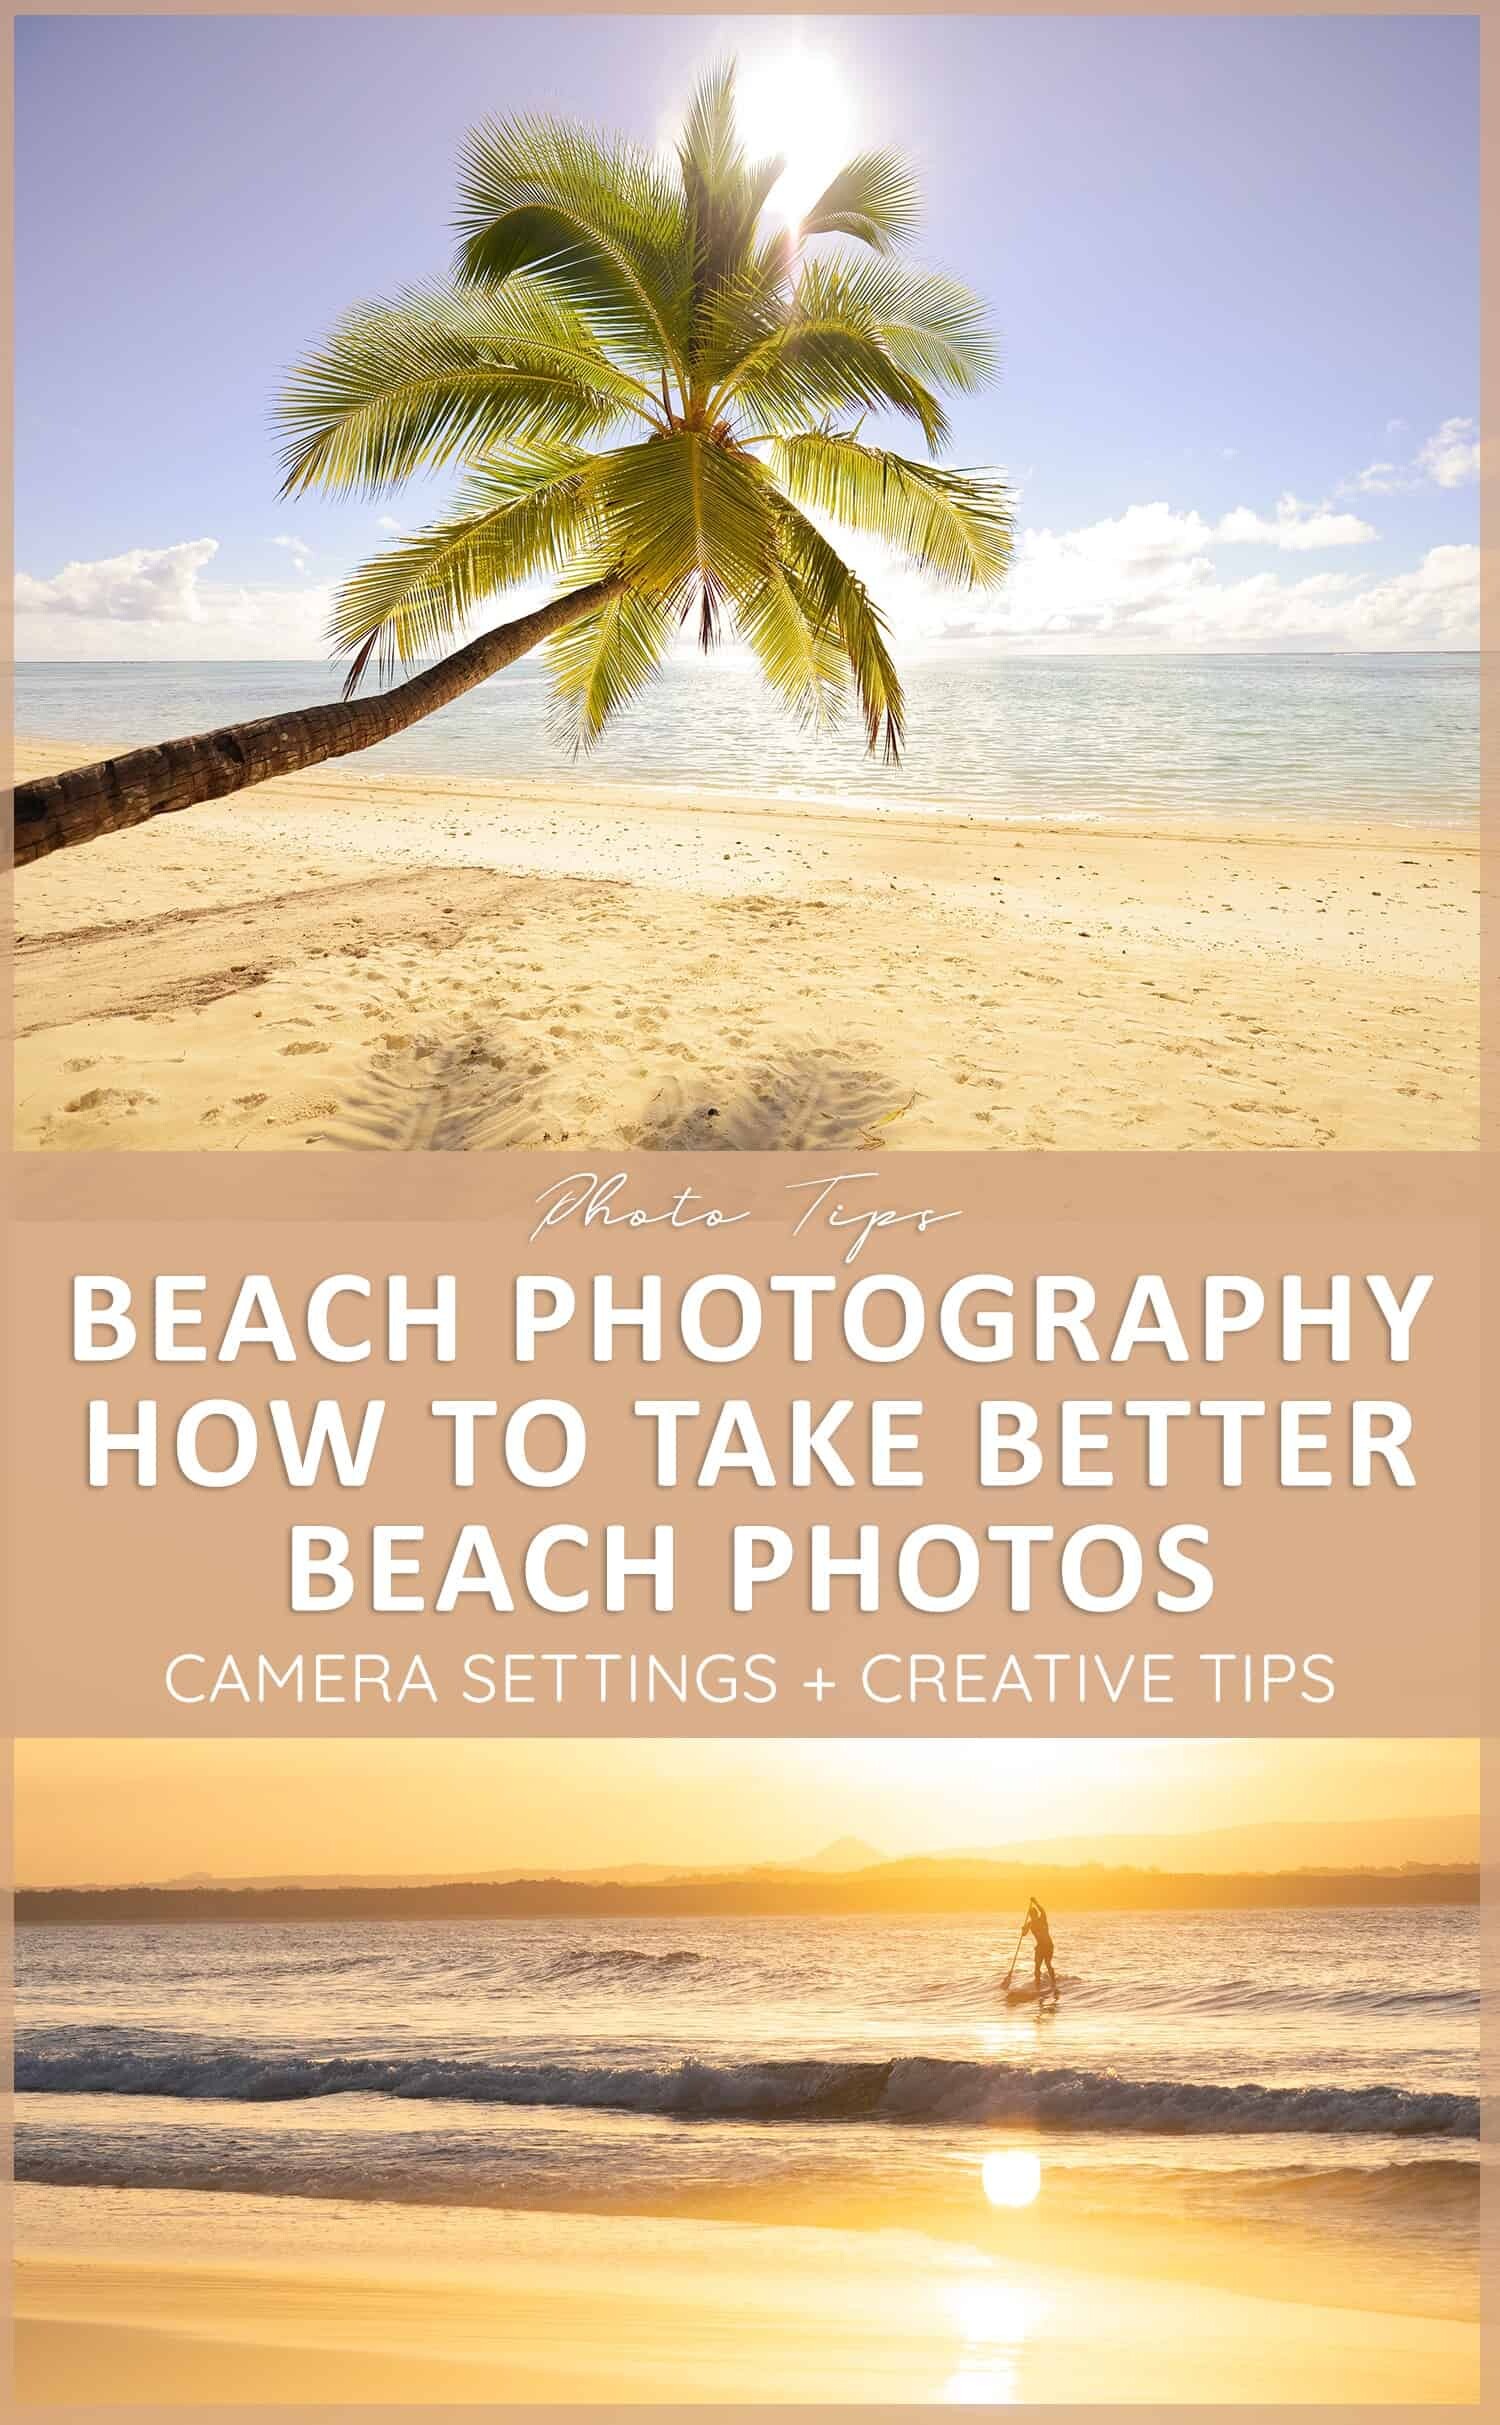
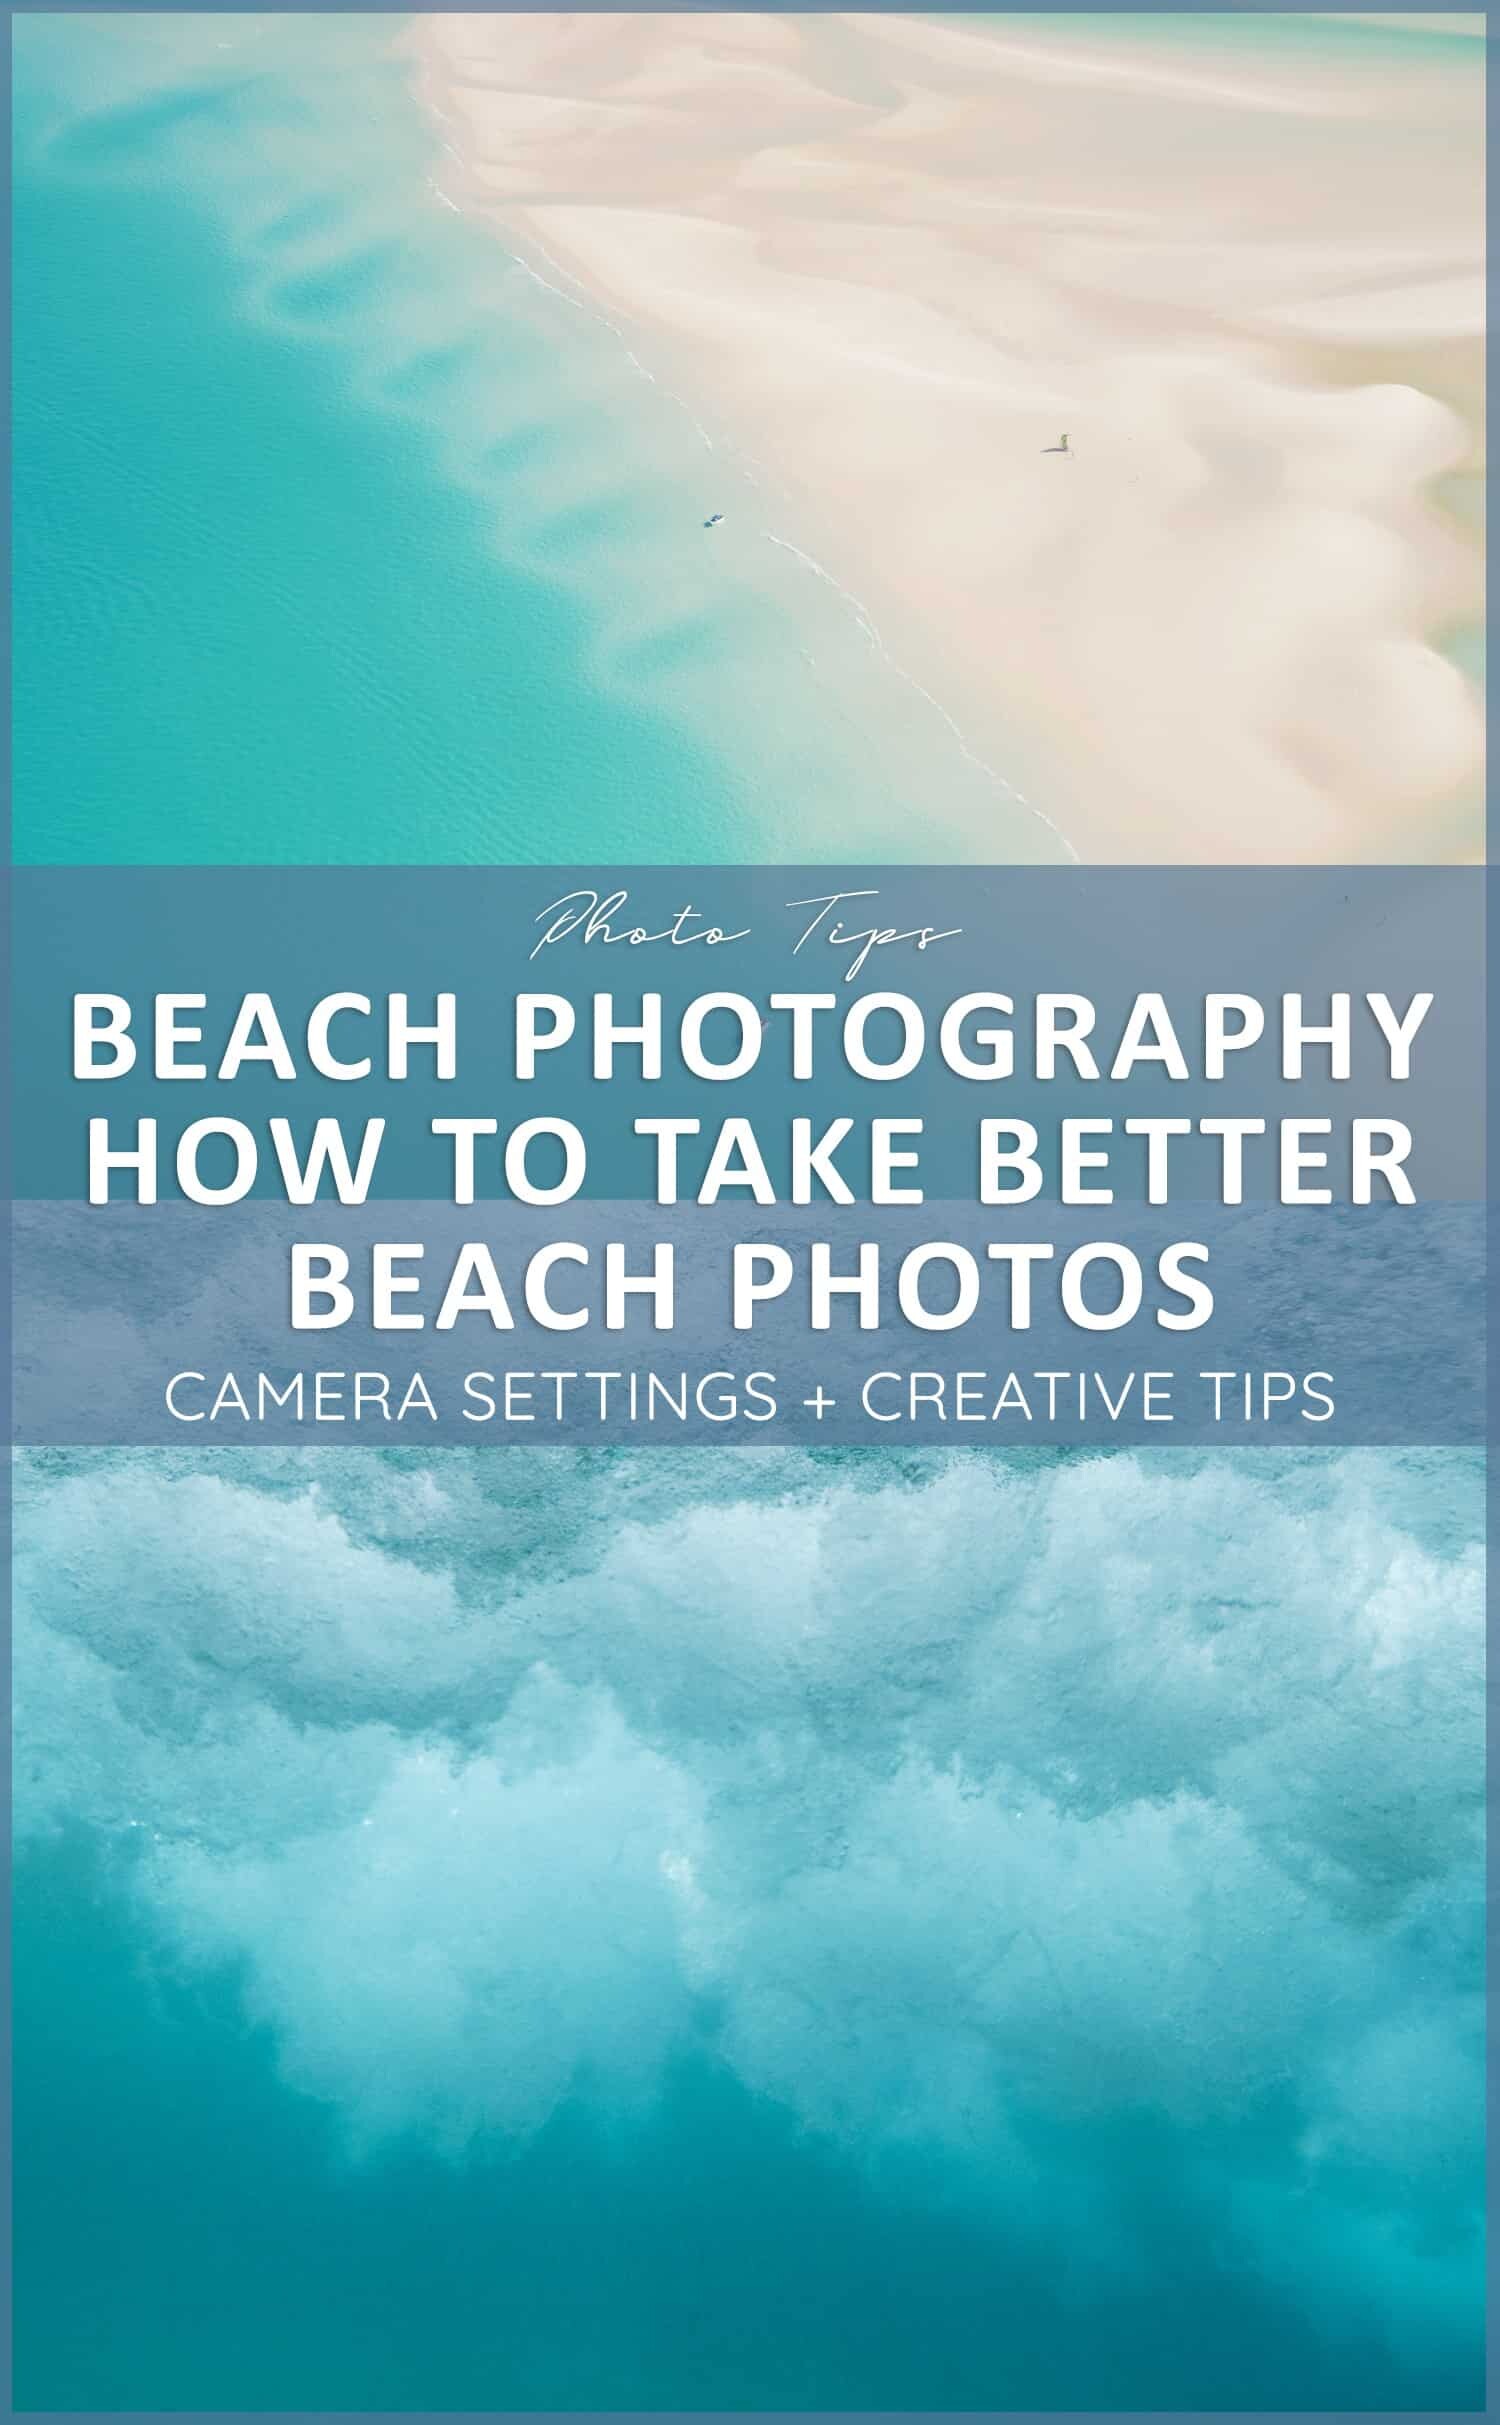
Beach Photography Tips
A quick guide to beach photos
It’s summer here in Australia and I’ve found myself at the beach every single day. Whether it’s to walk the dog, take a morning swim or photograph a beautiful sunset I find it so relaxing and a great place to test out new photography techniques.
Capturing beach landscapes sounds pretty easy but pointing your camera out to sea and hoping the settings are correct won’t create an amazing photograph. It’s all about reading the scene, knowing how to find the best light and composing a creative image to make your beach photo stand out from the millions of others taken this summer.
Below are some tips and techniques I use when photographing at the beach which I hope can help you create your own beautiful shots when summer comes around in your part of the world or when you escape to that exotic island you’ve been dreaming of.
Beach Photography Settings – Sun and the sand
During the middle of the day you’ll see the white sand and blue skies are shining but an incorrect setting on your camera could make that sand really glow and take away the vibrant colours of the sky and water. To avoid this take a quick test shot once you arrive to see how the scene is looking through your lens and then adjust as needed. Generally you’ll need a low ISO like 100 or if your camera allows it even lower, an aperture of f/4 along with an exposure of +0.3 just to ensure the image isn’t too dull.
Beach Photography Settings: Slow shutter – Make the waves dance
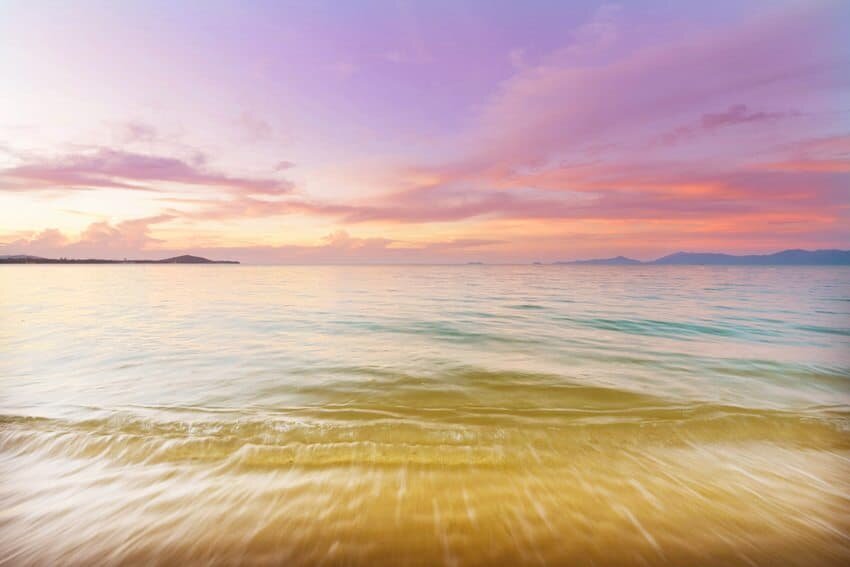
Beaches mean waves and water so what better place is there to practice your slow shutter shots!? Making waves blur, dance and glide through your photo will add an element of drama and intrigue turning a standard beach photo into a beautiful scene people will love staring at.
To create movement in the water you’ll need to drop your ISO down really low, increase your aperture to f/22 or the highest your camera will allow and then usually have your exposure set at +0.3 to ensure the waves are lit up a little bit but not too much that you’ll lose detail. The point of this is to keep your shutter open longer and give enough time for the waves to move through the image.
If you find the entire photo is blurry then it’s simply a matter of bring down the aperture to something more manageable like f/10 or increasing your ISO to around 200 or 400 depending on the time of day. There is no perfect setting it’s just a matter of finding what works best for you with the light you’re given on the day.
The best time to attempt the slow shutter shots is in low light so sunrise or sunset. I find the best colours are just after the sun has set in the afternoon when you still have enough light in the sky for the pinks and purples but it’s dark enough to make the waves blur beautifully.
With slow shutter shots it’s essential to stay really still so either take a tripod, learn to hold your breath (this is my technique) or balance your camera on the sand for a unique viewpoint.
Read more – Setting the Scene: Long Exposures + Water

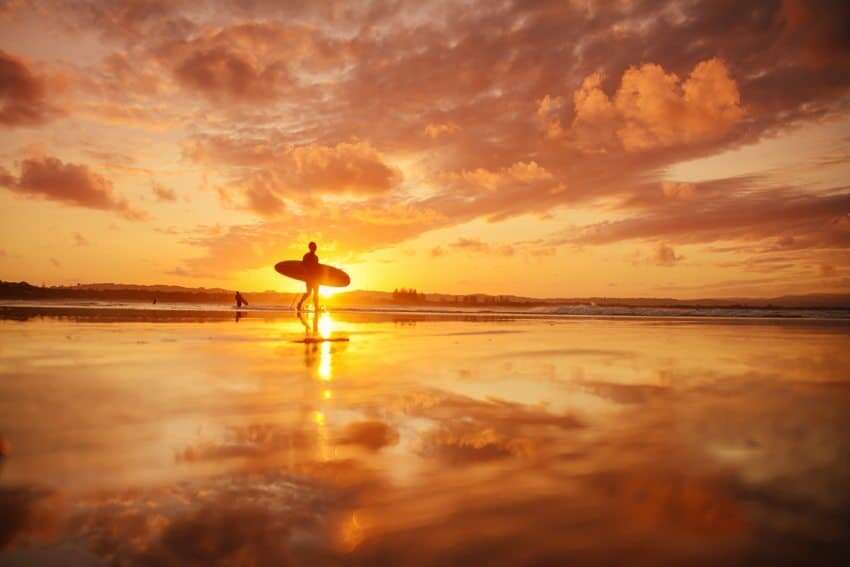
Beach Photography Tips – Reflections on wet sand
I love a good reflection shot and am on the endless hunt for the perfect mirror image of an incredible landscape. In the meantime though beaches are a great places to test out your reflection photography because when the water has just trickled over the sand it leaves a little shine which you can use as your mirror. If the water is super still then you can try this with any body of water such as a lake or pool but just after a wave has washed over the shoreline you’ll find about 2mm of water is left and this is what works great as a reflective surface. Create some fun by having a friend jumping a short distance away and you’ll find it reflects beautifully in the sand.
Read more – ‘Creative Photography Techniques to Try‘
Beach Photography Settings – White Balance
If you’re looking to add some warmth to your beach photo switch your White Balance to ‘cloudy’ mode which will create a beautiful warm tone to your image. This is particularly useful if you’re photographing the beach at sunrise or dusk when the colours in the sky and water are enhanced by changing your White Balance.
In the middle of the day it’s best to keep your White Balance on ‘sunny’ or even auto to keep the sand nice and white and the sea a beautiful rich blue.
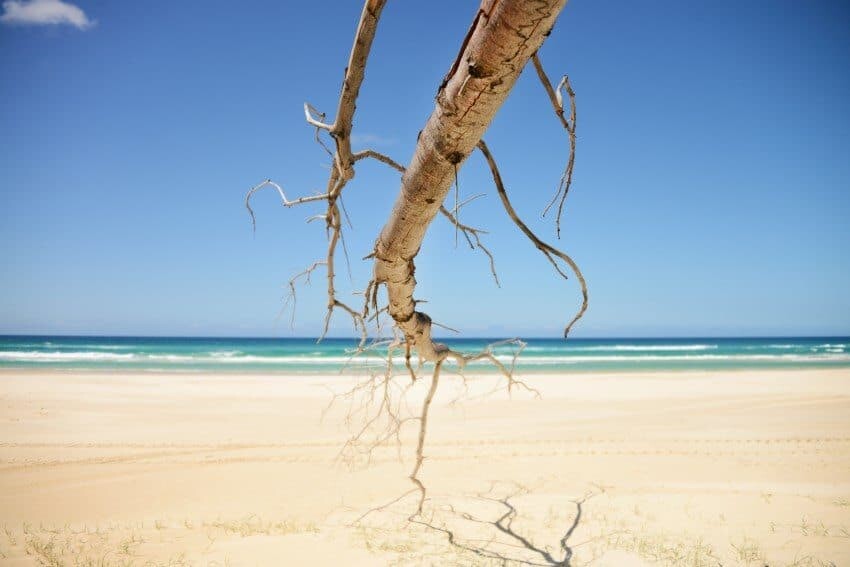
Beach Photos and Exposure
It can be fun to play around with exposure levels on the beach because the white sands can work as a reflective screen to the sun. As the sand lights up so will objects around or above meaning you can highlight trees or people just by adding a little extra exposure to your image. Typically I keep mine at around +0.7 when I have a subject in the frame and am always sure to point the subject toward the sun enabling maximum light.
Beach Photography Composition
Making a scene known around the world look different can be quite a challenge. Most photographs of the beach are taken looking straight out to the horizon with a little sand, a little water and a lot of sky so try and think outside the box to change it up. Lying on the sand can alter the perspective or focusing on the grainy patterns of sand can also make your shot a little more creative than the norm.
If you have some land, rocks or an island to focus on this will also work well to compose the scene by keeping the ocean horizon to the left or right of the image.
Keeping your composition quite minimal can produce some stunning results when capturing beach photos. Using the rule of thirds and placing your subject, the water or sand, in the lower portion of your frame can draw the view in and have them imagining they’re standing right there with you.
Read more – ‘A Quick Guide to Minimalist Photography’

Beach Photography Tips – Get wet
If you’ve been reading my blog it’s pretty obvious I love jumping in the ocean with my camera and I stand by it being one of the best ways to capture the beach! Being amongst the environment will allow you to photograph the beach in a new way adding the element of water into your shot. Grab yourself an underwater housing for your camera or even a waterproof case for your iPhone!
Underwater photography adds a refreshing take on beach photos so take a read of my guide to ‘Underwater photography for Beginners‘ or a more recent ‘Setting the Scene – Underwater Photography‘ to see if it could work for your photos.

Beach Photography Tips
Take a peek at this collection of 8 Beach Photos and how they were captured.
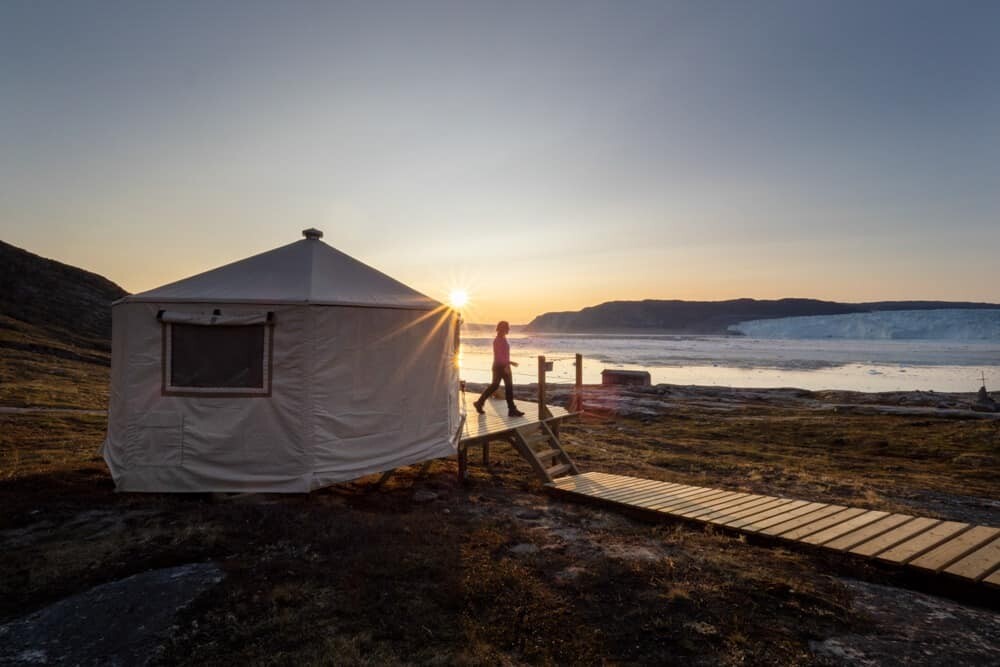
Timing
Depending on the result you wish to achieve, it’s crucial to select the best time of day to visit the beach for photography. Sunset is by far the most popular choice because you’ll get the glow of the sun dipping near the horizon along with the warm colours in the sky. For portrait photography mid-afternoon is a great time when you’ve still got the blue colours in the sky and ocean but the light isn’t as harsh as earlier in the day meaning your subjects won’t blink or squint as much.
Framing
This is almost the same as composition but framing can be even more creative. Look for paths that lead down to the beach which will make a great line of sight within a photograph. Trees can also be a great contrast to the sand and sea so incorporate them by placing the beach in the centre of the image and framing the rest with your chosen element.
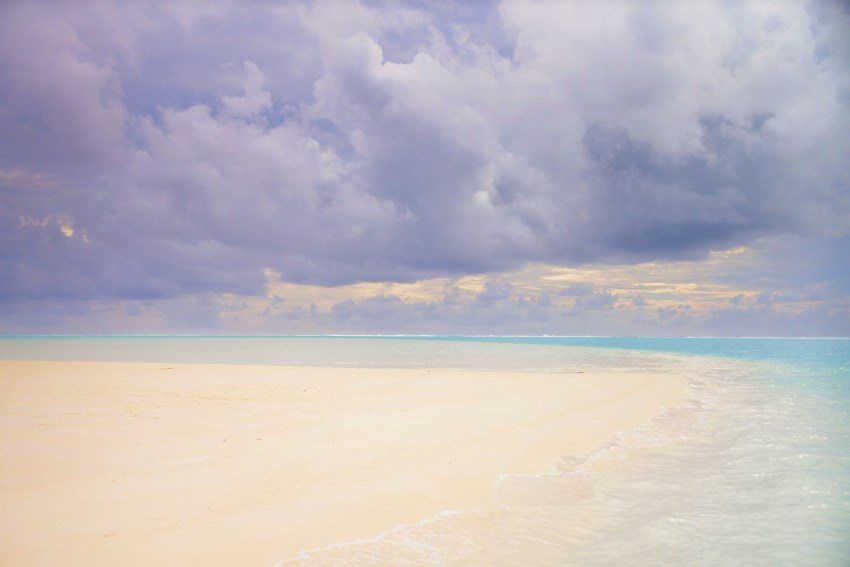
Work with clouds
If there are clouds in the sky don’t cancel your beach photo trip! Some of the best times to photograph at the beach are when there are big fluffy white clouds or giant storms approaching. Dramatic shots with dark grumpy clouds look incredible against the water which is usually glowing in contrast to the sky.
Do you want to Improve your Photography?
I’ve just released a new creative workbook bundle that includes four workbooks aimed at guiding you through the process of curating, composing and creating beautifully unique images. Take a peek at the includes and more information here.


Hello! I’m the founder and photographer behind The Wandering Lens.
With 19+yrs experience as a professional travel and landscape photographer, all advice found on this site is from my personal experience, or that of contributors, on the road. I hope it’s useful for your own travels and would love to hear in the comments about your trips and experiences around the world.

Blog Comments
Emma
January 15, 2015 at 6:58 pm
These are really useful tips thank you 🙂 They’re beautiful photos.
thewanderinglens
February 15, 2015 at 3:49 pm
Great to hear Emma! Have fun testing them out at the beach 🙂
Rachel
January 17, 2015 at 5:29 am
Gorgeous photos and amazing tips! I’ll make sure to utilize them once it finally warms up a bit to go to the beach!
thewanderinglens
February 15, 2015 at 3:50 pm
Enjoy utilizing the tips Rachel, hopefully it warms up soon for you!
Sismita
October 15, 2015 at 7:36 pm
Hi!
These are very wonderful tips and very beautiful pictures! I enjoyed reading the tips you gave because they are concise and clear. It seems very easy to follow the tips you gave out and I can see that you have many experiences with beach photography.
As a traveler who enjoys photography myself, I also relate to using the techniques you gave out in this post. I highly agree on some tips you gave such as timing and composition. I think it will defeat the point of a beach when we visit it during a bad weather, so timing and composition is very important to consider.
Other than those tips, I think there is also one more thing that photography in any form relies on heavily, which is a moment. If a moment is captured precisely, I think it would make the photograph even more beautiful than just mere composition and right lighting. What do you think about this? Do you agree or do you think it is not as vital?
Thanks!
Cheers,
Sismita
thewanderinglens
October 25, 2015 at 9:57 pm
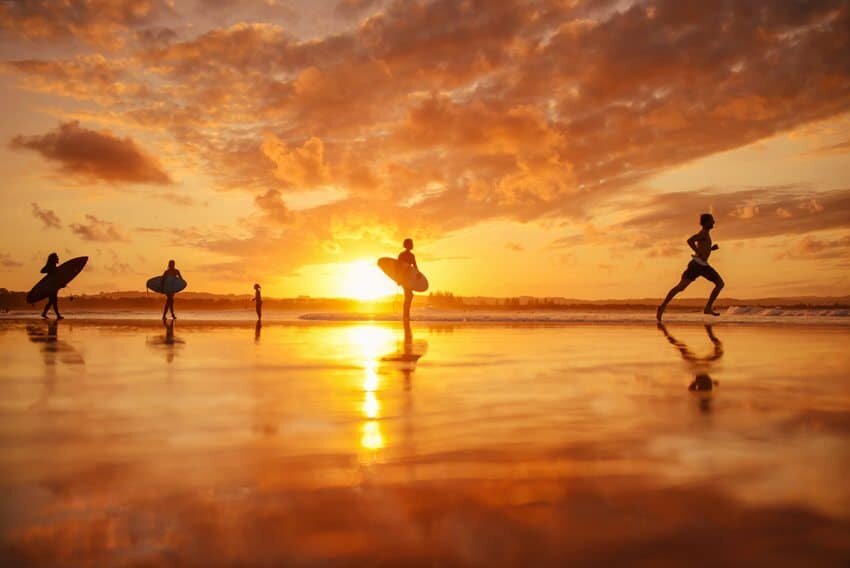
Hi Sismita, thanks for your comment!
I absolutely agree, being able to capture a moment is crucial in photography, whether that moment is dolphins jumping at sunset or someone running along the beach. If you’re hoping to capture a scene with a unique image then being prepared for the unexpected is the best way to go about it. Reacting quickly with the correct settings, light and composition usually results in a beautiful photo.
Pauline
July 29, 2020 at 1:56 pm
I have enjoyed reading your post and picked up some great ideas. Thank you for sharing.
Nelson
April 21, 2021 at 4:36 am
wow it is an amazing article.
Dell Fotografia Online
July 1, 2021 at 1:30 am
Would you recommend prime lens or zoom lens to capture great beach images? I heard fisheye lens could be an option as well.
Lisa Michele Burns
July 1, 2021 at 10:47 am
The fisheye lens can offer a little distortion so if you’re after the details of a beach scene I’d opt for a zoom lens. If however you’re after a striking wide-angle image of the entire beach scene, then a wide-angle lens will suit best.