
Creative Photography Techniques – For Beginners to Advanced!
Creative photography techniques aren’t only for professionals or advanced photographers, anyone can get started by learning a few nifty little tricks to improve your photography.
Your camera should be a tool that helps you create images without restriction. When you come up with that cool concept, develop a creative idea and want to get out to capture it, it’s great to know your camera is capable! If you’re all about using water in your images, make sure your camera has the appropriate weather sealing, grab a little tough camera or invest in an underwater housing.
Otherwise, if you’re keen to try things like reflections, bokeh and backlit subjects as mentioned in this article, you can use just about any camera you want to give it a go. When getting creative with photography, there really are no limits, it’s all about what you can dream up and make happen.
So let’s get going!
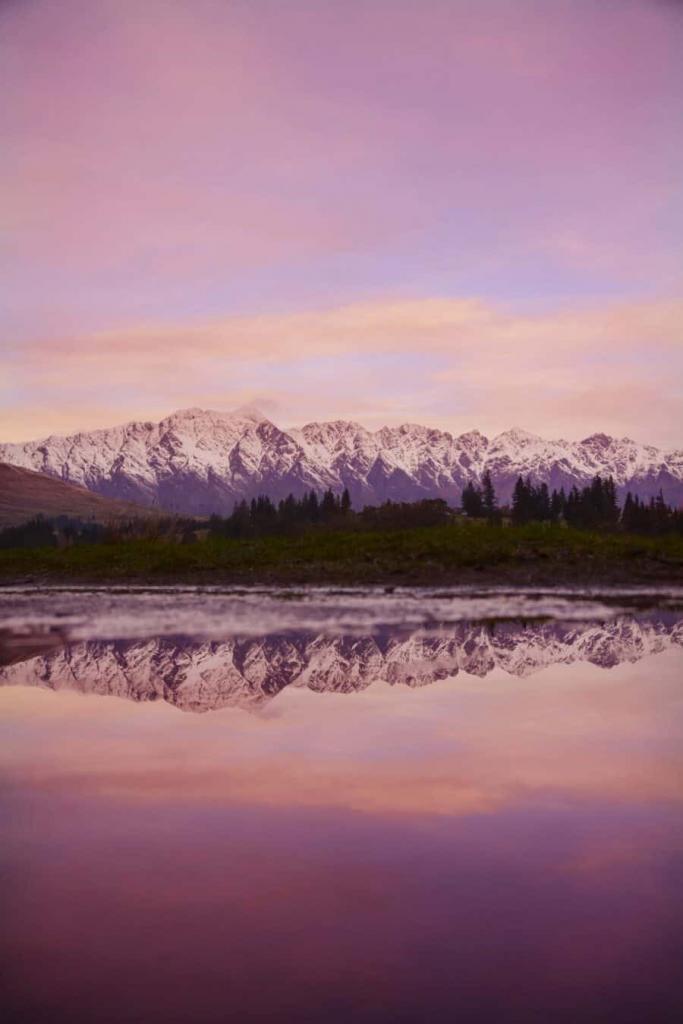
#1 Reflections
A favourite amongst landscape photographers, reflections are hard to stop seeing once you discover them. Still lakes, shiny surfaces, windows, puddles, they’re kind of everywhere once you delve a little deeper into a scene and really seek them out.
To photograph reflections in still water, try to get as low as possible to the water level to maximize the result. I shoot with the Olympus E-M1X and E-M1 MKIII which both have amazing weather proofing and enable me to get so close that sometimes I accidentally dip them in!
Once you get lower to the water level you’ll start to see the reflection growing in size and can adjust your composition to suit. Photographing in a portrait orientation can extend the reflection even further!
If you can’t find a reflection, create your own with some water and make a small puddle to reflect the scene! Read more about how I create reflections using my phone screen here.
#2 Long Exposures
Creating movement within the frame is one of the best ways to get creative with your photography. Whether it’s water, traffic, clouds or crowds, long exposures help to highlight the flow of motion.
When starting out with long exposures, water can be the best subject to focus on, especially if you’re close to the coast. Waves are continuously breaking on the shore, giving you plenty of opportunities to try and try again to perfect the long exposure technique.
Learning how to use your camera to capture long exposures is about setting the shutter speed, aperture and ISO to all work together and produce the image you’re after.
You may only want a little bit of movement, in which case you would opt for a shutter speed of about 1/50sec, or you may want a lot of movement and opt to keep your shutter open for 5-10seconds. These settings can be achieved by photographing in manual mode or in shutter priority and aperture mode also.
Want to learn more? Take a peek at my new eBook ‘SETTINGS: Your Guide to Camera Settings For Landscape Photography‘
Light plays a bit part in long exposures, I love photographing dusk when you still have beautiful pastel colours in the sky and can capture slow moving waves on the shoreline.

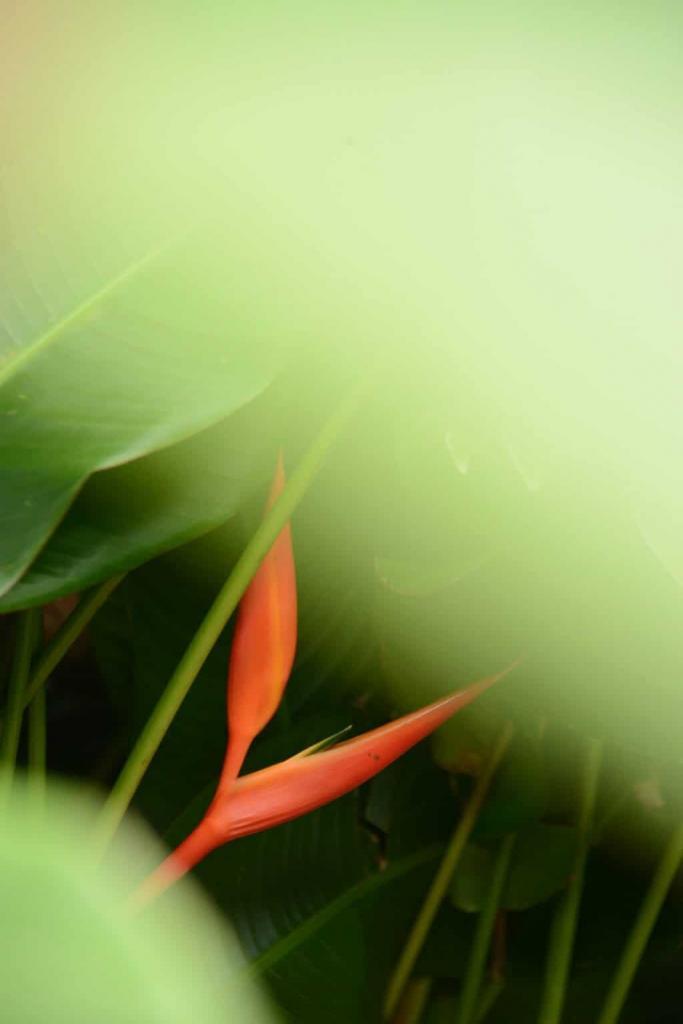
#3 Bokeh
You know those gorgeous, blurry backgrounds you see in portraits and detail shots? That’s bokeh and damn it’s beautiful and fun to play with!
Ideal for using while photographing subjects up close, bokeh is created by selecting a wide aperture. Prime lenses like the Olympus 25mm f1.2 that I use are known to produce the best bokeh but I’ve also found that simply shooting at f2.8 on any of my M.Zuiko pro lenses also does the trick nicely. It’s all about keeping your aperture nice and wide, focusing on your subject and placing them with a background that pops with a bit of bokeh.
Bold, colourful backgrounds work great along with gardens and greenery, lit areas and light bulbs or street scenes. You won’t get much bokeh when shooting against a white sky as the tones will wash it out.

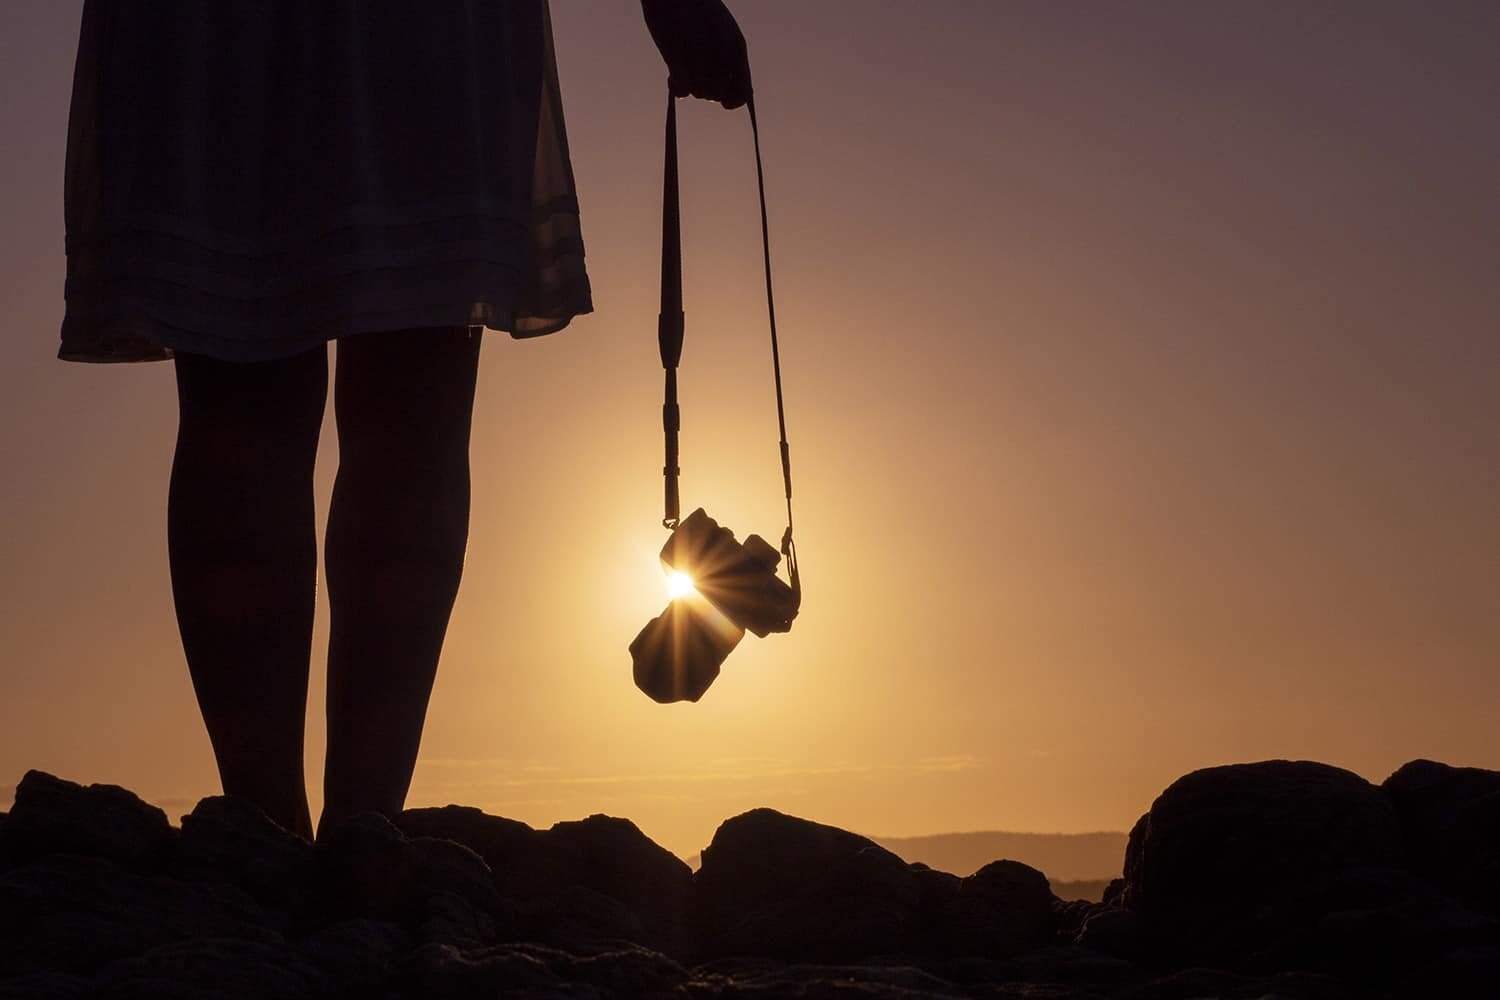
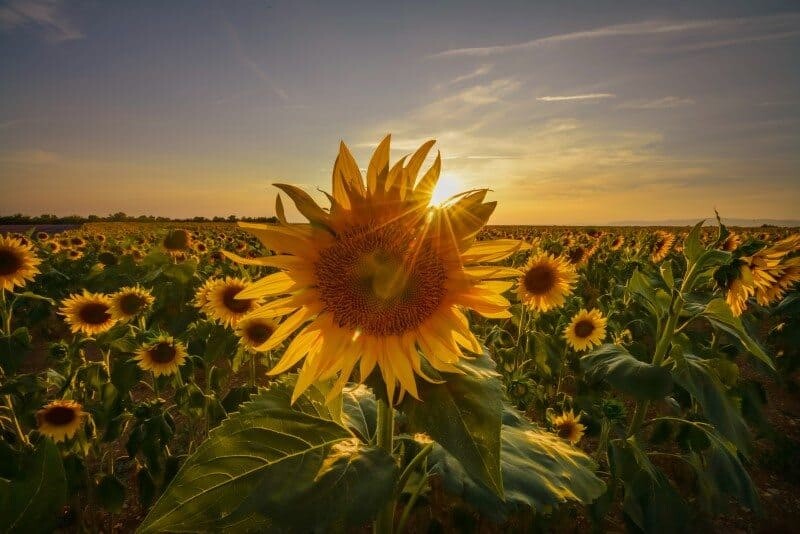
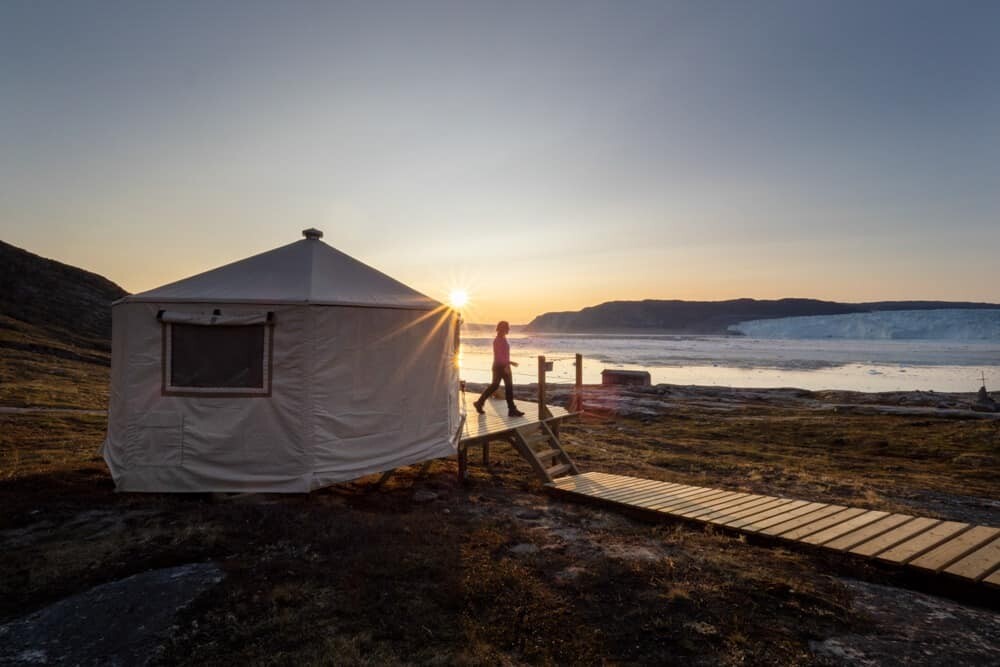
A fun way to add some pop to your images, sun stars are a simple technique that can be created quite easily once you know how!
Of course you’ll need the sun present and it’s even better if the sun isn’t too harsh but is also not hazy or dull in anyway. Afternoon glow works best and if you can find a subject to compose within your image, line up the sun so it’s just touching the edge of your subject, set your aperture to f/14 or higher and watch the star appear through your lens.
Basically magic.
For more details on this technique, read more here – ‘How to Create Sun Stars’
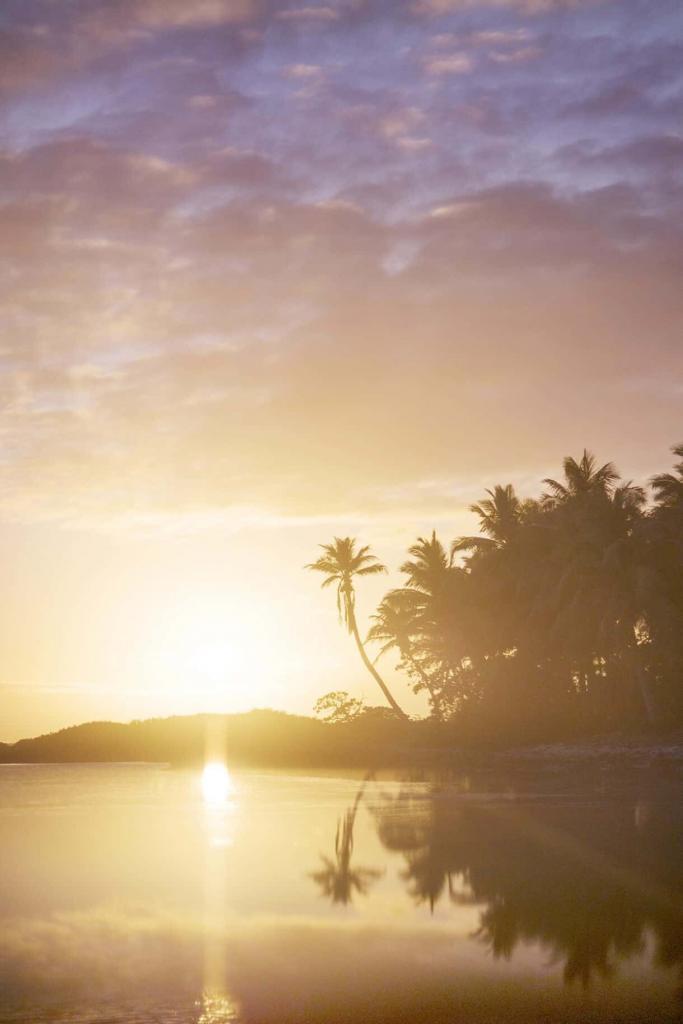
#5 Sun Flare/Glow
Lens hoods are created to stop flare from occurring but you know what? I love it. Bring on the flarey goodness!
Photographing into the sun is typically frowned upon in traditional photography but as we all know, rules are made to be broken and a little bit of flare can add something fancy to your image.
I’ve seen videographers produce footage while actually filming with the lens off, keeping it close to the camera to add a white light flare to the frame.
For a soft sun flare that adds a glowy effect, use a wide aperture like f2.8-f/5.6 and watch as the sun is softened in your frame. Alternatively as I mentioned above, switch it up to f/14 to make the flare stronger and sharper into a star.
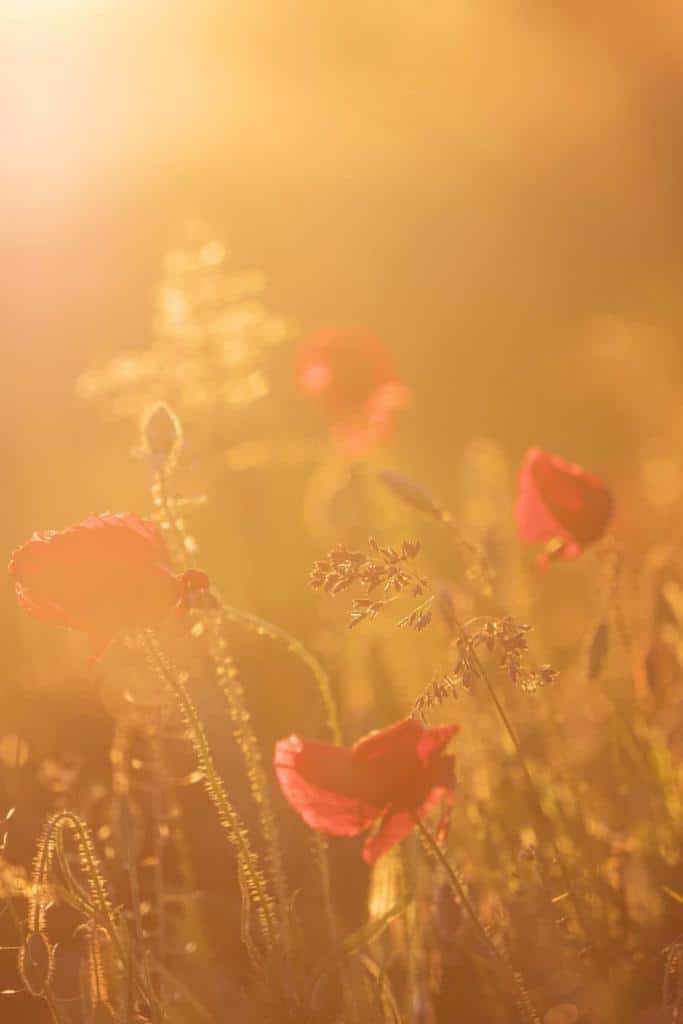
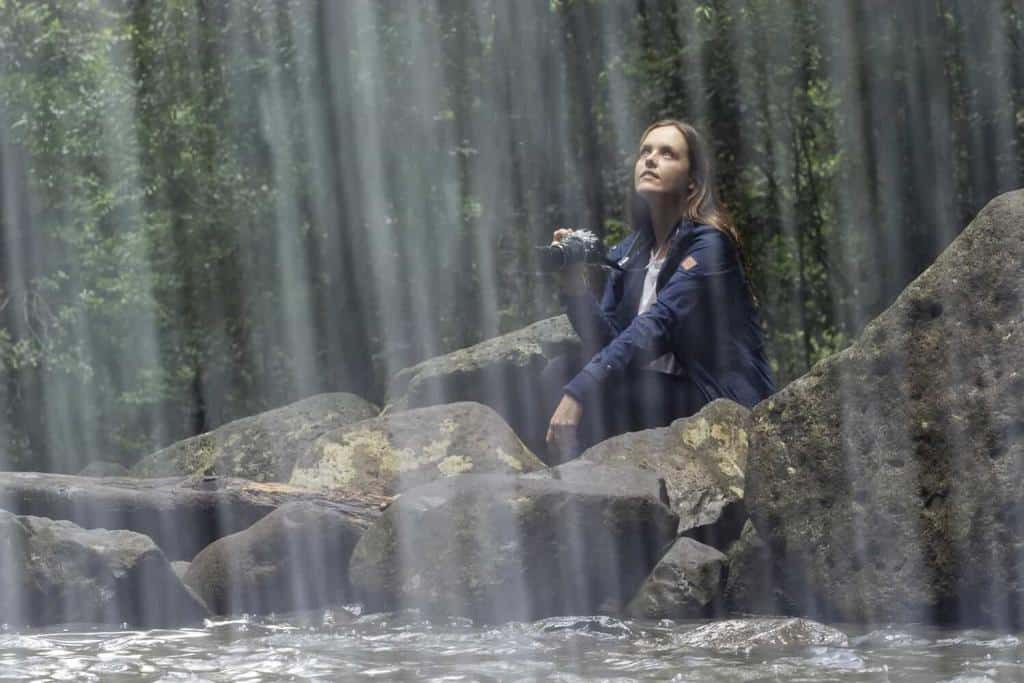
#6 Backlit subjects
Another rule breaker tip, photographing your subjects with the sun behind them is a great way to produce a beautiful image. Set your camera to expose the sky and surroundings then watch as your subject is illuminated from behind of the light is strong enough. Afternoon glow is particularly worth trying if capturing portraits as you won’t have the harsh light directly on someone’s face!
For travel and landscape scenes, a backlit skyline or iconic sight can be photographed as a silhouette or if you focus on the edge of your subject when shooting in aperture priority mode, watch as the scene adjust in your camera to compensate. I love focusing just on the connection between sky and subject in order to ensure I’ve got enough detail to work with later in post processing.
Having your sky too overexposed or your subject too underexposed will ruin any chances you have of recording detail later. Always expose to ensure you can see the visible details a within the scene, even better if you’re photographing in RAW format.
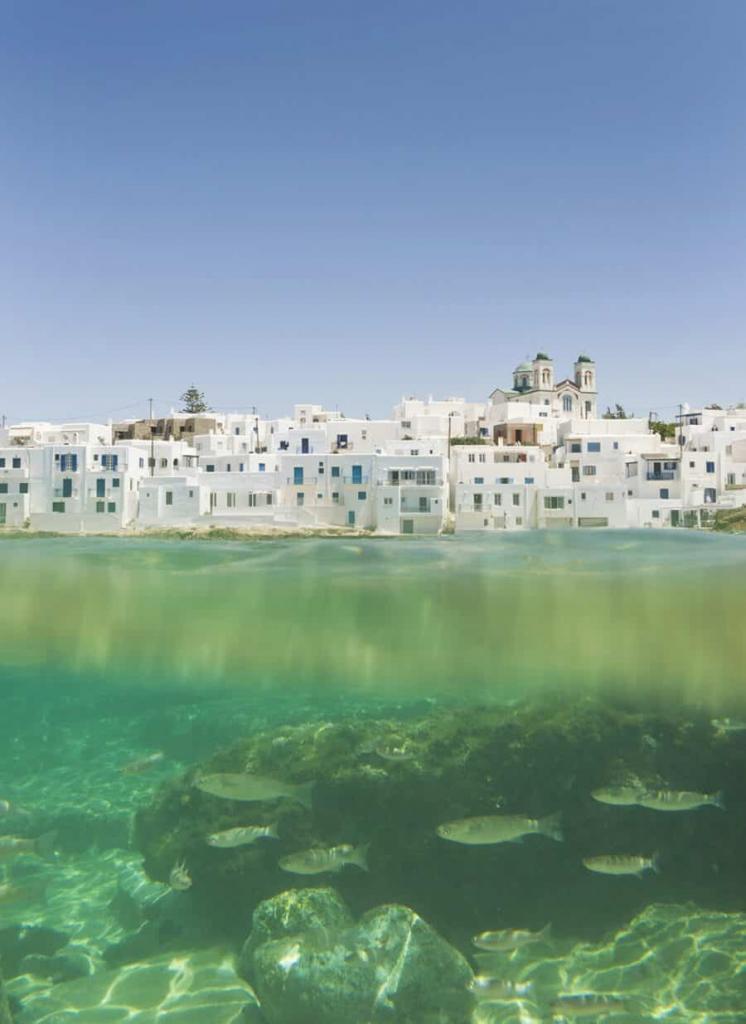
#7 Using Water
A natural element that can add so much variety, drama and motion into your work, water is something I LOVE to include within my work.
I’m not just talking about the ocean or natural bodies of water, you can add water by creating puddles as I mentioned above, splashing it towards the lens for a cool effect (check your camera is weather proof like mine first!), or a scene with possible my favourite technique ever, split-level photography.
Split-level photography is all about capturing above and below the water level in a single frame, essentially “goggle views” when you float on the surface and see both worlds at once.
When you’re starting out, it’s best to try when swimming in calm bodies of water so you can play around with not only the best camera settings but can spend time getting comfortable in the water with your camera. Floating and photographing sounds super easy but it’s actually tricky to get everything spot on and also remembering you can’t breathe underwater!
If you’re serious about getting creative with your photography, The 3-Week Composition Reset short course is a great way to boost your photographic eye and refresh your approach to taking photos.

Hello! I’m the founder and photographer behind The Wandering Lens.
With 19+yrs experience as a professional travel and landscape photographer, all advice found on this site is from my personal experience, or that of contributors, on the road. I hope it’s useful for your own travels and would love to hear in the comments about your trips and experiences around the world.

Blog Comments
Lauren Martin
May 7, 2021 at 12:40 pm
Awesome post. There’s always something new to learn with photography and that’s what I love about it. Thank you for sharing these techniques.
Jay P.
June 2, 2021 at 12:03 am
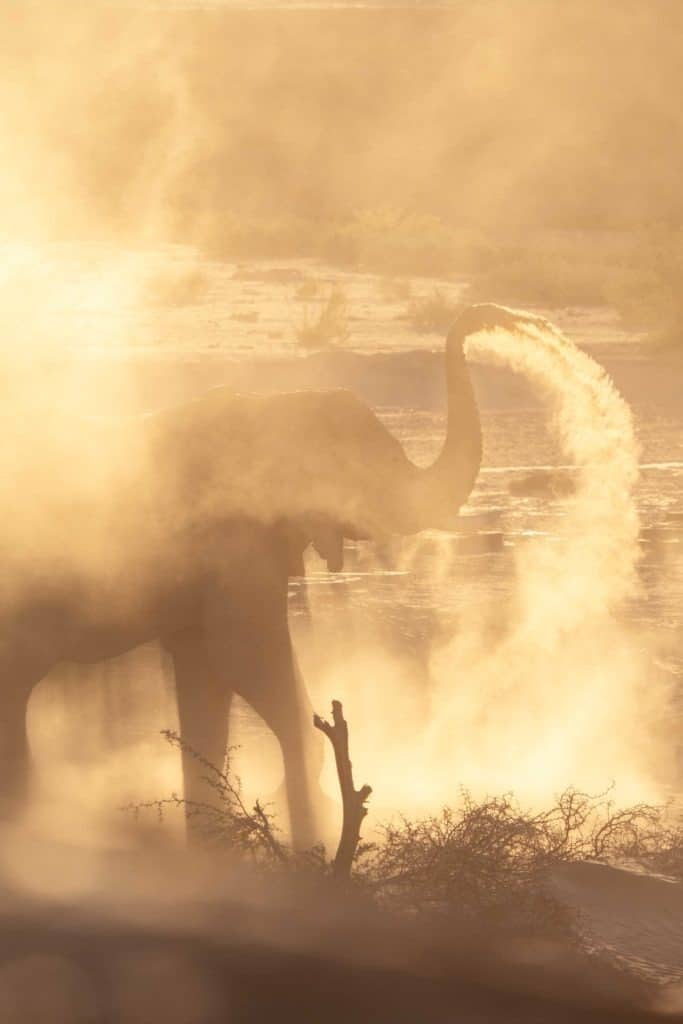
Wow, it’s obvious you practice what you preach. You seem very informed and experienced on these techniques you listed. I especially love the picture of the elephant bathing itself towards the end of the article. Very nice!