
Underwater photography is a great creative outlet whether you’re looking to take professional shots or just have fun in the water!
The beautiful movement of the waves and water is one thing, you’ve also got the underwater world of marine life, coral reefs and swimming subjects to focus on in order to take your shots to the next level.
If you’re heading away on holidays somewhere tropical and have packed a waterproof camera, these tips are for you. They’re also for anyone interested in testing out underwater photography in the hope of developing their skills and perhaps advance to a housing for their camera.
Below are five simple steps to get you started with underwater photography. While the first one may seem super obvious, definitely don’t skip it in the hope that once you’re in the water everything will work out. It pays off to be prepared and know what you are doing in the water.
#1 Jump In
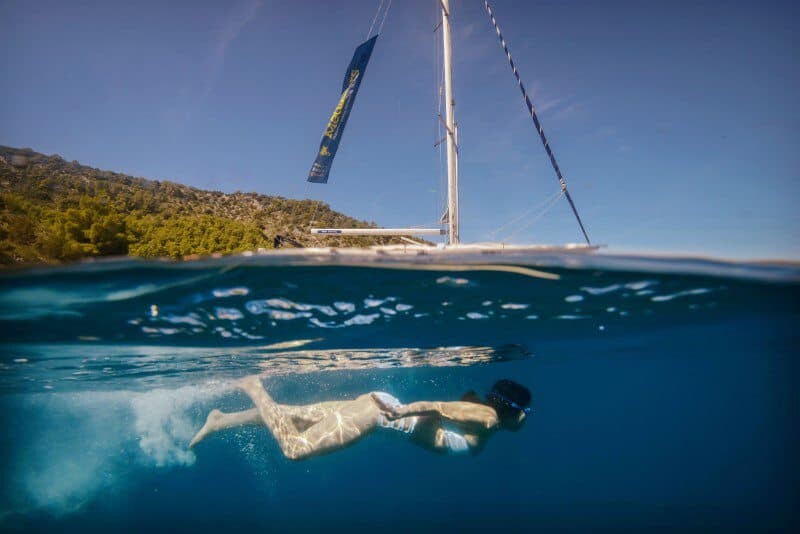
Being comfortable in the water is an obvious but necessary step toward taking underwater photos. The more aware you are of the underwater environment, the less focused you’ll be on holding your breath or worrying about the waves being too big. Once you’re comfortable swimming, snorkelling or even just know more about the tides, rips, wave movements etc the better your images will turn out. It’s worth putting in the effort to learn about the environment you’ll be photographing in, for your personal safety and also because it will help you create photo opportunities.
#2 Which Camera?
If you’re just starting out underwater, you don’t really need the biggest and best camera available. Start small and see how you like it because underwater housings can be quite an investment! There are loads of options available that will allow you to snap away and practice your skills.
Recently I’ve been travelling with a little Olympus TG 5 (there’s a new version available the TG 6) which is a waterproof, shock proof and freeze proof digital camera that has interchangeable lenses and attachments. I didn’t believe at first that with the different lenses it would be completely waterproof but after taking it to Croatia and swimming everyday it most surely proved itself and the high quality files are clear in both RAW and JPEG formats. I can’t recommend this camera highly enough and even starting carrying it in my handbag so I can take photos in fountains and puddles around the city too! (Don’t laugh, you’ll get addicted to water photography too!). GoPro’s are of course the original choice for extreme sports and action however to develop your photography skills underwater it’s best to start with a camera where you can adjust and learn about the settings and focal points.
If you’re eventually looking to upgrade to an underwater housing for your larger camera, I use the Olympus systems which pair uniquely with each camera model. Currently I shoot with the Olympus OM-D E-M1 MKII + the PT EP-14 underwater housing which lines up perfectly with every button on the camera. You’ll find brands like Ikelite and Aquatech provide underwater housings for other cameras like Canon, Nikon, Sony etc but always try and either test or read reviews first to ensure the housing will match your exact camera model perfectly…there’s nothing worse than a bad fit underwater!
#3 Find Clear & Calm Water
If you’re looking to capture scenes underwater, water clarity is very important. Be sure to check the tides where you’re shooting, high tide is typically better as more water results in clearer conditions. Avoid areas around river mouths because you’ll find a lot of sand and sediments will be swirling around making the water cloudy.
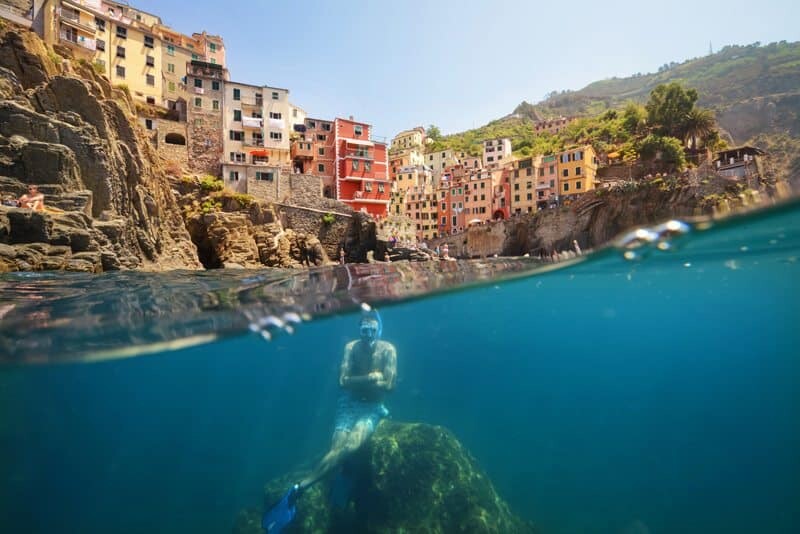
Should your only option be water that’s not clear, you can still take photos it will just be a matter of getting creative or working with the best sunlight possible, between 10am-12pm. When the water isn’t super clear you can always lower your aperture to blur the water and use it as a colour base for a split-level image rather than a sharp focus point.
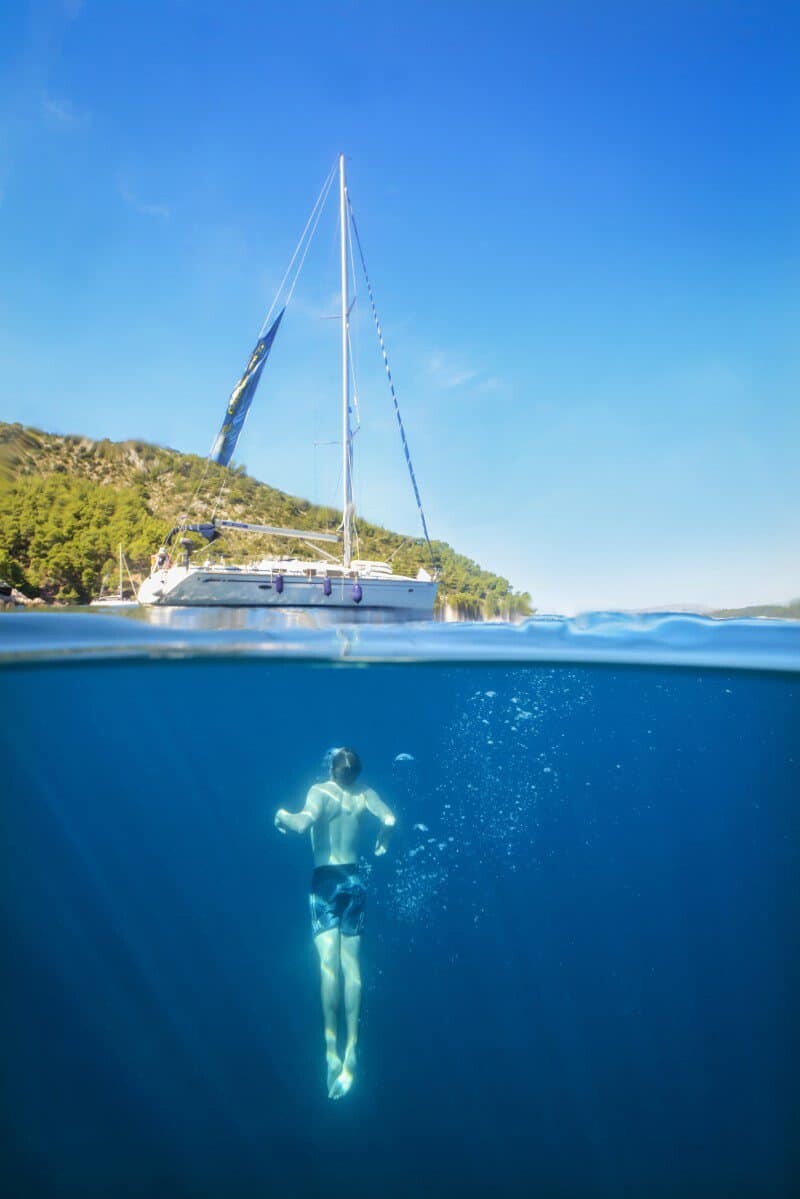
#4 Grab a Mermaid or Find Fish
Having a subject underwater will help you learn how to time your shots to capture each image. Ask a friend to swim for you (and be patient) while you test your settings and take photo after photo. Don’t be surprised if it takes numerous shots to get it right, the water has a way of taking what may be perfect timing above water and turning it upside down.
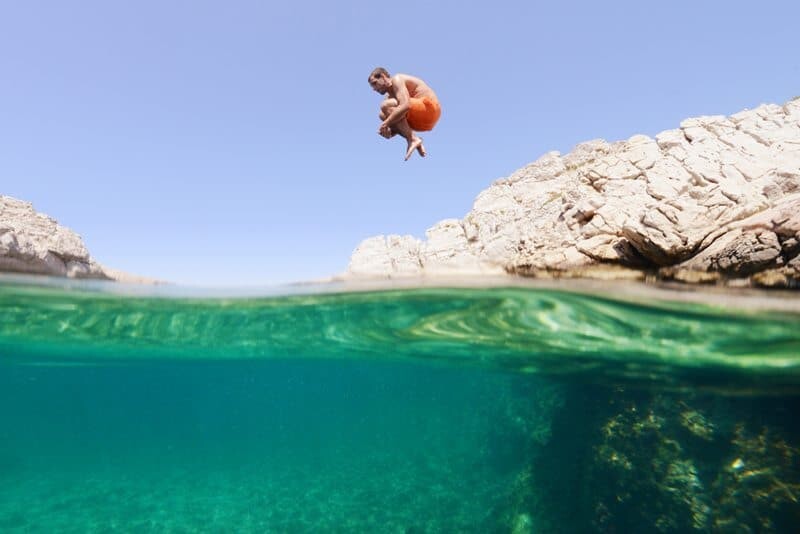
To start out, it can be easier to let your subject dive under first and then you follow. The best shot is usually once they’re floating back to the surface so it’s a matter of finding when it works for you to capture this. If you can hold your breath, staying under longer will allow you to capture more shots but again, only do this if you’re comfortable underwater.
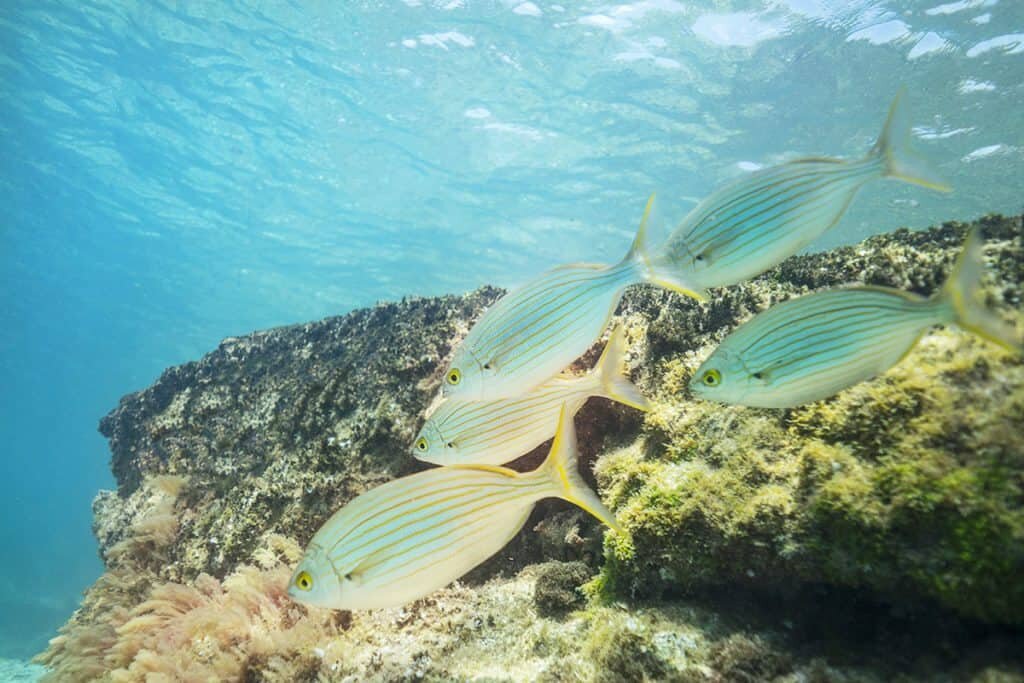
If you just want to float around and see what you find, try to look for a beach where there are rocks or marine life underwater for you to focus on. Fish won’t judge you so if you can swim fast enough to catch them, they’ll let you take as many photos as you want!
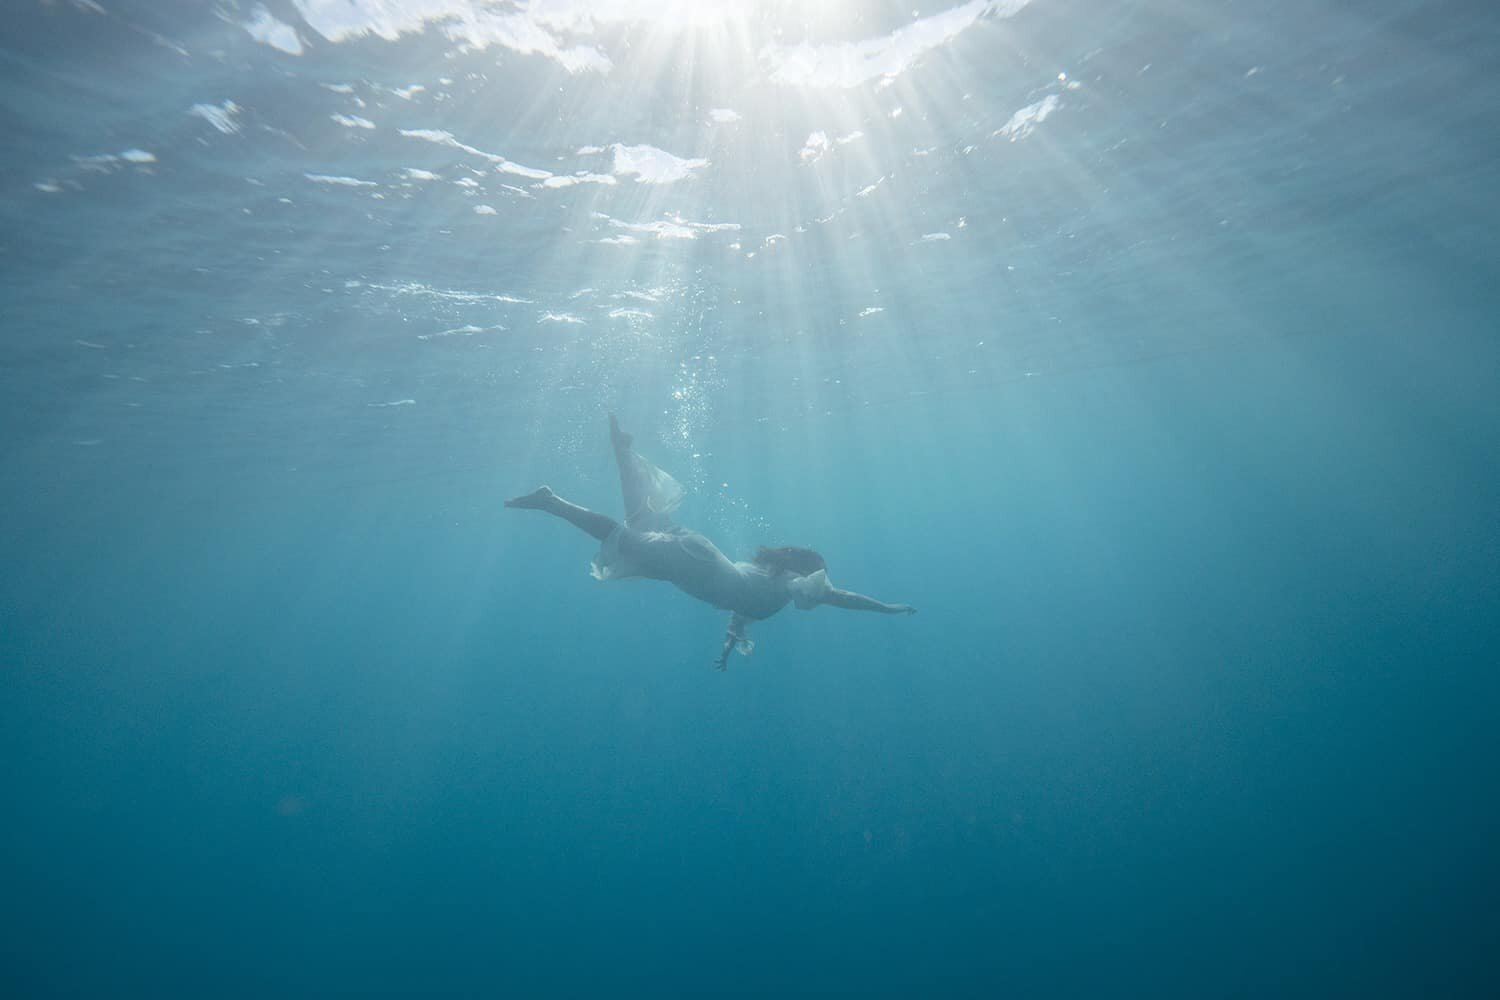
#5 Learn about Light and Camera Settings for the Underwater World
Sunlight will enhance your photos and improve the skin tones of anyone in the shot. If the water is dark and deep, be sure to stay near the surface to let the light brighten up your subject.

To start out, my tried and tested settings are below. You’ll find these may not work in all environments so play around from this starting point to see what works best for you.
White Balance – Daylight Mode or Auto tend to work best underwater to keep the blue hues nice and well, blue. Using cloudy or most other modes will result in orange or pink hues that will change the entire vibe of your watery image.
ISO – Try to keep your ISO as low as possible to avoid noise creeping into your images. If you’ve got plenty of sunlight, an ISO of 100 or 200 should work really well, if it’s deep, dark or cloudy, increase the ISO as you see fit. The higher your ISO the more noise there will be in your image if you’re using a small digital camera. Once you’re using your DSLR in an underwater housing, you should be able to ramp it up to 1600 without any problems.
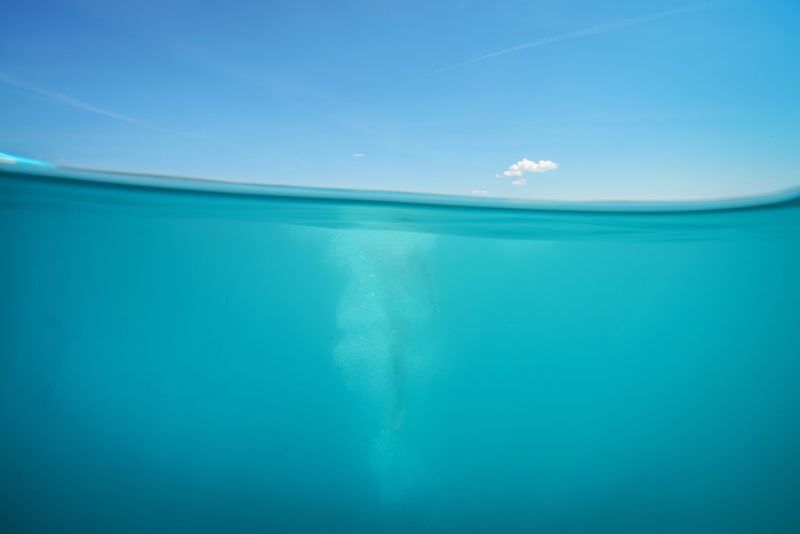
Aperture – Shooting with your aperture set between f/8 – f/16 will allow your photo to be nice and sharp above and below the water. For split-level landscapes I keep my camera set on f/16 however this usually means I need to increase my ISO to about 1000 to ensure the image is nice and clear. To achieve the blurred effect in the water, drop your aperture to as low as it will go, f/2.8 – f/6 and you’ll see the water level blur if you focus above.
Focus – If your camera gives you the option, keep this in single subject mode which will let you focus on your friend or fish by holding the shutter button half down before composing the image.
Some cameras, like the Nikon AW1 offer an ‘Underwater’ mode, definitely give it a go as most times these are programmed with the ideal settings for your particular camera model. However, should you find the photos aren’t looking how you’d like, don’t be afraid to switch back to Manual or Aperture mode and adjust the settings yourself.
To read more about underwater split-level landscape photography, check out my post here.
As always, I love to see shots from readers all around the world so if you’re attempting underwater photography use the hashtag #thewanderinglens on Instagram so I can check it out!

Hello! I’m the founder and photographer behind The Wandering Lens.
With 19+yrs experience as a professional travel and landscape photographer, all advice found on this site is from my personal experience, or that of contributors, on the road. I hope it’s useful for your own travels and would love to hear in the comments about your trips and experiences around the world.
Blog Comments
Cheryl
January 6, 2016 at 10:15 pm
Thank you for the great advice… I’ve seen your pics on instagram and always wanted to try the split level underwater shot. Now I’ve got some great tips I’ll have to give it a try!
thewanderinglens
January 9, 2016 at 5:19 am
Hi Cheryl, great to hear you’ll be giving it a go! I stand by my warning that once you start, you’ll never walk a water source again without considering it’s photo potential 🙂
Sarah Shumate
January 7, 2016 at 1:38 am
I want to try this so bad! Now I just need to find some water! Trafalgar Square fountains, here I come! 😉
thewanderinglens
January 9, 2016 at 5:18 am
Haha do it! Preferably with a snorkel to go one step further than my attempt.
Carissa
January 15, 2016 at 12:21 pm
im so happy to discover your blog since im fond of photography myself. ive always wanted to try the split level shots. how do you do it?
http://carissainez.com
thewanderinglens
January 18, 2016 at 3:24 am
Hi Carissa, the split-level shots are really fun to try! You’ll find an article I wrote about how to achieve them here – http://www.thewanderinglens.com/underwater-photography-how-to-take-split-landscape-photos/
Sasha
May 6, 2016 at 8:08 pm
Fab tips and fab photos. Thank you!
Sophie Richards
March 23, 2021 at 12:38 am
Thanks for all these tips, I’m just starting out with underwater photography, and every little bit of advice helps. I found your advice about trying in specific times, the most helpful in the list!
Sonja Knight
May 8, 2021 at 8:19 pm
Some of our clients would love to capture their photos underground while having some fun. The best bet I like from your tips is the #4, that’s a unique idea!