
Aerial Photography Tips, Camera Settings + Gear Advice
Capturing an alternate perspective of a scene is always exciting, perhaps never more so than when taking aerial photos. With the world beneath and a never ending canvas of potential shots waiting, aerial photography is a thrilling way to take landscape photos.
You can be in a helicopter, seaplane, small plane, hot air balloon…the list goes on, whatever your aircraft of choice is, more often than not, the process of taking a great aerial image is the same.
In this months ‘Setting the Scene’, I want to share a little about how I capture aerial photographs and list some of the best lenses, settings and creative tips to use for your next aerial attempt.
If you’ve never photographed aerials before it can be a little intimidating at first because you’ve got limited time in the sky, it’s usually a bit of a splurge and with the movement and distance, can be tricky to know what to set your camera at to get optimal results. But fear not, once you land you’ll be wanting to do it over and over again!
Aerial Photography – When is the best time?
Now obviously this depends on what you’re hoping to photograph but in most cases, you’ll need to consult with the pilot in terms of the best light. You can do some prior research yourself dependent on your location, but usually a pilot is the best person to ask because they’ll have seen the landscape and recommend on a time based on your requirements.
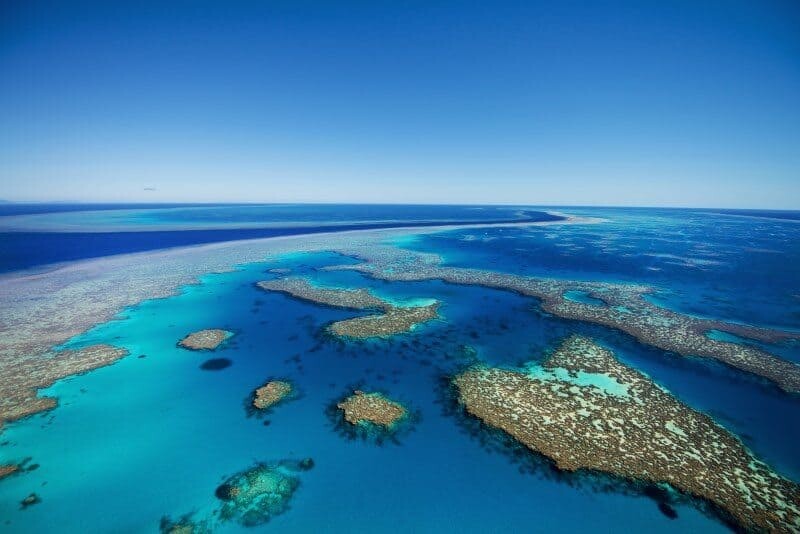
If you’re photographing a coastal scene, you’ll want the sun to be nice and high in order to avoid any glare on the water surface. Typically any time between 10-1pm works best for water, just like when I ‘Photographed Aerials of the Great Barrier Reef’.
Alpine landscapes are also change greatly throughout the day so determining what type of images you’re after will help you decide on what time works best. For sunset, it’s best to book a time as close as possible to sunset so you’ll also have the pleasure of capturing dusk, when the pinks and purples fall behind snow covered peaks.
If you’re photographing a coastal scene, you’ll want the sun to be nice and high in order to avoid any glare on the water surface.
Photographing aerials of mountains in the middle of the day is still beautiful, however results will be more a contrast of blue against snow or rock. However, reserving a flight time earlier in the morning or a little later in the afternoon will result in dramatic shadows that can help to enhance the scene.
Shadows across any scene are best captured within the golden hour or a little bit beforehand. Pairing with warm light, shadows photographed from above of a city scene, mountain range or even just of subjects in a field or flat landscape will enable to you add perspective and shape within your image.
*Aerial Photography Tip: Always speak with your pilot before a flight and discuss your intentions so they can help you plan an ideal time and flight route.
Camera Settings for Aerial Photography
When it comes to camera settings for aerial photos it’s mainly about movement when shooting aerial photos. Because the aircraft will be moving, you’ll need to compensate with your camera settings to ensure clean, sharp images.
If I can’t see what the conditions will be like, I’ll always start out with an ISO of 200, aperture of f2.8 and shoot on aperture mode to make it nice and easy during the flight to adjust settings. Some photographers prefer shooting purely in manual mode however I love the easy access of aperture mode, especially when photographing aerials because it allows me to concentrate more on composition, and less on the ideal shutter speed and settings.
Because perspective and distance come in to play, you won’t have to worry about close up objects as most subjects will be of equal distance away from your camera. This means, that you’re able to shoot on a wide aperture like f2.8 in order to increase speed!
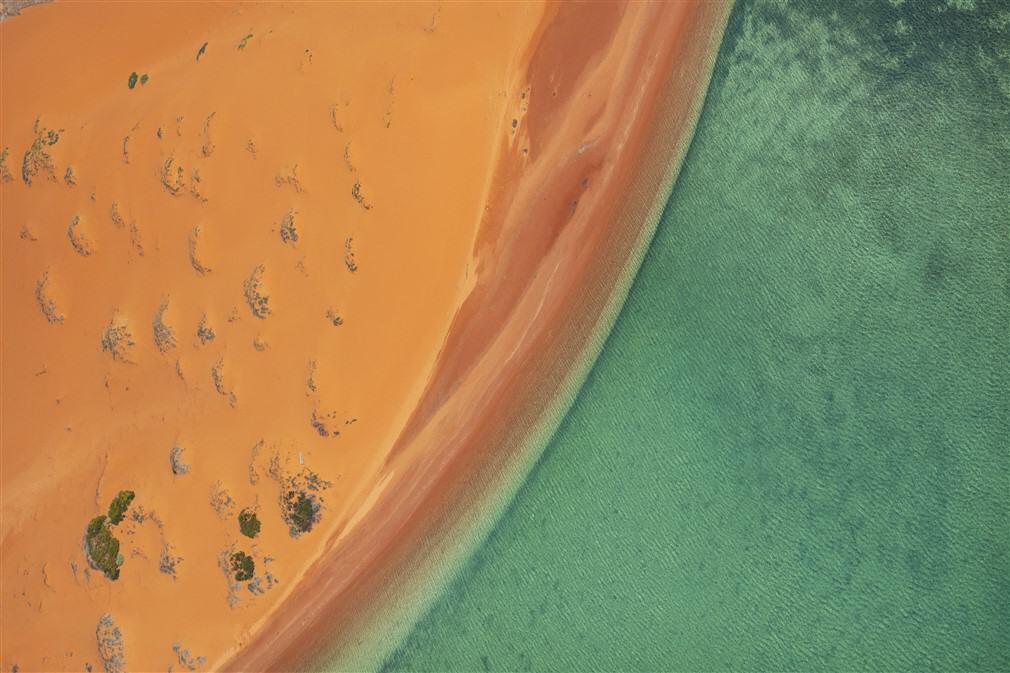
However, to give you an idea on the best settings, below I’ve included some aerial images and the exact settings I used to capture the scenes.
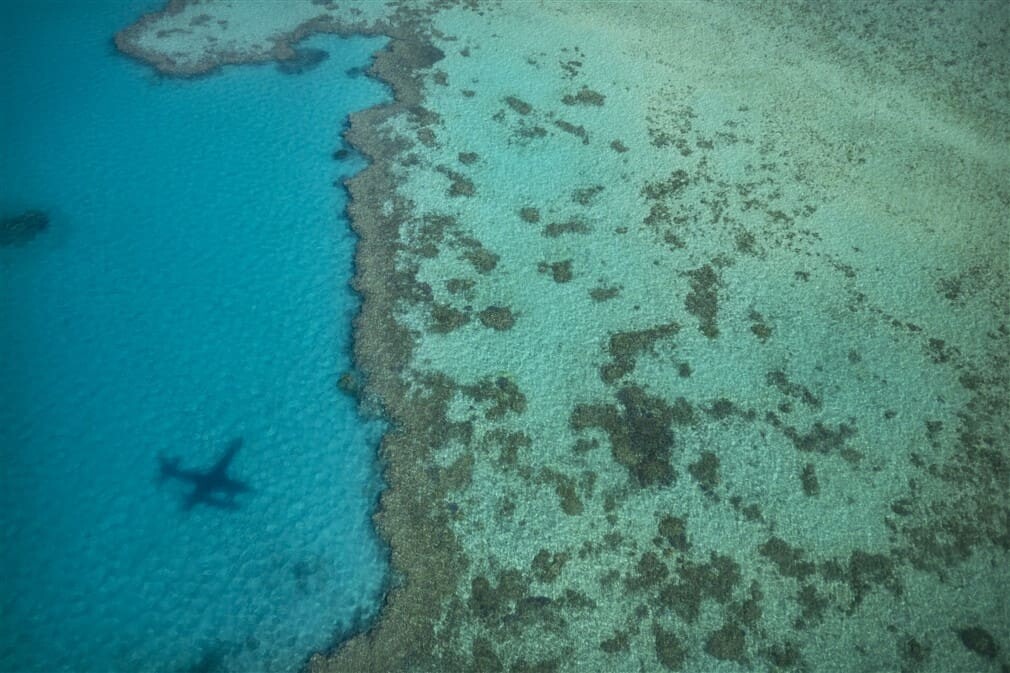
Settings: Lens 12-40mm lens, ISO 200, 1/8000sec, f2.8
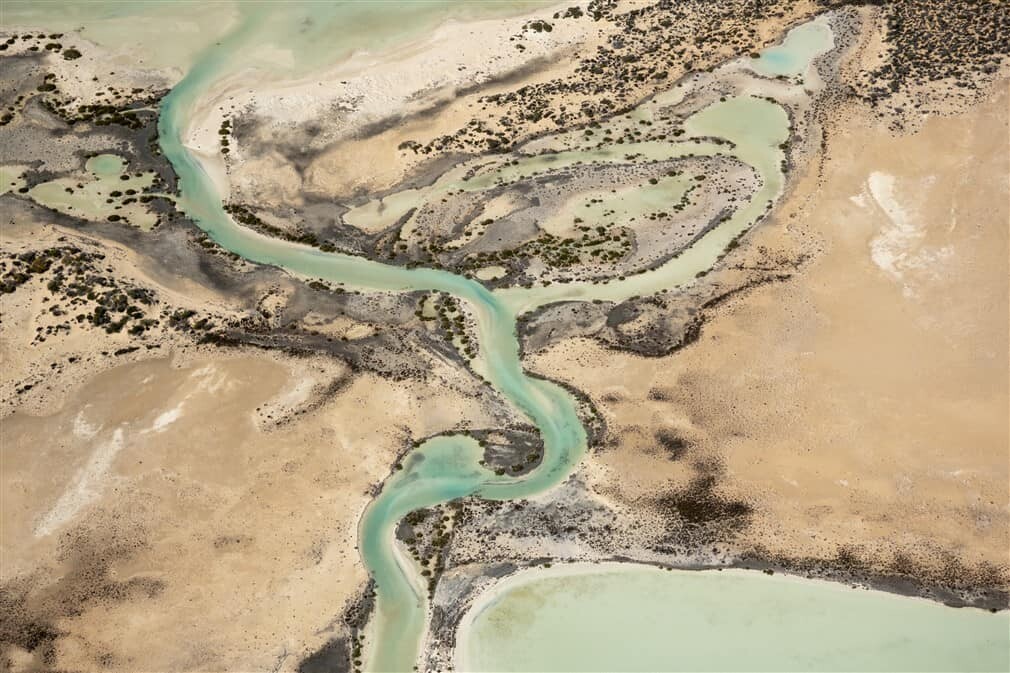
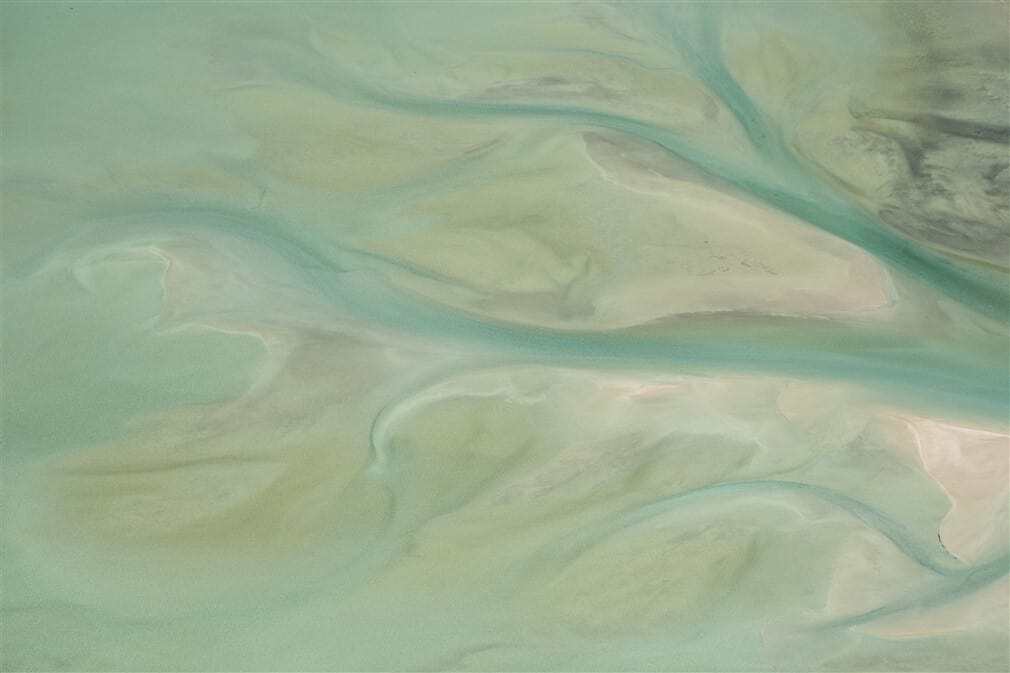
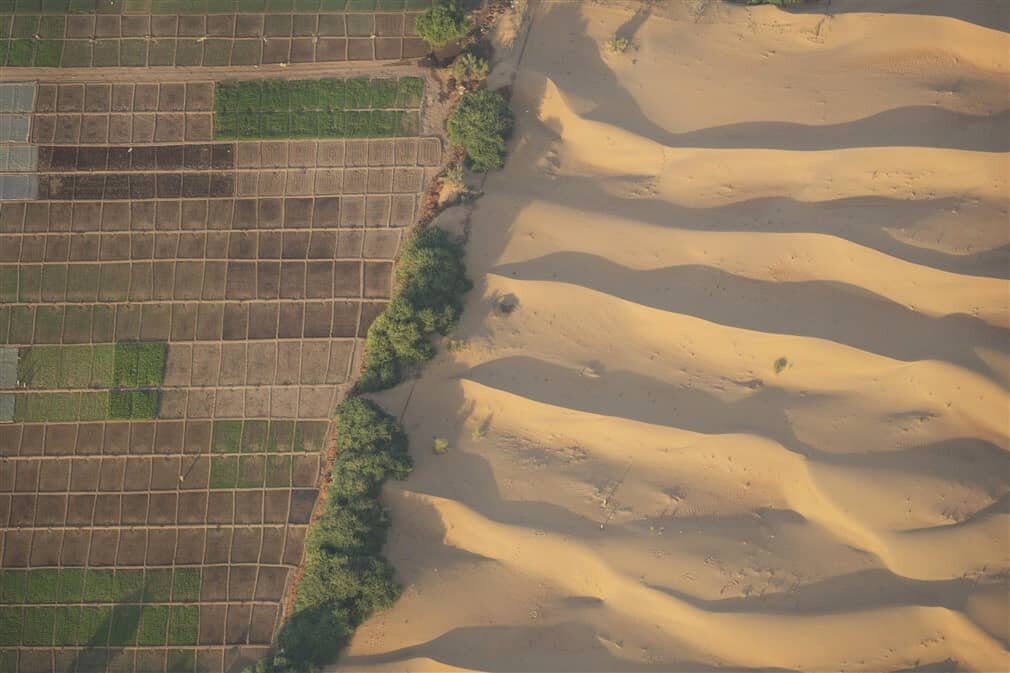
Settings: Lens 40-150mm lens, ISO 200, 1/8000sec, f2.8
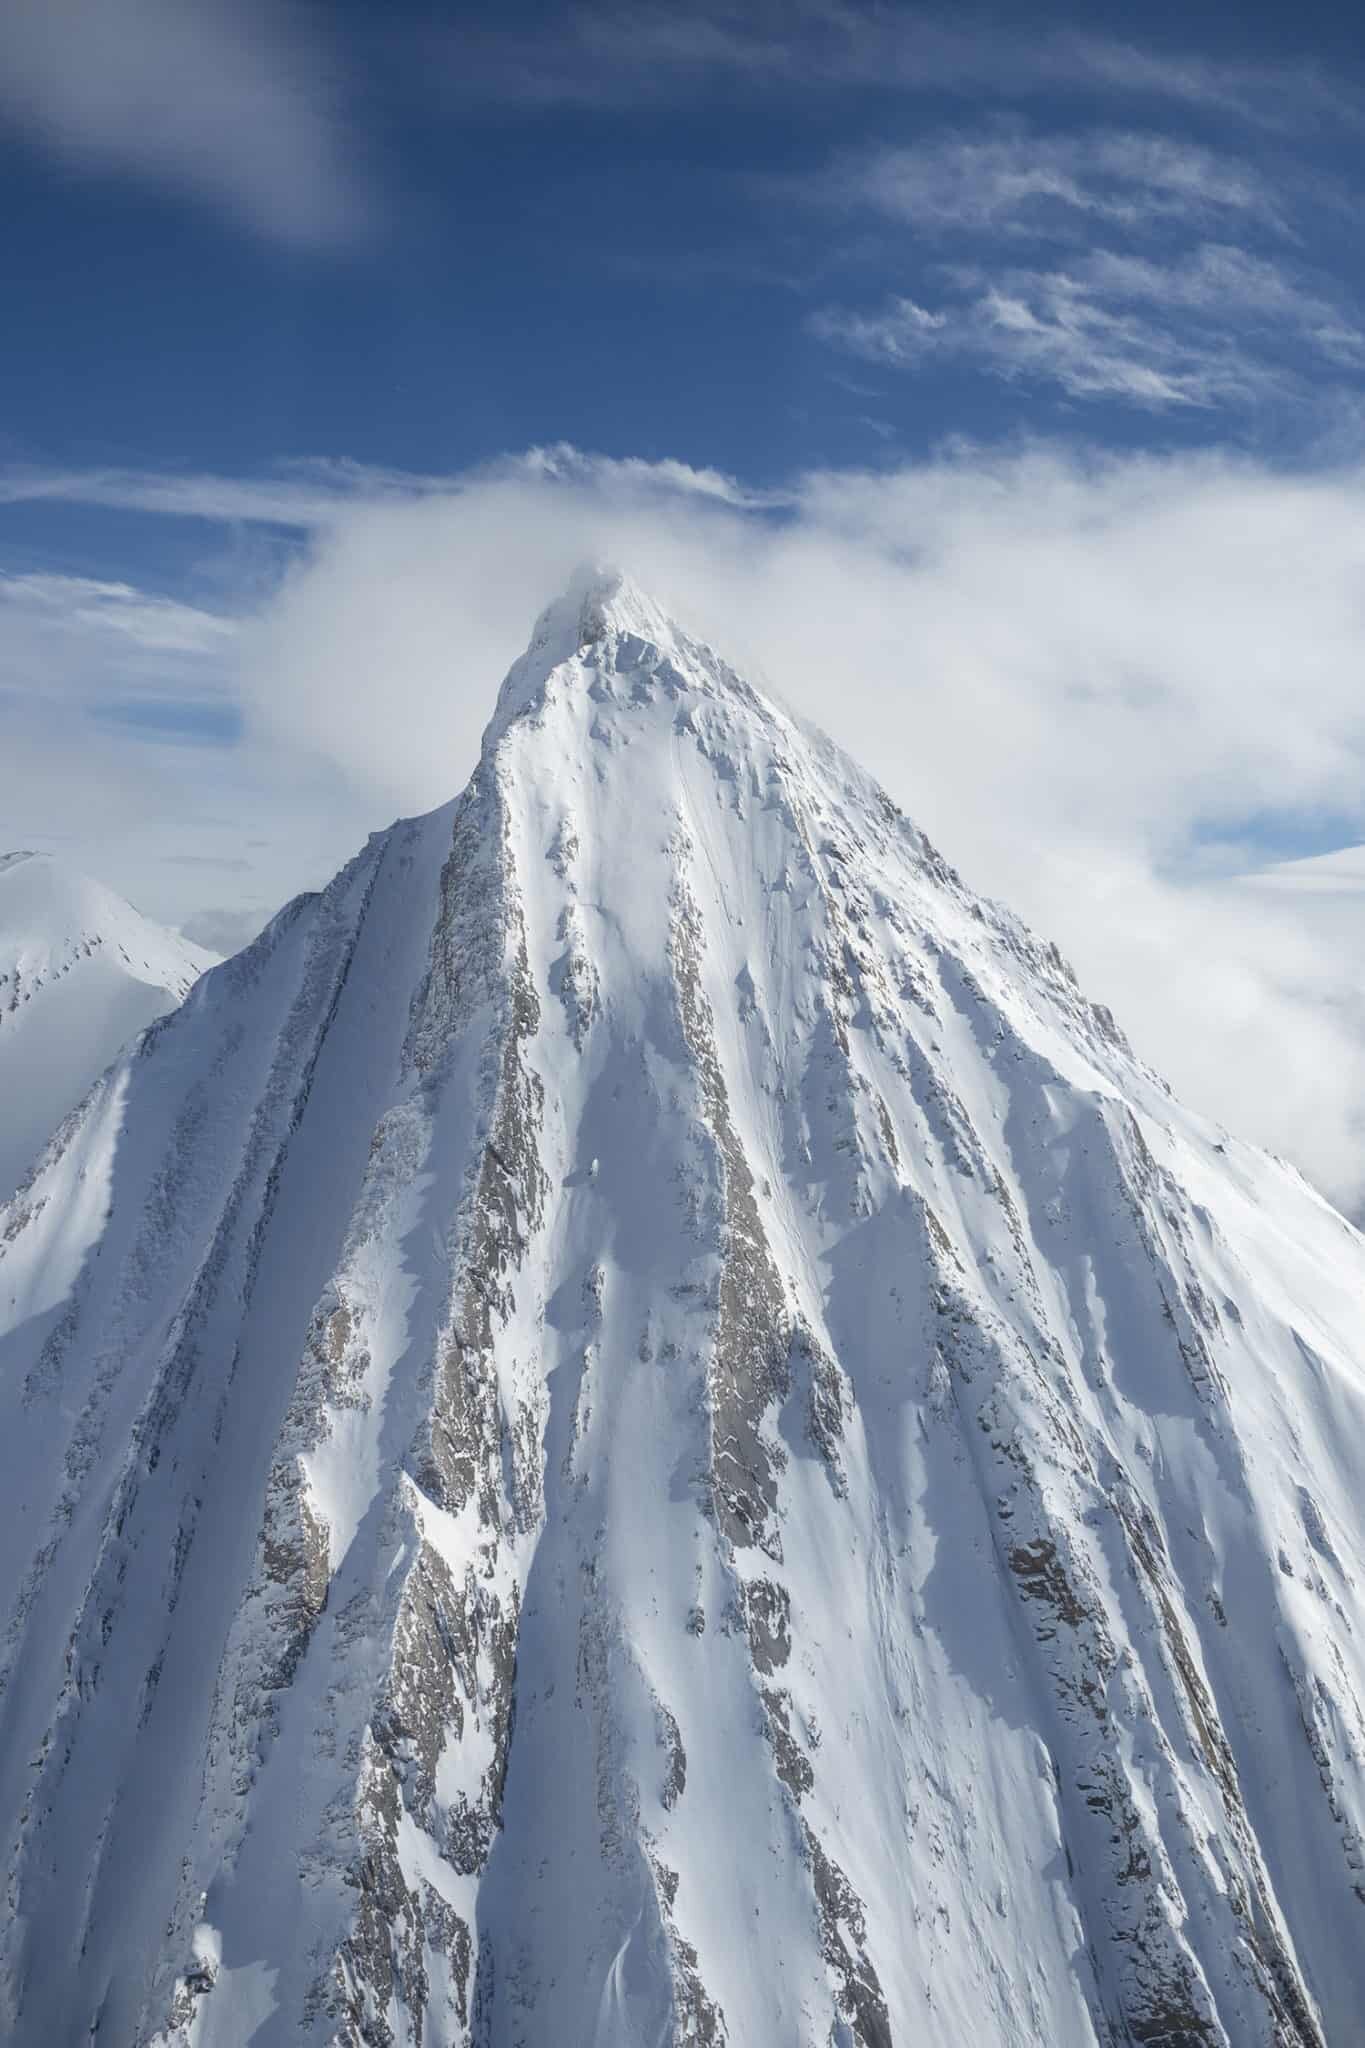
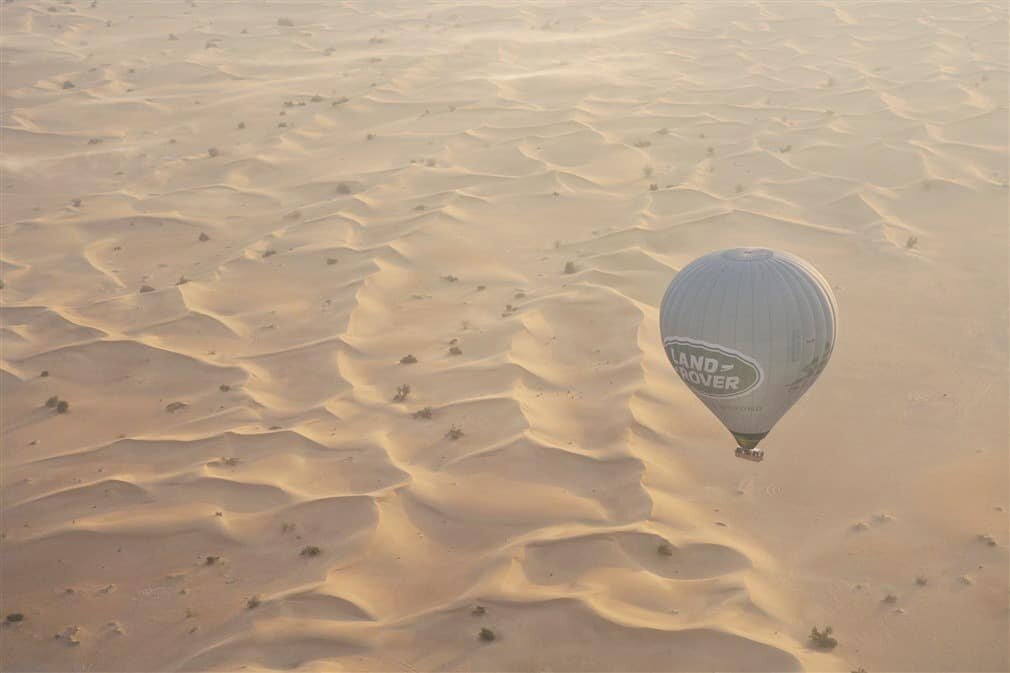
Settings: Lens 40-150mm lens, ISO 200, 1/6400sec, f3.2
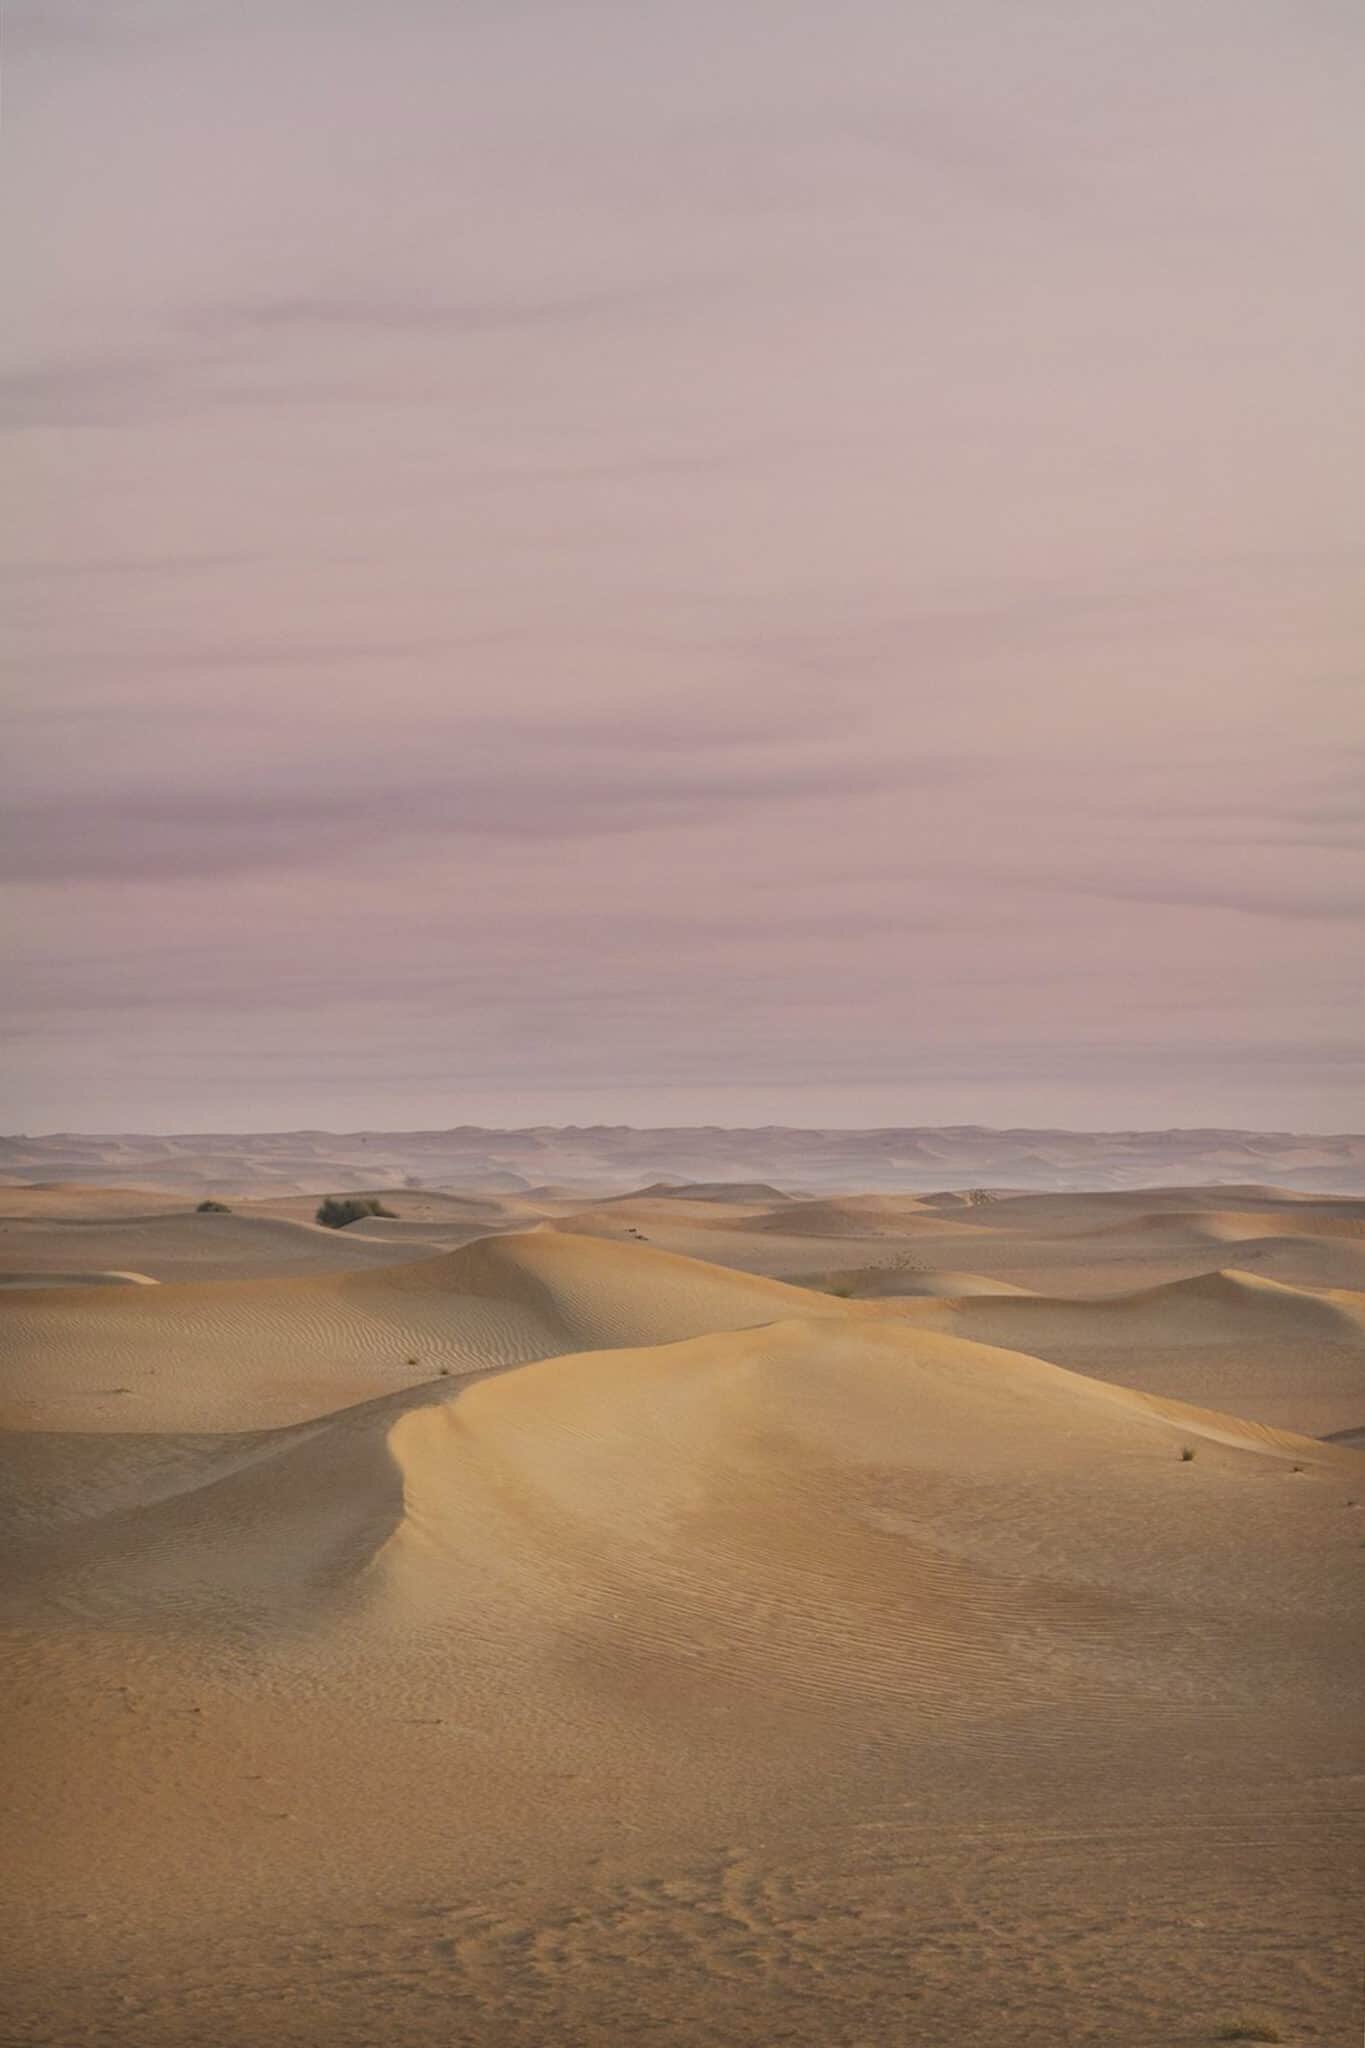
Settings: Lens 12-40mm lens, ISO 320, 1/3200sec, f2.8
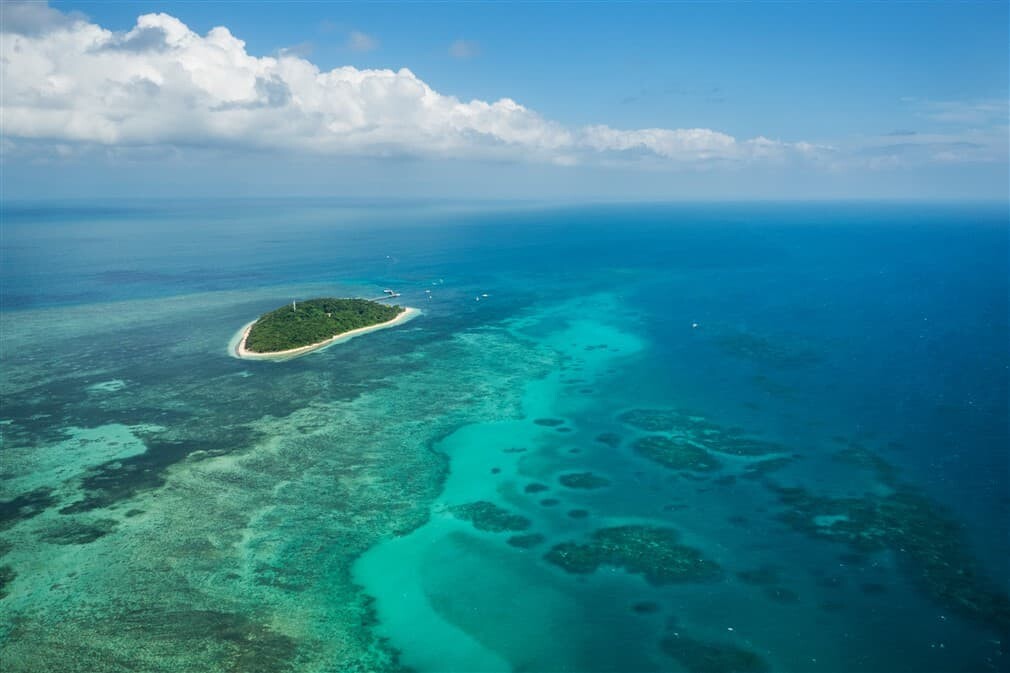
Settings: Lens 12-40mm lens, ISO 400, 1/8000sec, f2.8
Best Camera + Lenses for Aerial Photography
Shooting aerial images means working with a compact kit so you can take full advantage of your time in the sky. You don’t want to waste a moment changing lenses or fussing in your bag so planning your gear beforehand is essential.
Because the altitude and distance from subjects differs greatly throughout a flight, it’s best to work with a versatile lens in order to allow yourself multiple focal length options.
I shoot with the Olympus OM-D- E-M1 MKII and for aerial photos pair it with the 40-150mm f2.8 PRO lens in order to zoom in for details but keep it wider for landscapes. If I’m attempting to capture a range of images or have a specific purpose for a flight, I’ll more often than not have a second camera body with me and the 12-40mm f2.8 PRO lens attached, or like on my last scenic flight over Shark Bay in Western Australia, shot with the 7-14mm f2.8 PRO lens in order to capture really wide scenic shots of the natural patterns below.
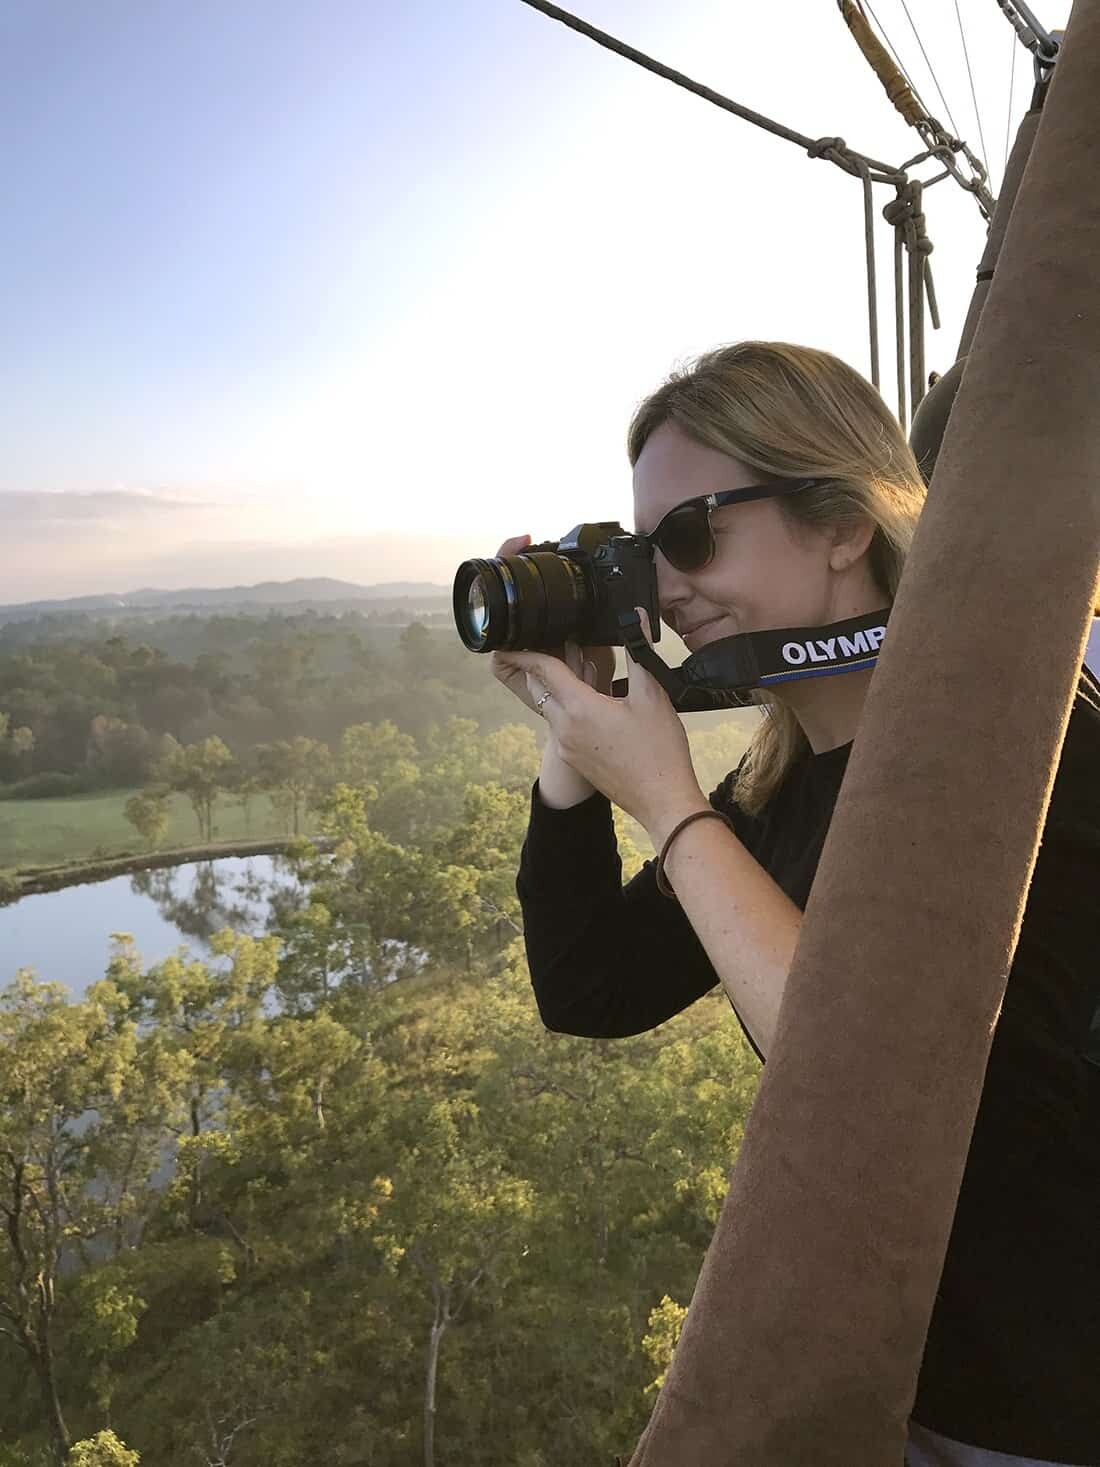
Shooting aerials from a hot air balloon with the Olympus OM-D E-M1 MKII + 12-40mm f2.8 PRO lens.
If you’re shooting with the E-M10 MKIII or a similar type of intermediate camera, you’ll find there are zoom lenses available with a wide focal range. Lenses like the 14-150mm f4 will offer the ability to zoom in, zoom out and compose a huge range of images throughout your time in the air.
Regardless of what camera you have, the best camera for aerial photos will be the one you have with you, however it’ll work in your favour if like me, you’ve got a fast and versatile kit! Oh and I have started shooting aerials with a Mavic Air drone however will always, I mean always opt for an aerial photo shoot with a real camera when possible for professional results! There’s something so special about seeing the landscape reveal itself below with your own eyes through a lens.
Also be sure that you’ve cleared your memory card beforehand, there’s nothing worse than having potential shots pass you by while you’re busy trying to delete images one by one from your card. Don’t worry…we’ve all been there before both in the sky and on the ground!
During the Flight – Aerial Photography Composition Tips
To get started, I’ve always found the best thing to do is get comfortable. Typically on a scenic flight it’ll be a cramped situation with safety buckles, a headset and no space to move but the first thing you need to do is relax, I still tell myself this every flight!
Before take-off, ensure you have your camera within reach, that it’s wrapped around your neck if the door is open or that you’re able to easily get your camera close to the glass if not. Being comfy will result in much better photos than if you’re nervous and stuck with your camera in an awkward position. It sounds obvious but I know I’ve been stuck before with my camera strap hooked around the seat belt and spent the whole flight wishing I’d sorted myself out before take-off!
When it comes to composition of aerial images it’s essential to find a point of focus. Whether it’s patterns within the landscape, lines, a strong shadow or colours finding something to work with for your composition is necessary to avoid taking a ‘flat’ photo. Because you’re shooting a scene that appears to be ‘flat’ below, composition is a really important element of aerial photos so keep your eyes peeled for subjects within the landscape to work with.
Look for lines that you can use throughout your frame, whether it’s a beach curving along the vertical edge of your image, or a row of trees helping to separate man-made from natural. There will always be something intriguing to work with, it’s simply a matter of staying alert and looking in all directions.
For some serious aerial photo inspiration, check out the work of Yann Arthus-Bertrand, it’s his work that inspired me to get into landscape photography many years ago – http://www.yannarthusbertrand.org/
Read more about ‘Creative Composition here’ many tips of which relate to aerial photography as much as they do to landscape photography on the ground! The only noticeable difference would be foreground focus, it’s a little tricky to find a foreground object when you’re in the sky…unless you use your feet of course!
Have fun up there and if you’ve got any questions about aerial photography, as always, feel free to write them in the comments section below 🙂
Read more about improving your photography –
7 Easy Ways to Improve Your Travel Photography
Improve Your Photographic Eye in Ten Steps
Setting the Scene: Golden Hour Photography

Hello! I’m the founder and photographer behind The Wandering Lens.
With 19+yrs experience as a professional travel and landscape photographer, all advice found on this site is from my personal experience, or that of contributors, on the road. I hope it’s useful for your own travels and would love to hear in the comments about your trips and experiences around the world.
Blog Comments
Saesha Walia
December 15, 2018 at 7:32 pm
This is very amazing article, thanks a lot for sharing…
Anuj Chawla
June 7, 2020 at 11:18 pm
I really appreciate you sharing the insights and the photographs.
Octavia
July 19, 2020 at 1:52 am
Thank you for sharing the settings you took all these pictures in. It was really helpful.
Sophie Richards
March 16, 2021 at 12:05 am
Thank you for putting in the specific camera settings for each photos! There is something so grand and special about aerial photos, a view that doesn’t come by so easily.
Jay P.
June 3, 2021 at 11:59 pm
Most of the aerial photography blogs I’ve read have stock images, some even repeating. Yours look natural, like you went out and took them yourself. Thanks for the original content!