
Photo Editing Basics – How to Edit
Do you enjoy the editing process? Enhancing an image, even slightly, to ensure the features and details are as good as they can be, is such a crucial skill for many photographers.
There can be a lot of opinions related to how to ‘best edit’. Your photographs are always open to interpretation and you’ll therefore have people saying perhaps you need to add more contrast, that you added too much saturation, or you need to edit less.
Try to stay true to what it is YOU want your image to look like, feedback is great to take on board if you’re still learning, but never let it steer you away from your creative vision. Unless of course a client has asked for bright, colourful images and you’ve provided dark and gloomy ones, take this feedback on board immediately and give them what they want 😊
Your editing workflow can become an integral part of the creative process. Taking a photo is one step, enhancing it’s features is another step that allows you to reveal the artist within, whether you’re just adding a touch of brightness or reshaping your image into a masterpiece.
The best thing about editing your images is that the programs available to us now, mean almost anything is possible. If your image isn’t super sharp, there are programs to help sharpen them up. If you need to enhance the shadows or decrease the highlights, most programs will have tools available for this. If you wish to replace the sky, turn a summer scene into a snowy one or change every single colour in the photo, you can totally do this too!
Editing knows no boundaries, only the restraint to ensure you’re creating an image that remains true to the scene, or your creative vision.
Ask yourself –
What elements or features do you want to highlight?
Can certain editing techniques help you enhance the image?
Are there shortcuts you can create to speed up your editing process?
Do you want to achieve a natural edit or a wildly creative one?
Who are you editing the image for? Do they have any requests?
Photo Editing Techniques + Common Editing Queries
Once you have the skills to navigate various techniques and enhancements, editing is such an exciting process. When learning though, it can seem frustrating, overwhelming and feel like a high tech world of unknowns with too many tools, buttons, shortcuts and possibilities.
One tiny tip: Less is almost always more. Remember to go back to the original image to check you haven’t pushed things too far!
Here are some common editing issues you may come across + how to handle them –
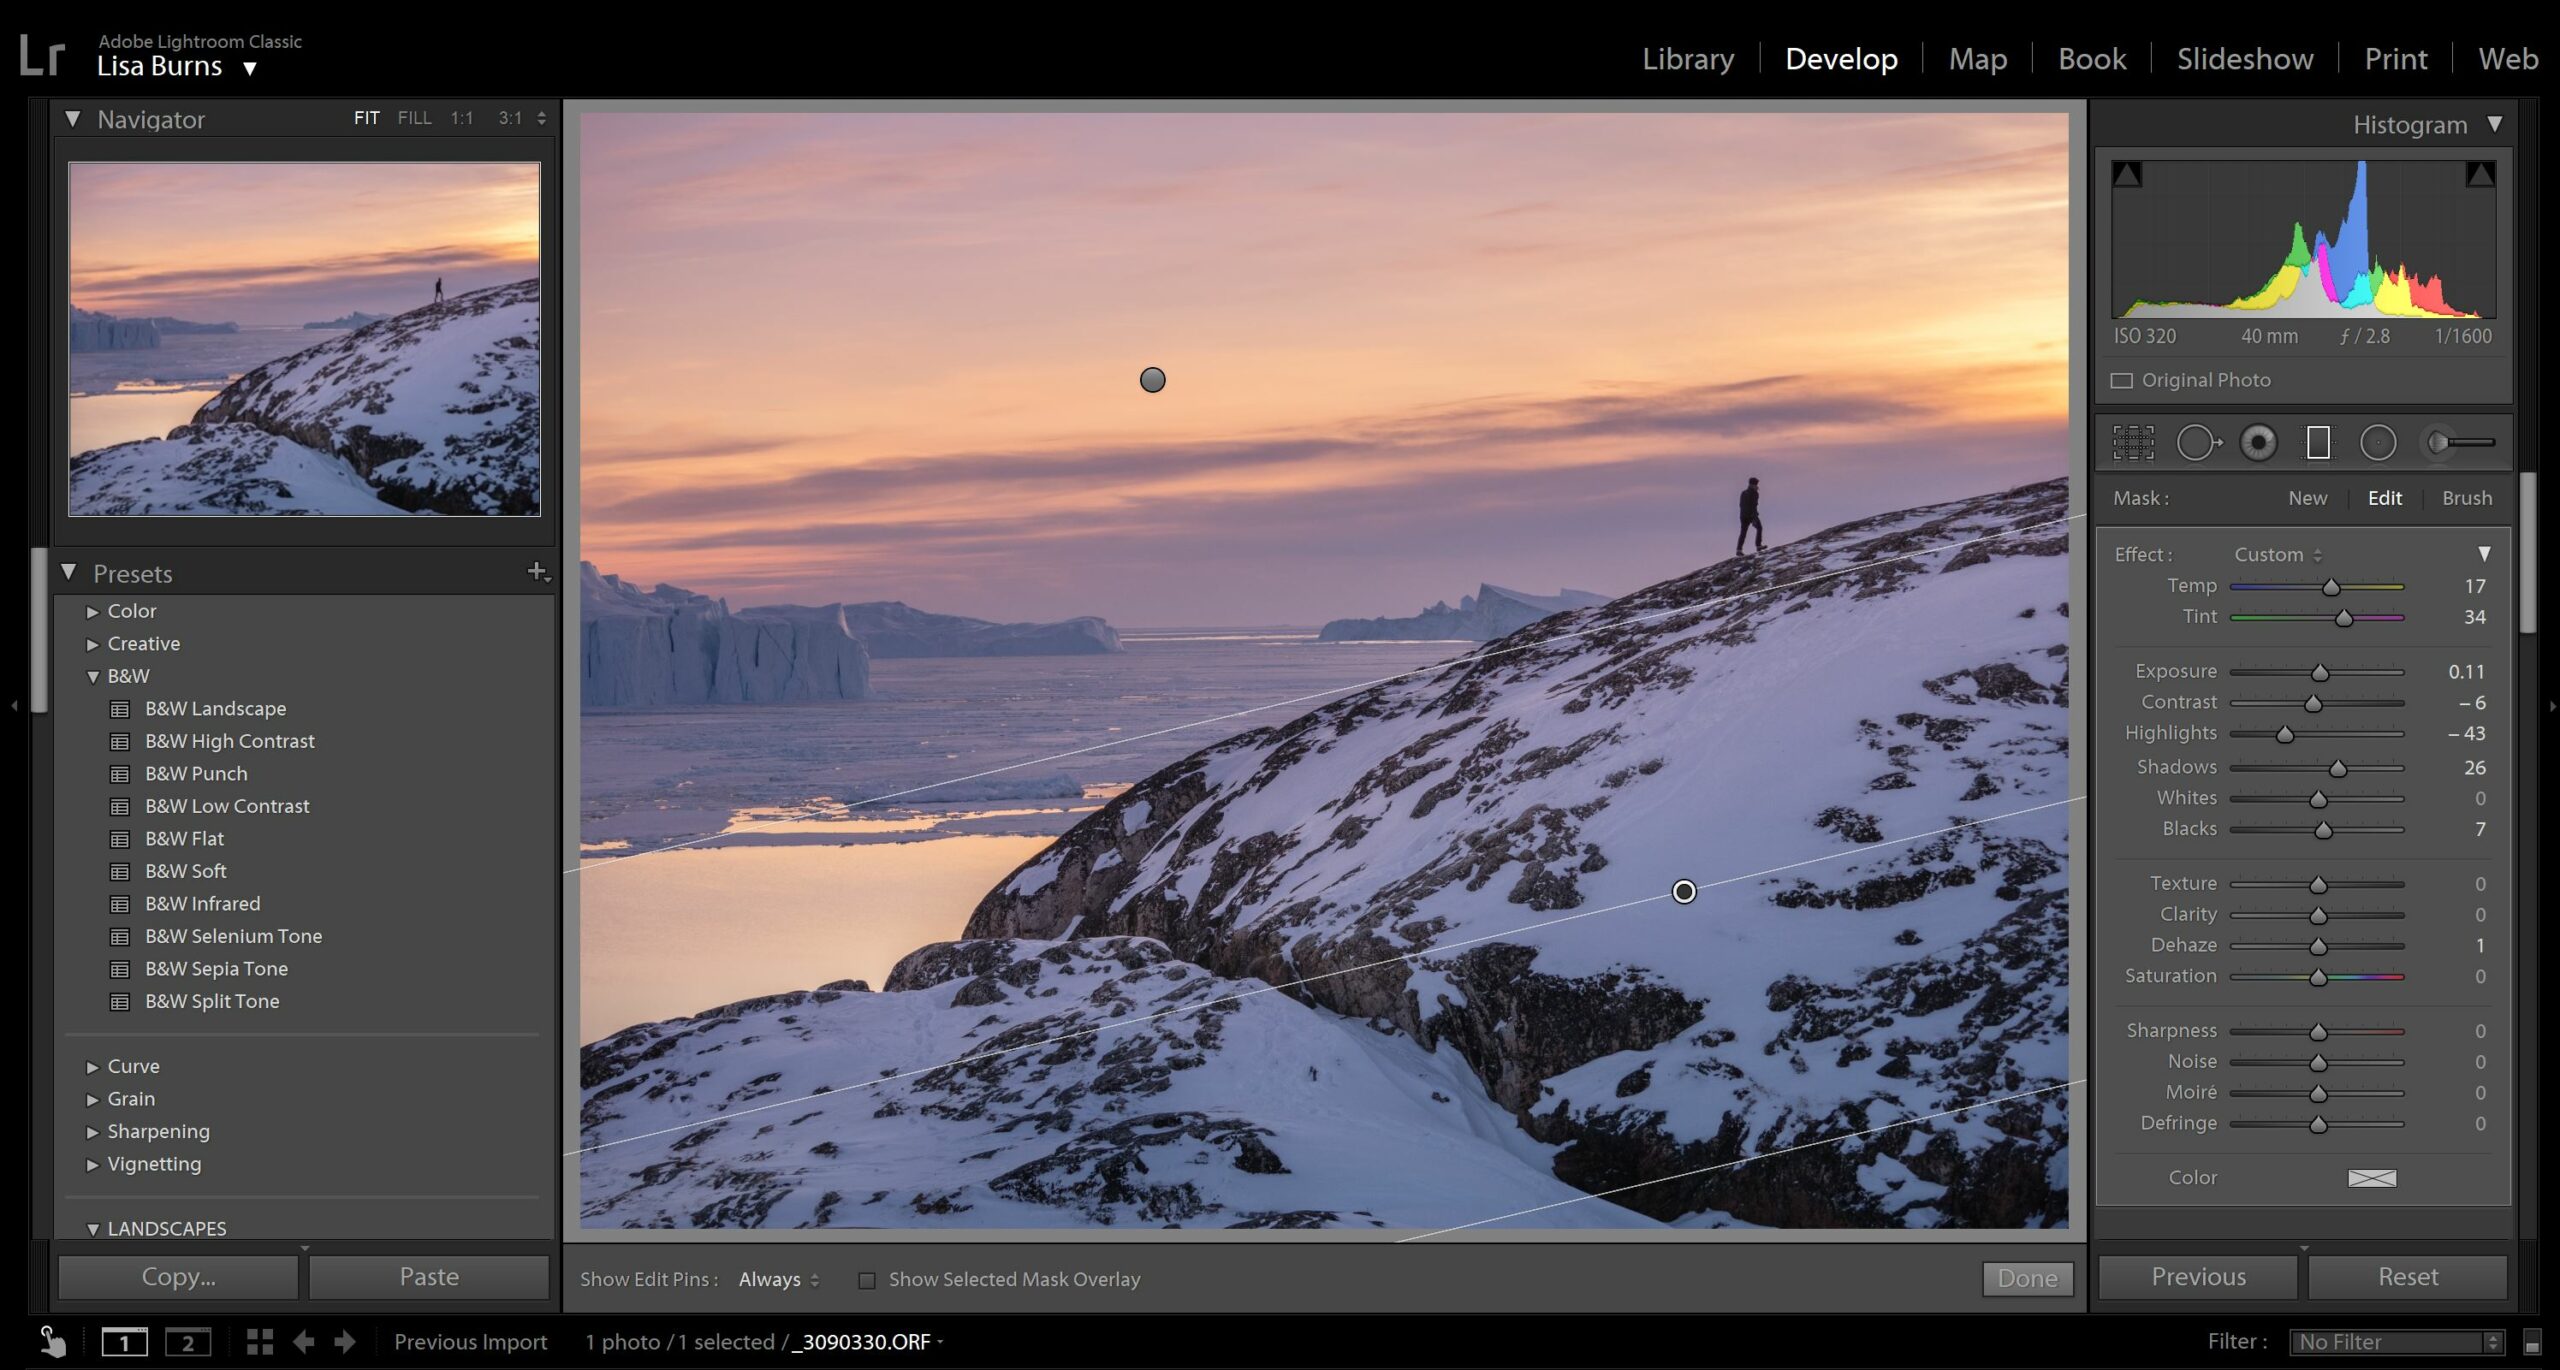
#01 Some details in your image are too dark –
This will probably require you to enhance the shadows within your image and reveal the details within. When doing this, you need to be careful not to reveal too much noise (visible spots). Depending on what camera and settings you’ve used, you may be able to push the shadows to 50+ and brighten it up beautifully, however if you’ve captured an image with a high ISO and a lower quality camera or your phone, it may not be necessary to enhance them too much. Play around with the shadows tool and also adjust brightness/exposure levels using your preferred editing program to see what might be possible for you.
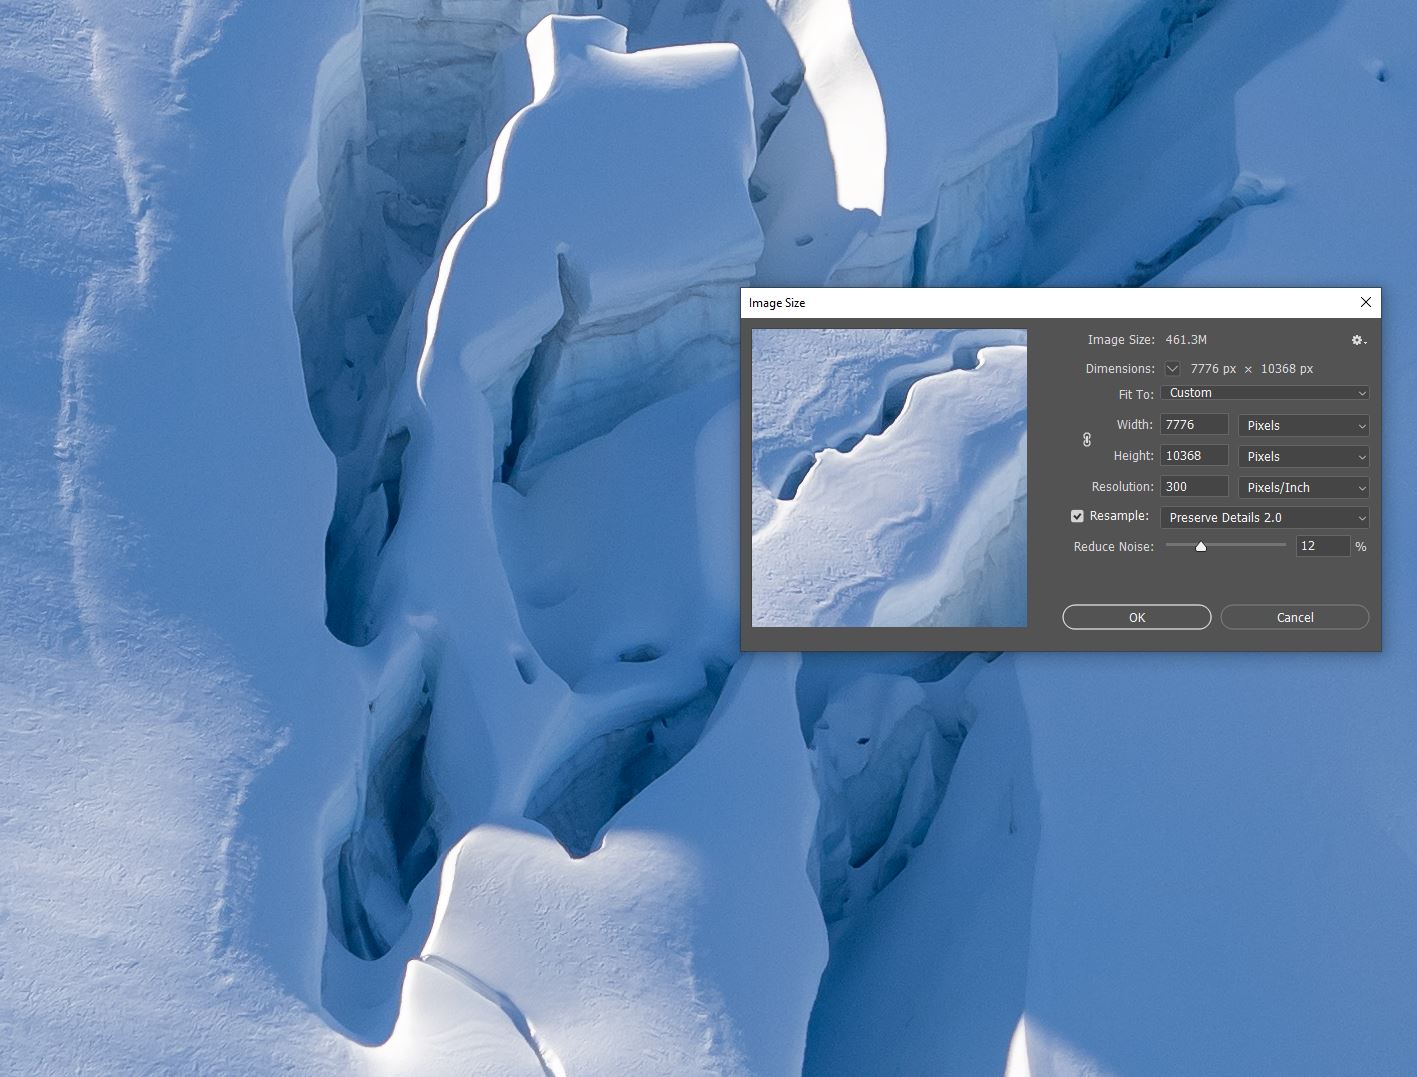
#02 You need to enlarge an image to print –
If you’re keen to sell prints but are worried the details aren’t as sharp as they should be, programs like Topaz Gigapixel (GI) can help! Depending on the settings used, the quality of the image file and what size you need the print to be, you may be able to simply enlarge via your editing software like Lightroom/Photoshop/Luminar etc. Sometimes though, you will need the assistance of a program like GI to use its wizardry. I cover this more extensively in The Print Store Launch Pad which starts February 28th, however if you wish to take a peek or purchase GI, you can do so here.
Read more – How to Prepare your Photos to Print
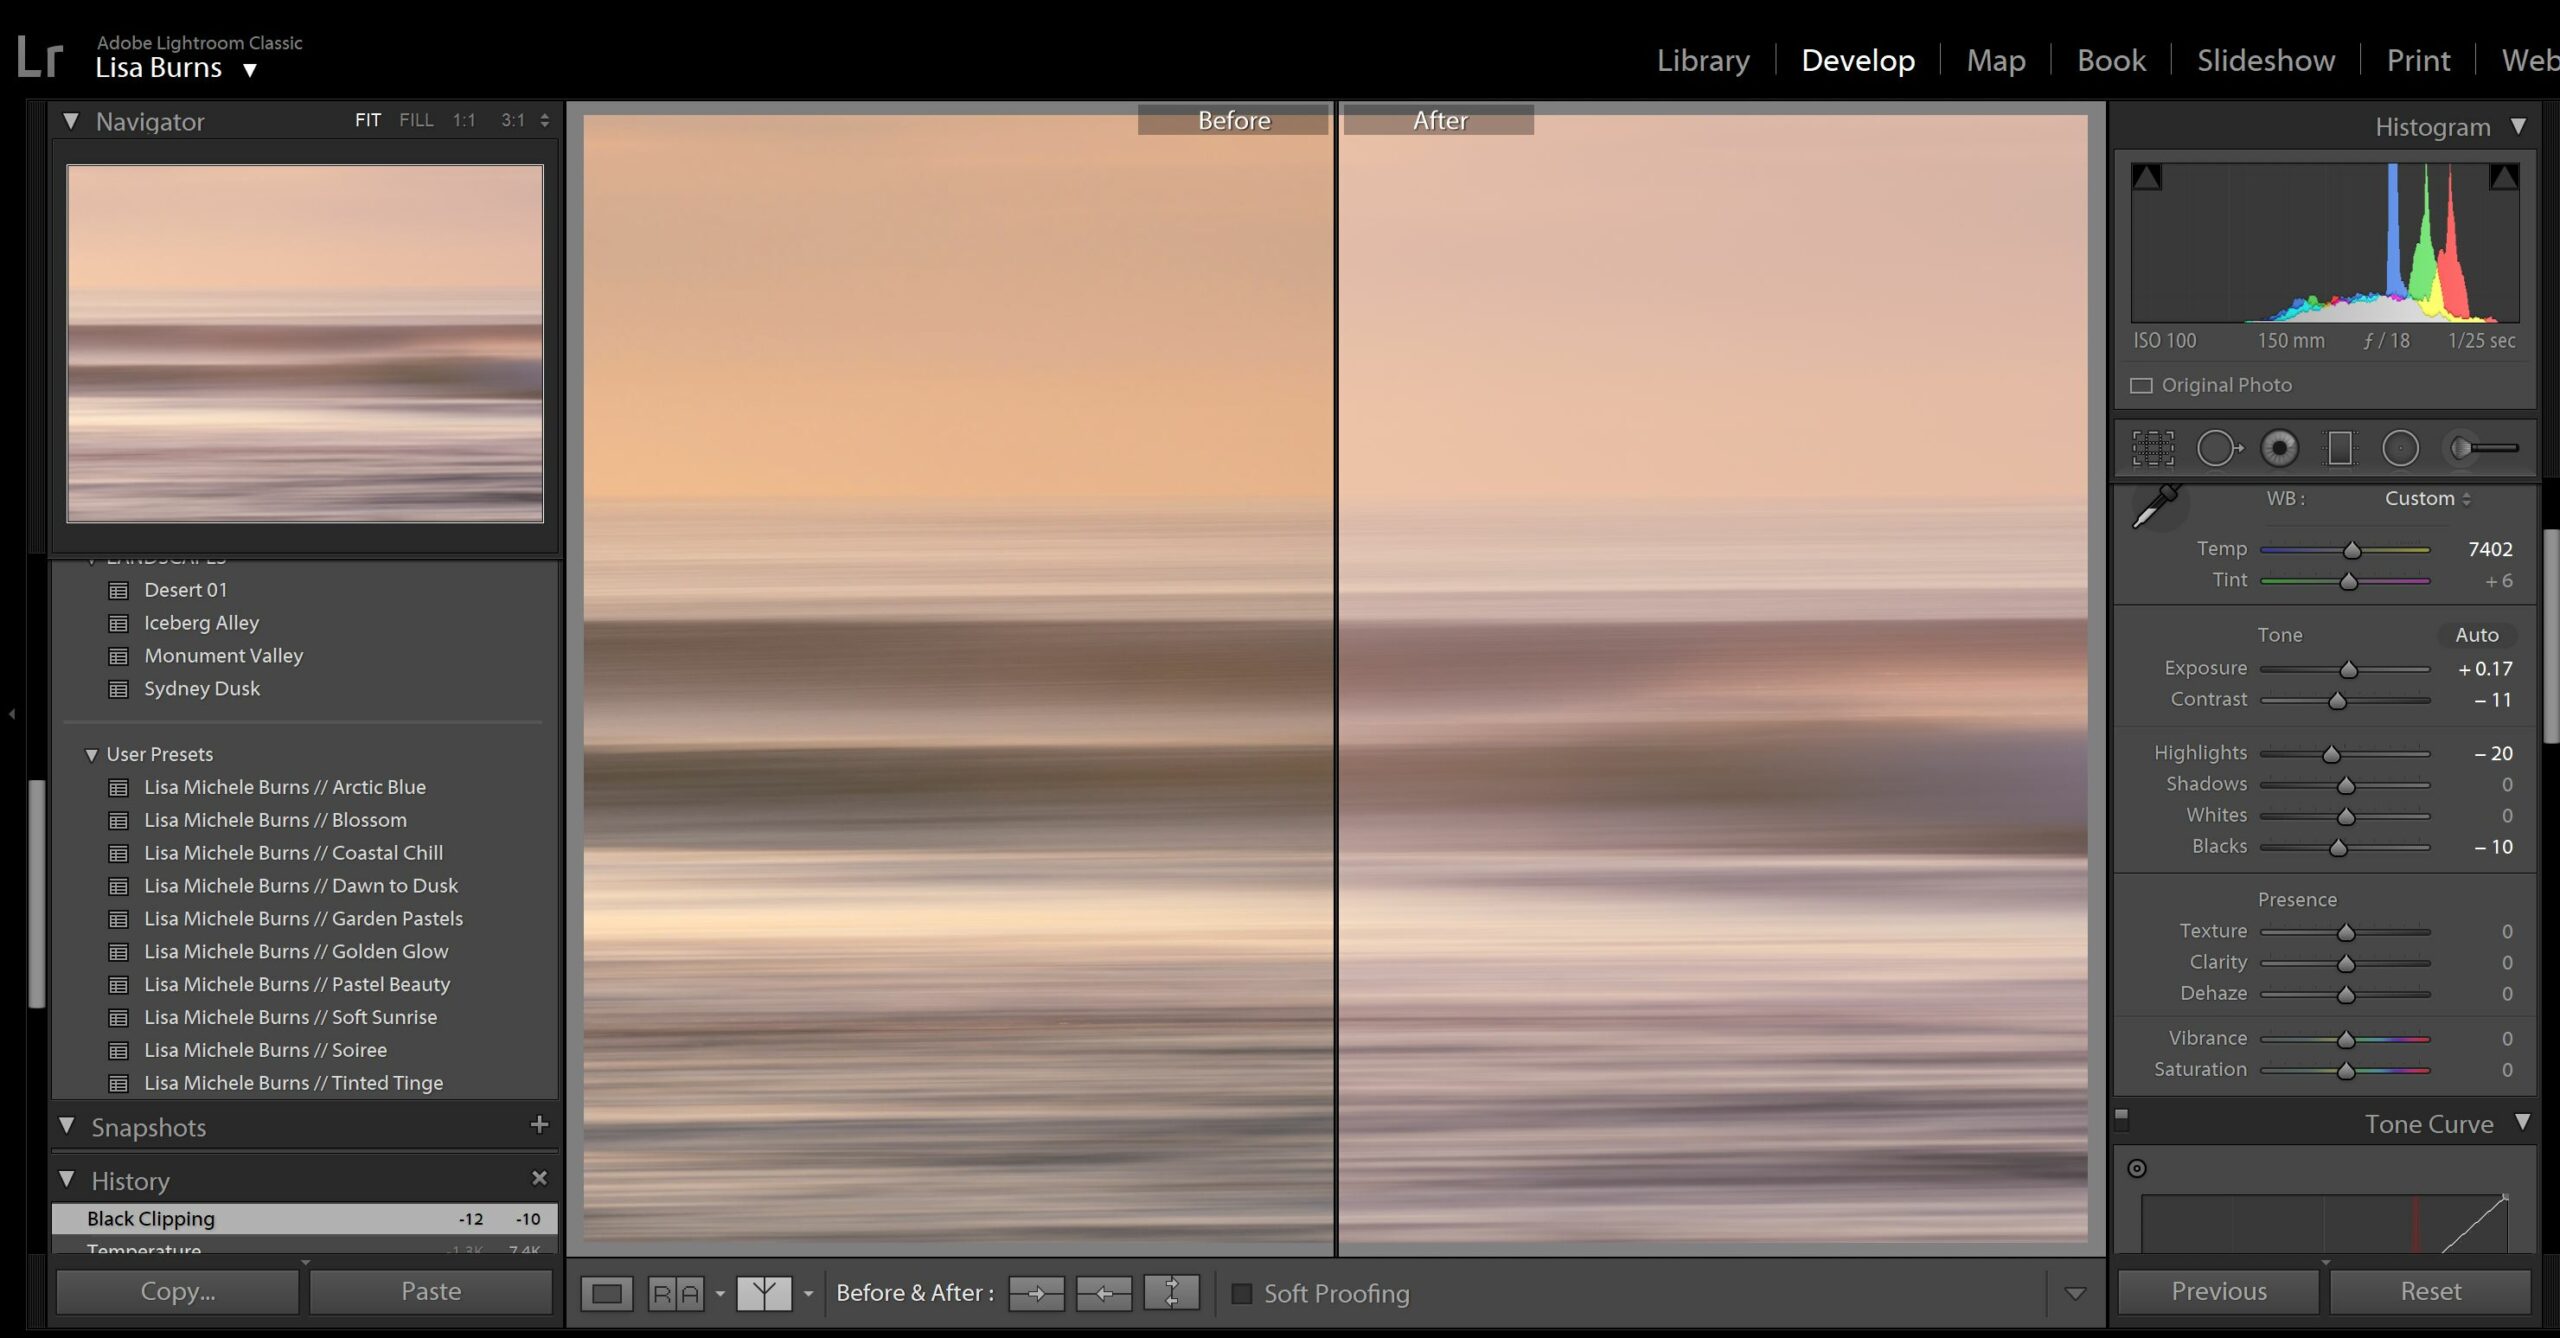
#03 The colours are a little dull compared to your memory of the scene –
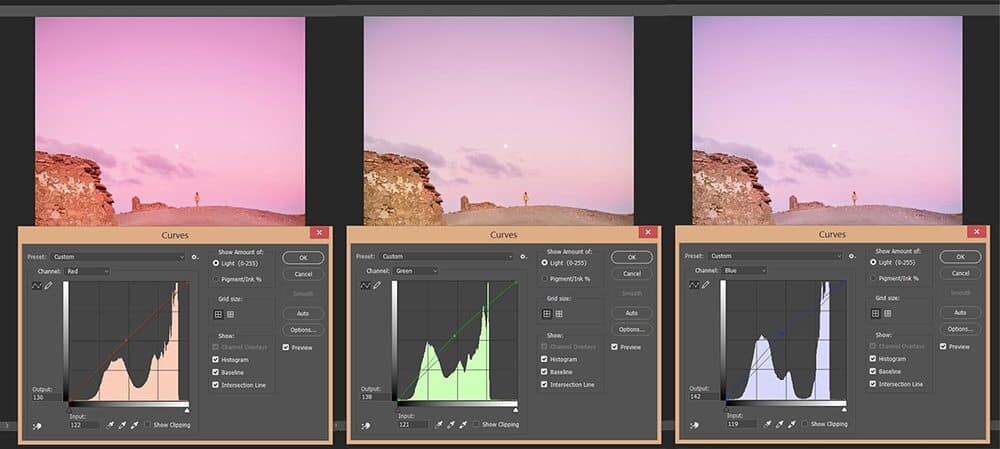
Enhancing the hues and tones of an image is my favourite part of the editing process. I love gently playing with tones to create pastels! Not only this, but softly lifting the colours to bring the image to life enables me to produce an image that’s closer to what I recall the moment being at the time I captured the image.
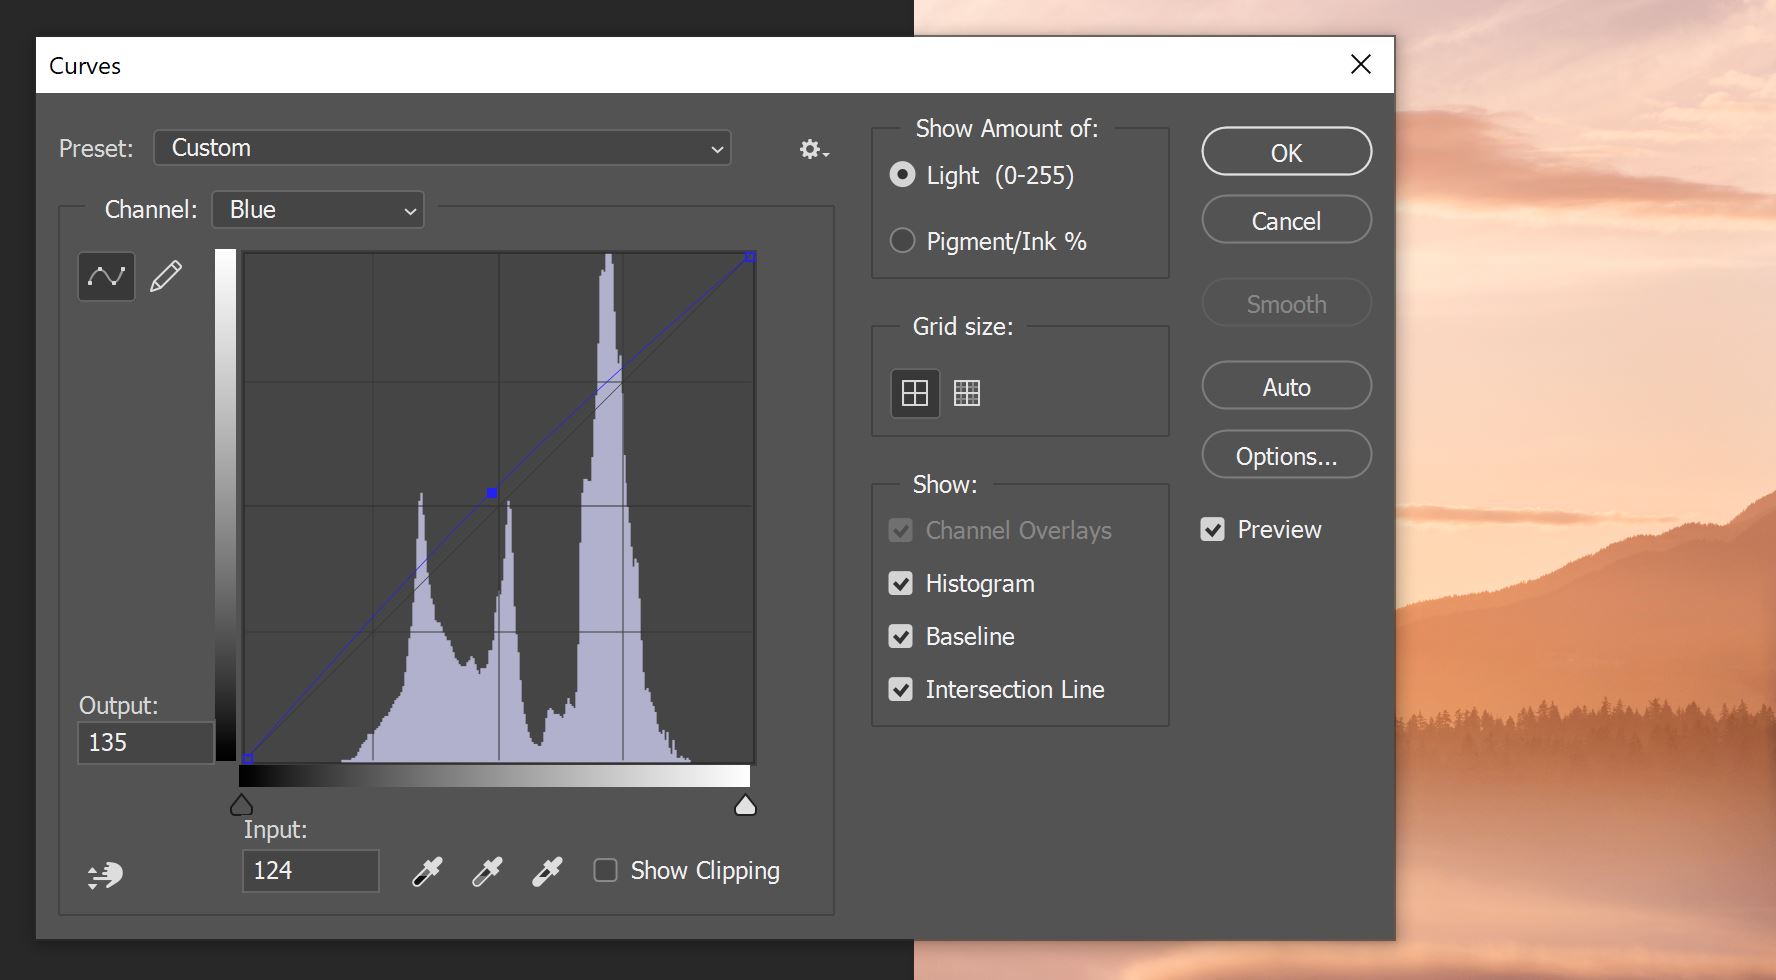
If you’re keen to play with pastel tones, you can read my article about ‘Creating Pastels in Photoshop and Lightroom’. The tool I used most is the ‘Curves’ tool in Photoshop which enables me to play with the Red, Green and Blue channels. Saturation or vibrance can also be applied but I always suggest this is done with caution to avoid creating something that looks a little unrealistic.
#04 You want consistency but don’t want to edit an entire collection of images individually –
Synchronize command is your answer! Programs like Adobe Lightroom enable you to upload a collection of images, edit one and then ‘sync’ those same editing settings to the entire group of photos! If you’re using Lightroom, this is the process: In the Develop module, click the Sync button or choose Settings > Sync Settings. Select the settings to copy and click Synchronize.
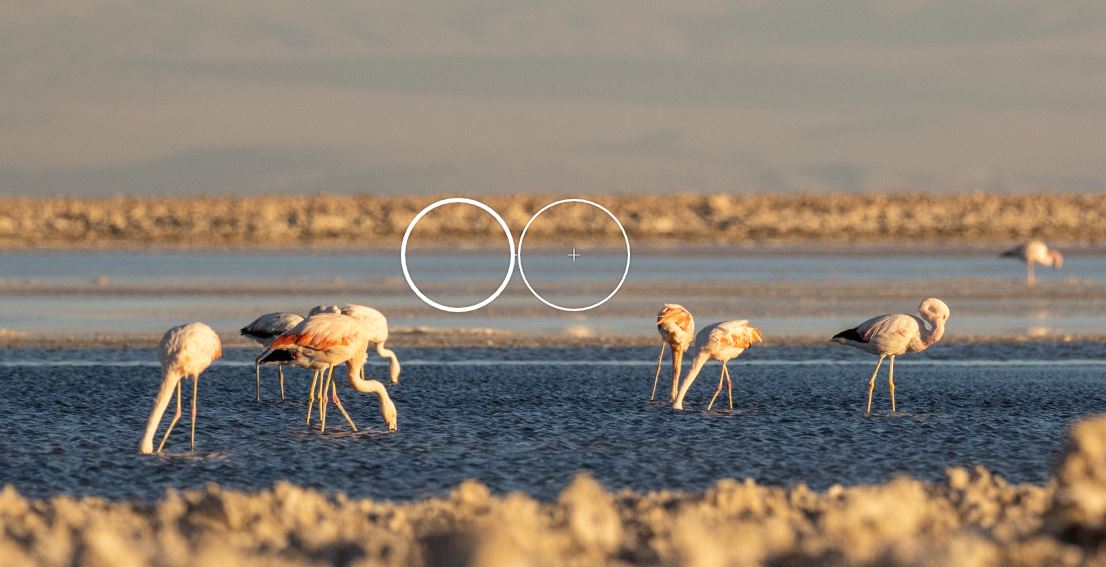
#05 Do you need to remove a subject from the photo?
Removing a subject or item from your photo can help enhance the scene and allow your image to remain clutter free. Perhaps you want to remove a person from the photo, remove objects or just want to clean up the image, removing dust spots, rubbish or little marks. Removing a subject from your image can be a small job such as removing a single dust spot, or a more time-consuming process like removing footprints in the sand from a crowded beach. Read more here in the full guide.
Do you have another editing question? Comment below and I’ll do my best to answer it for you!
If you’re keen to sell prints and wish to join the next round of The Print Store Launch Pad – enrol before February 28th here.

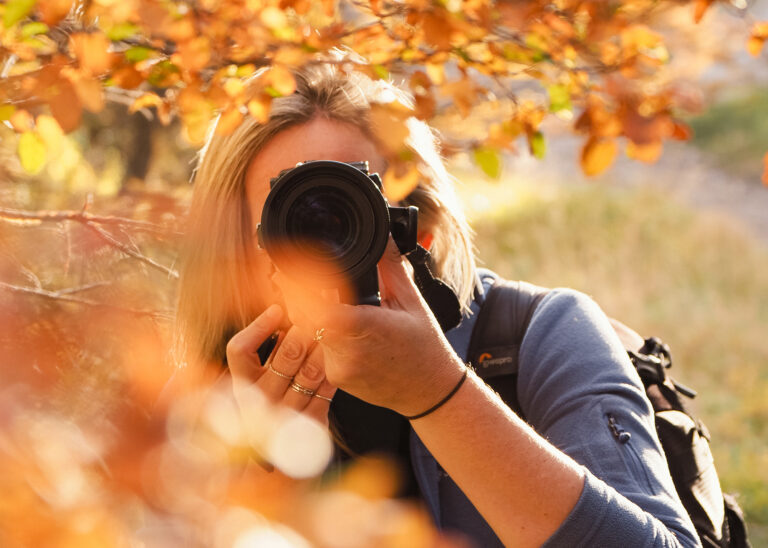
Hello! I’m the founder and photographer behind The Wandering Lens.
With 19+yrs experience as a professional travel and landscape photographer, all advice found on this site is from my personal experience, or that of contributors, on the road. I hope it’s useful for your own travels and would love to hear in the comments about your trips and experiences around the world.
Leave a Comment