
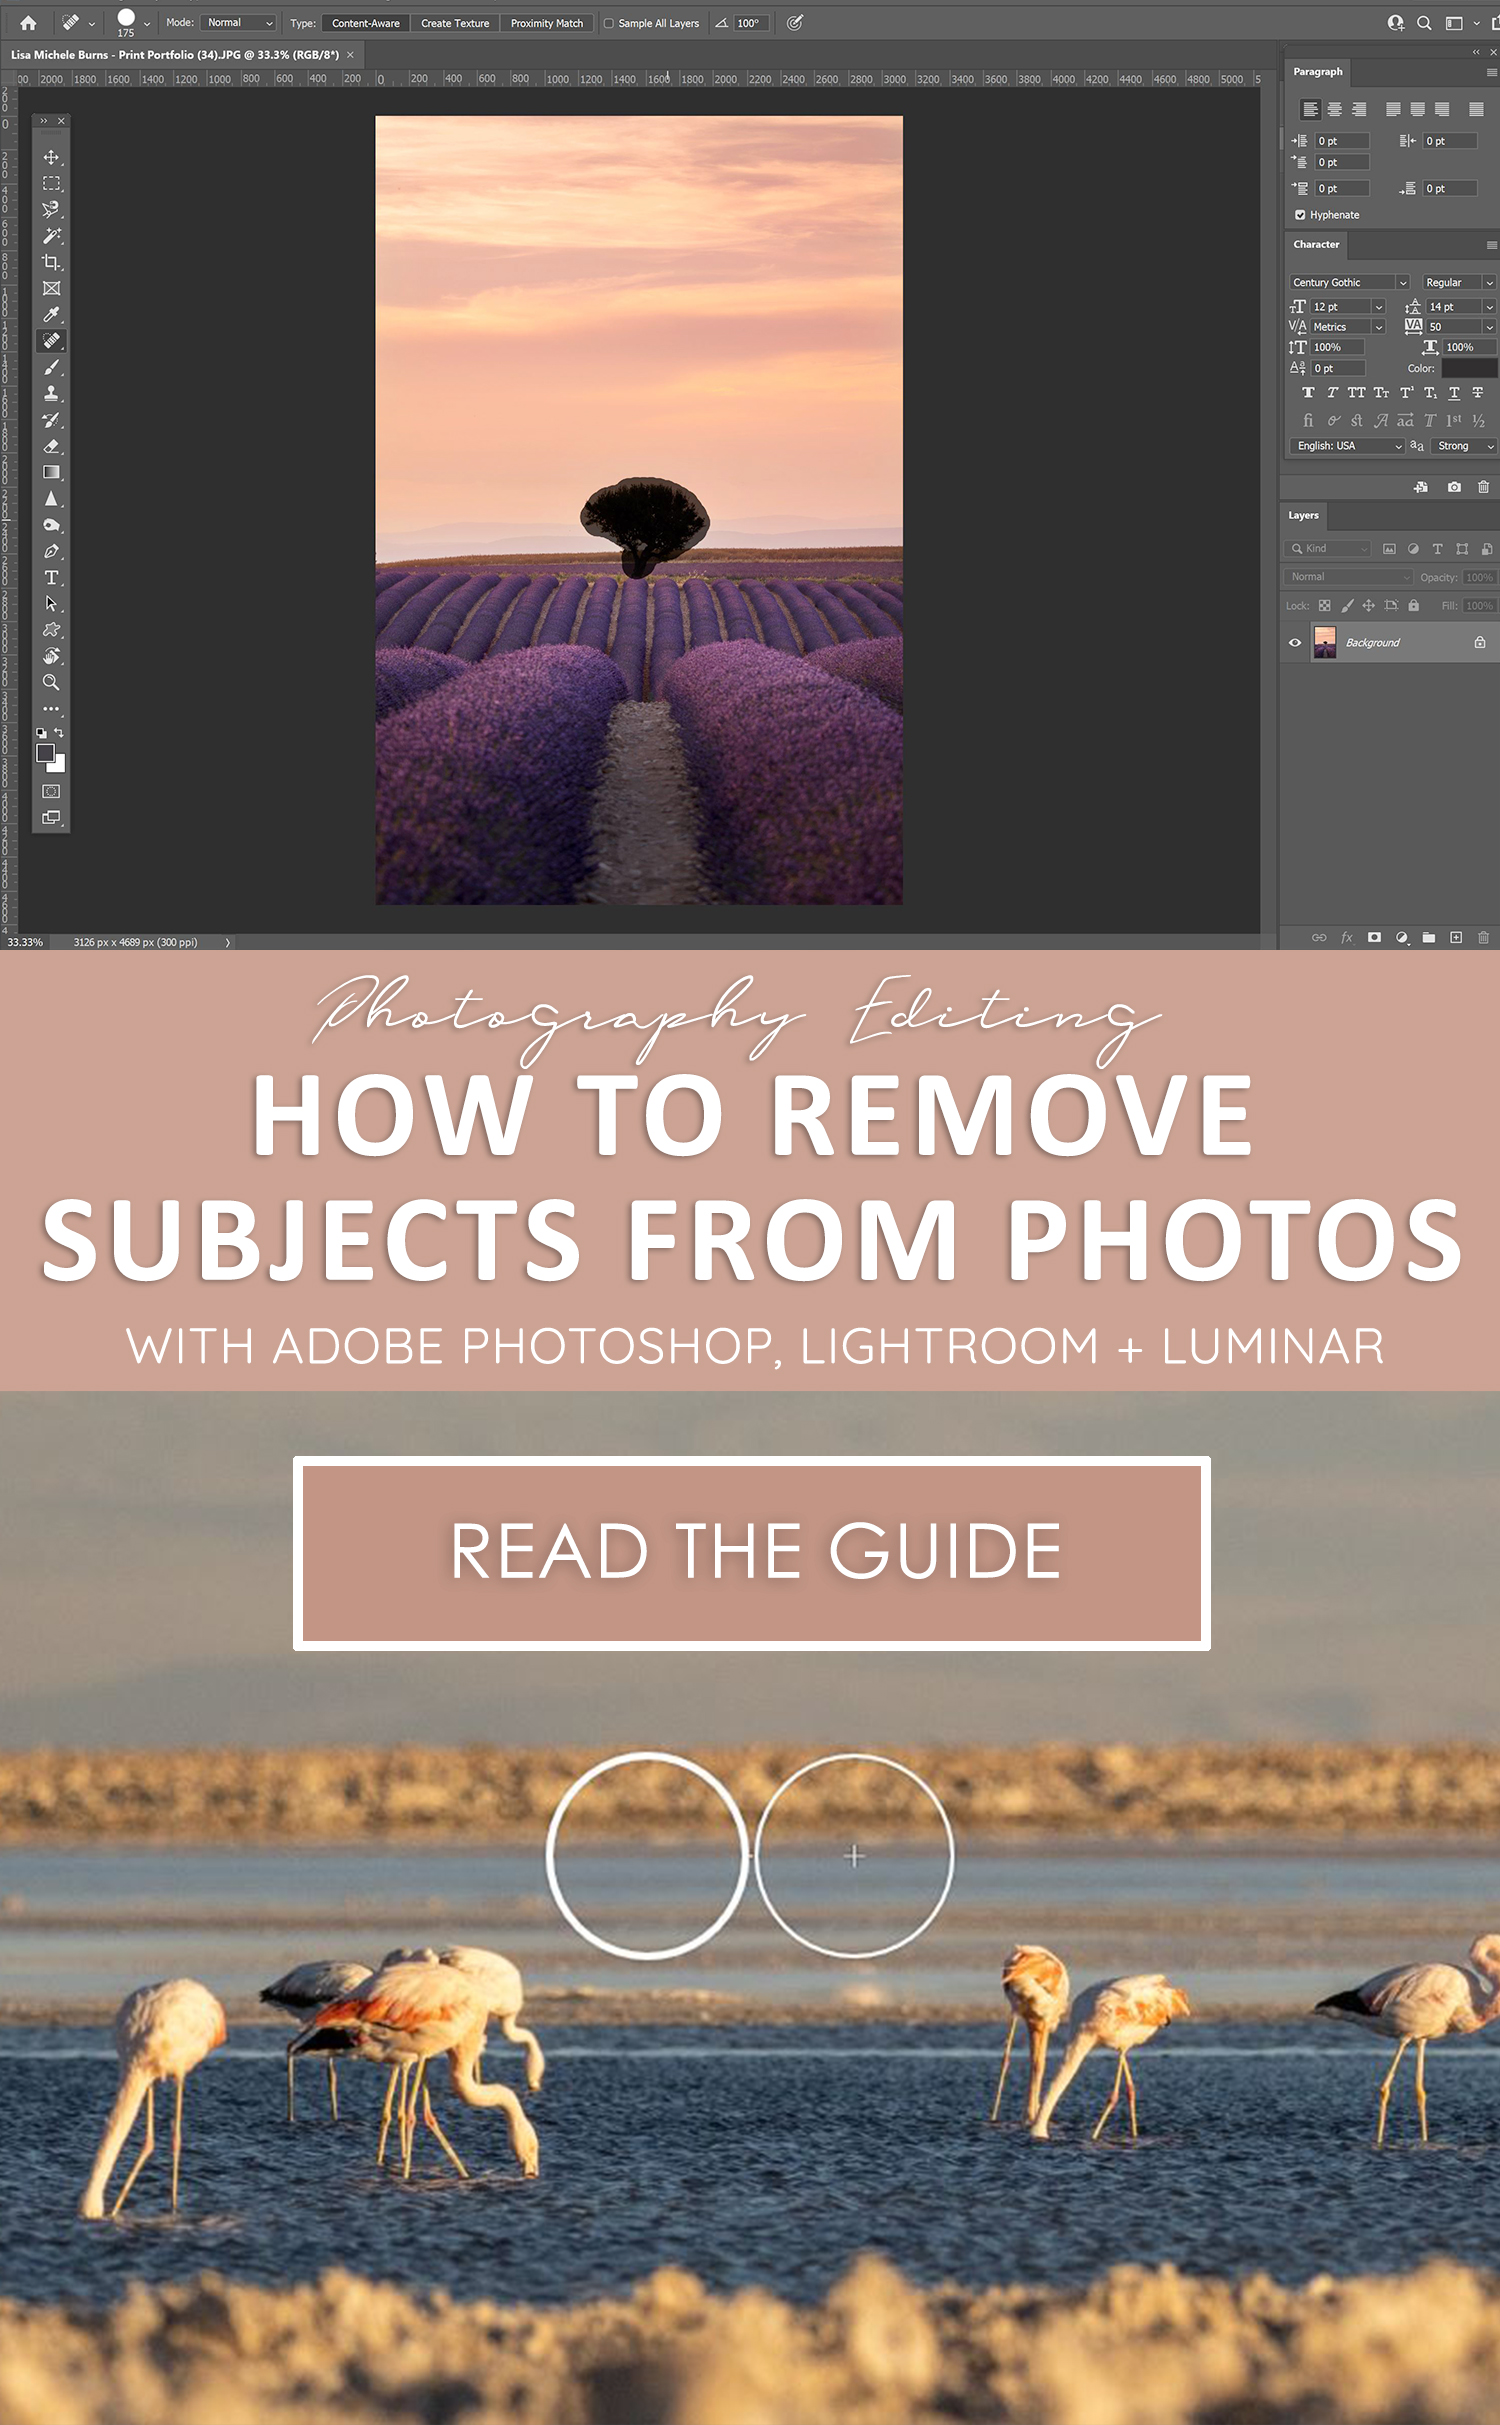
Editing Tips – Remove an Object from a Photo
Removing a subject or item from your photo can help enhance the scene and allow your image to remain clutter free. Perhaps you want to remove a person from the photo, remove objects or just want to clean up the image, removing dust spots, rubbish or little marks.
When editing your images, regardless of whether you’re photographing portraits, travel, landscapes or another genre, you may come across the need to remove unwanted elements.
The aim of creating a beautiful photo is to remove distracting which can deter the viewer from seeing the subject and instead be drawn towards something like a piece of rubbish on the ground. You want all eyes to be focused on the story you’re attempting to tell or the scene you wish to showcase without any other little features getting in the way.
Removing a subject from your image can be a small job such as removing a single dust spot, or a more time-consuming process like removing footprints in the sand from a crowded beach.
What are some reasons you might want to remove objects from your image?
- They’re distracting from your intended focus
- Dust spots or marks from your sensor are visible within the image (never send your client an image with dust spots and always look over every mm to ensure there aren’t any visible!)
- A branch might be covering part of the scene and its presence isn’t required to showcase the overall beauty of the landscape.
- There may be little pieces of rubbish or unsightly patches of dirt or stains that can easily be removed with a spot healing brush.
- You may wish to remove scars or pimples if a client requests this.
Most editing programs will have the ability to remove subjects and once you’ve found how to do it, it’s a great way to clean up your images when needed.
Here are some tips from removing subjects from photos on each editing program I’ve personally used –
Adobe Lightroom –
In Lightroom you can use the Spot Removal tool which works to replicate the area surrounding the spot you’re keen to remove. You’ll find it in the ‘Develop’ mode, second across in the row of tools or can open by pressing the keyboard shortcut ‘Q’.
There are two options:
Heal Matches the texture, lighting, and shading of the sampled area to the selected area.
Clone Duplicates the sampled area of the image to the selected area.
Once you’ve selected the area you wish to repair, drag it across the image and you’ll see it replaced by related content. I’ve personally found it’s not as consistent as the Spot Healing Brush in Photoshop however if you’re used to editing with Lightroom you’ll probably have no issues.
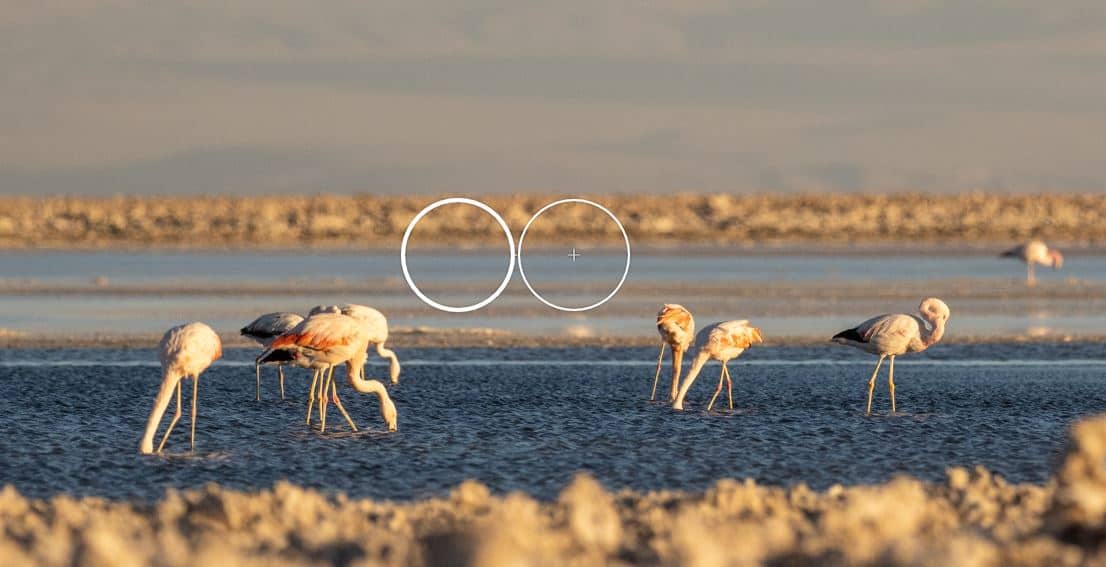
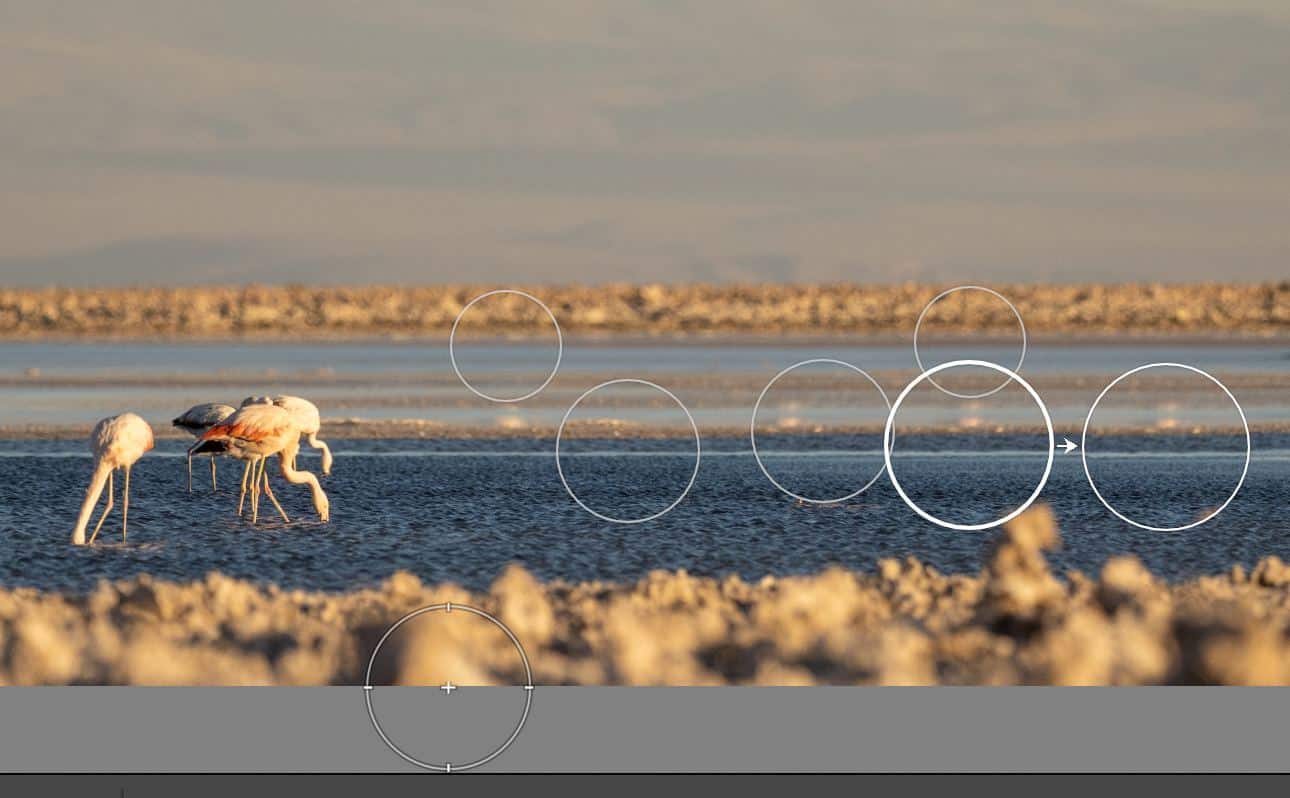
*As you can see in the screenshots above, I’ve used the spot removal tool in Lightroom to remove the Flamingos as an example. You can also see that the next step would be to remove the reflections and smooth out those small sections on the water that were created by the light reflecting onto the surface.

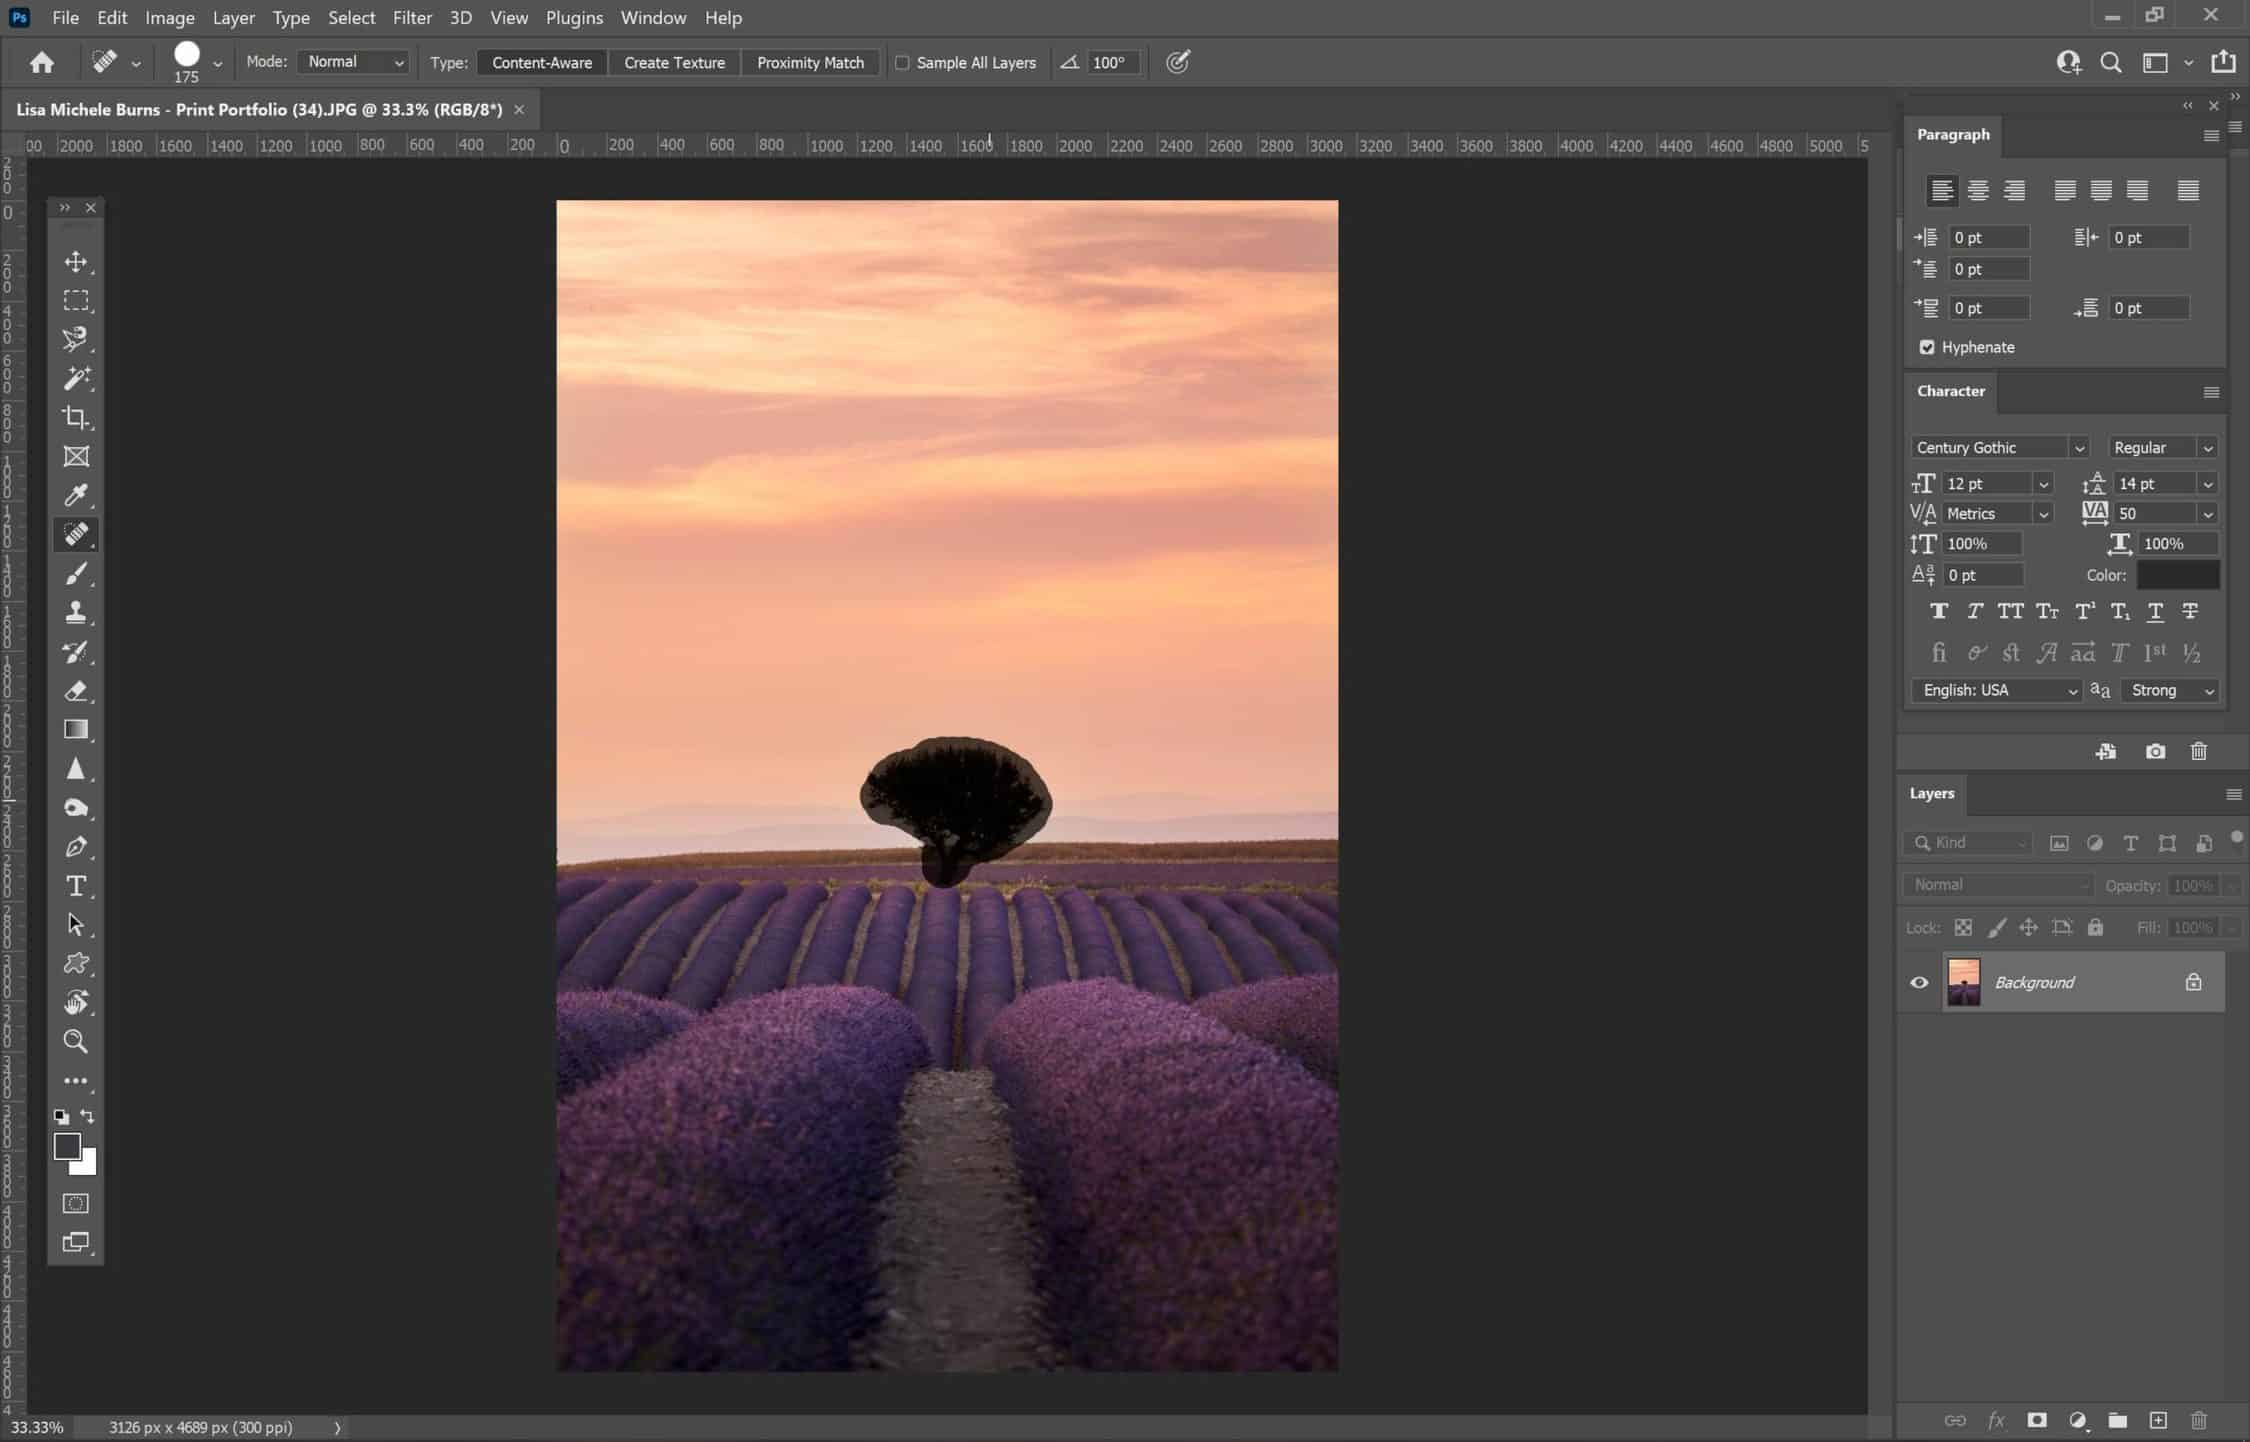
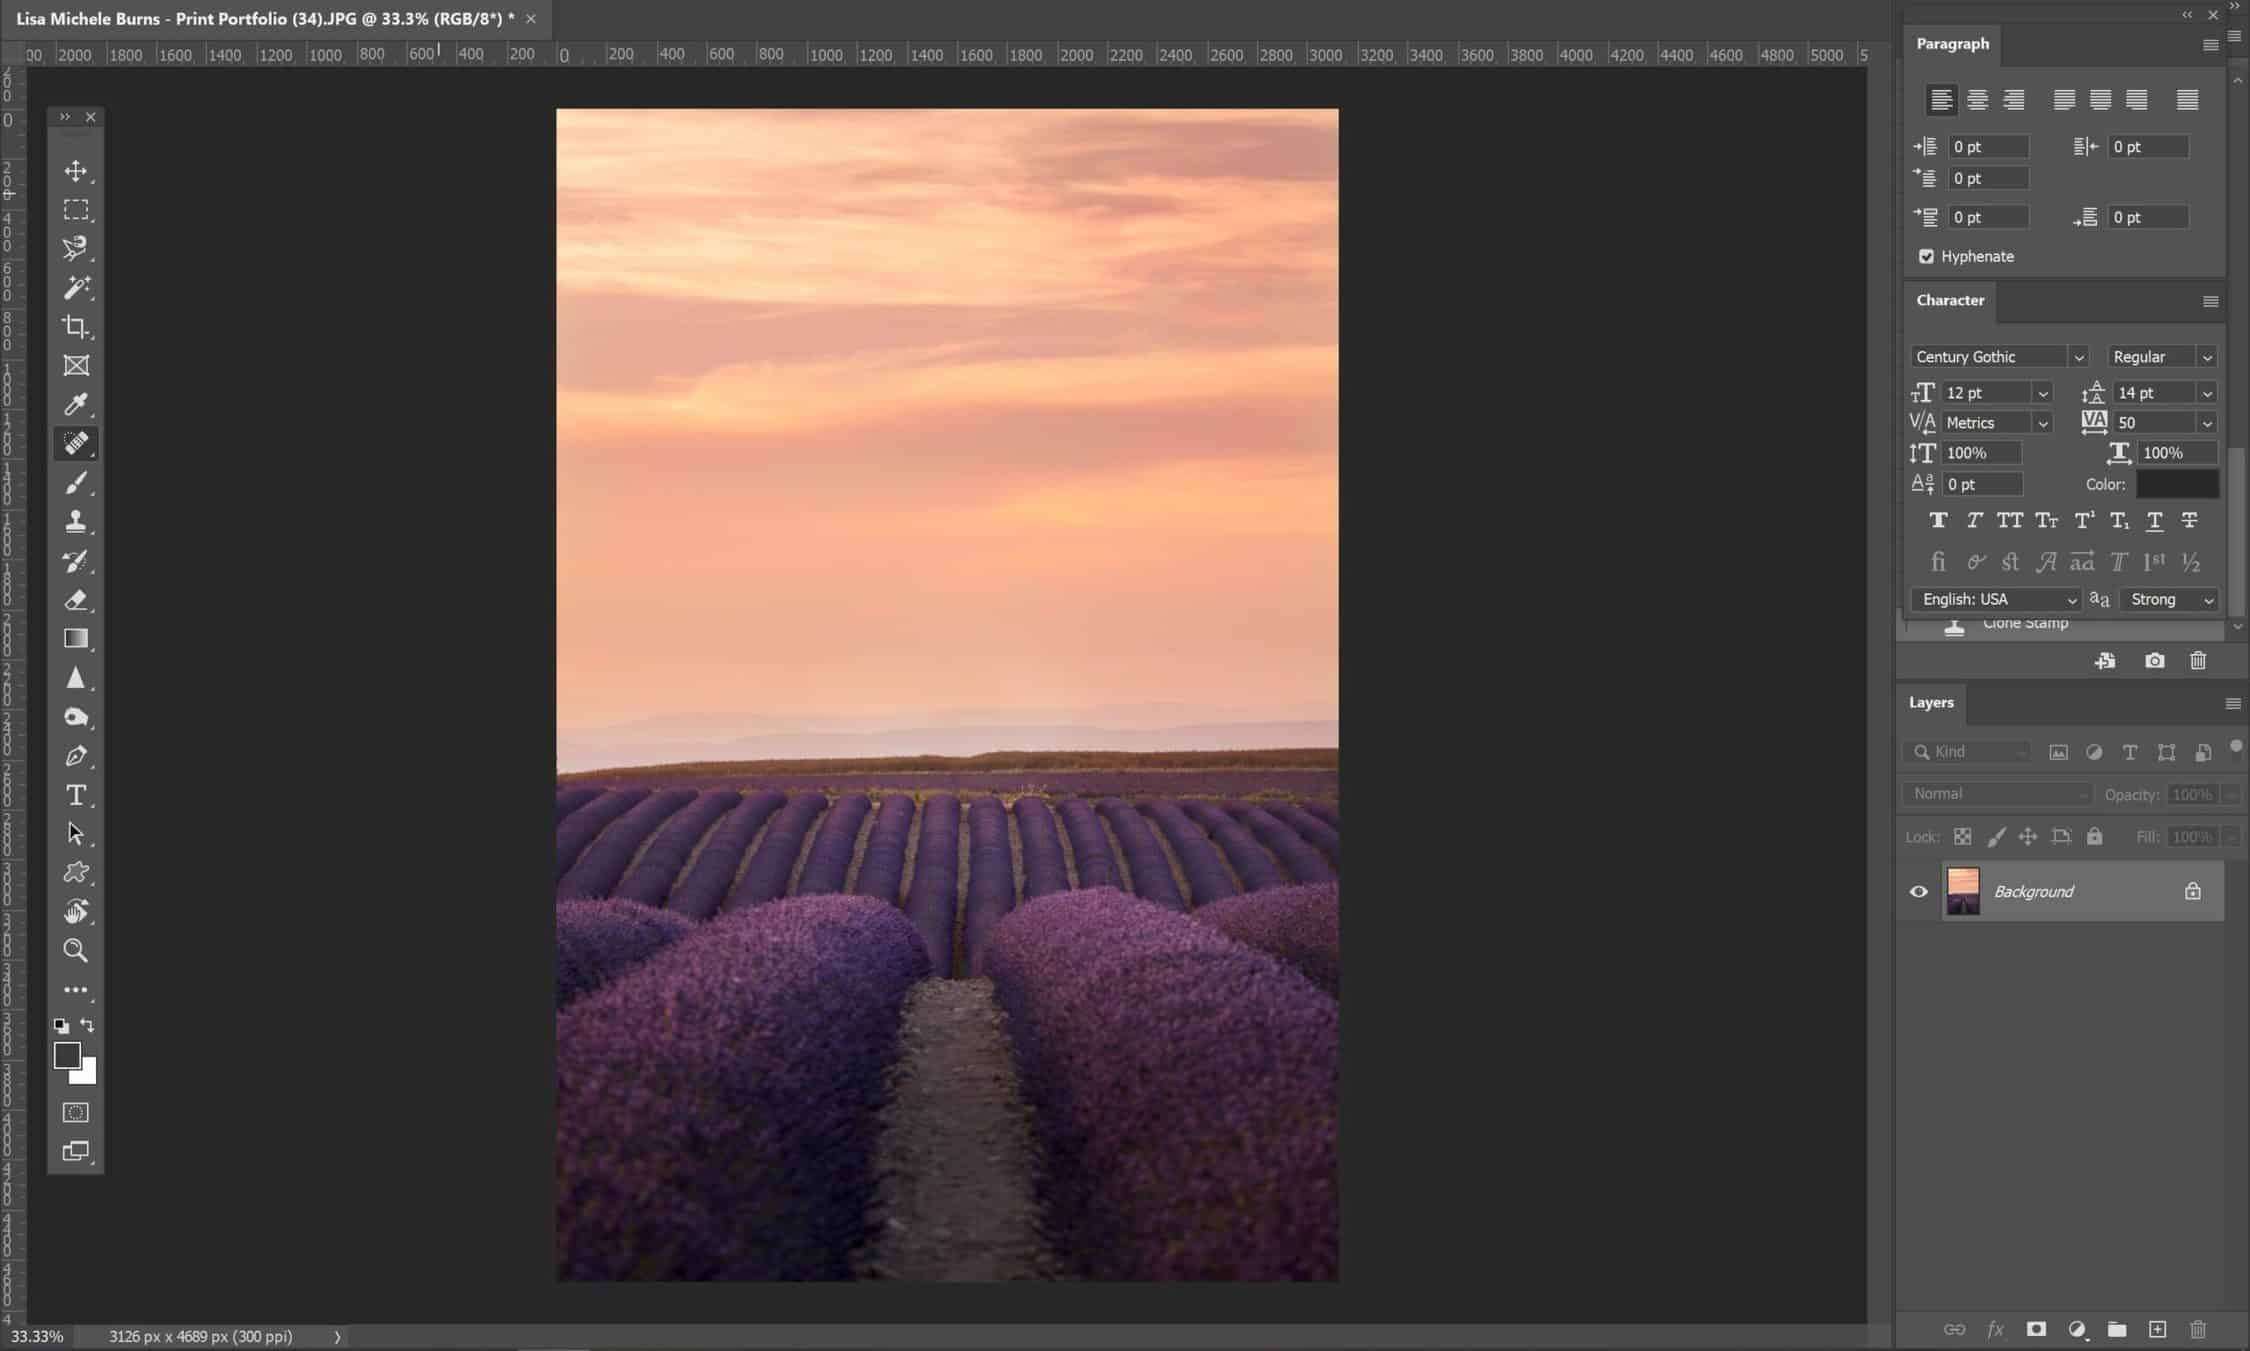
Adobe Photoshop –
In Photoshop there’s the Spot Healing Brush which works similar to the Lightroom tool however I find it a little more precise when using the ‘Content-Aware’ mode.
Simply use the bracket keys to enlarge or minimize the size of the brush and place it over the object you wish to remove. I LOVE playing with this to get rid of unwanted things within my landscape photos in particular. Tiny details like footprints in sand, the odd piece of seaweed that doesn’t contribute to a beach scene, rubbish bins…anything that distracts from how I want the scene to appear.
You can also use the Clone tool to pick up an area of your image and stamp it over something you wish to remove, this is one technique people prefer to avoid the guesswork of the Spot Healing Brush. Sometimes you may need to also use the Clone tool to fix up any little issues or joins created from the spot healing brush.
There is also option to adjust the size of the shape too, so if you’re working with small dust spots, ensure the spot removal tool is nice and tight over the subject so you’re not impacting any other elements of your photo.
Luminar 4 –
You’ll find both the Erase, Clone and Stamp tools will help to remove unwanted objects using Luminar. If you haven’t yet tried this program, it’s one of the most talked about newbies and I think it’s well worth trialling to see if you fancy it. The Clone + Stamp tools work by selecting the object you wish to remove and replacing it with similar pixels so it blends into the image, similar to Content-Aware in Photoshop. With the Erase tool, it’s more like using a paintbrush in which you brush over the area you want to remove and let the magic of the program do the rest.
Just like the other two programs, you’re able to control the intensity and size of the replacement pixels when removing subjects from your photos with Luminar.
What to look for when removing objects from photos?
- When using any of the tools to remove a subject, you want to keep an eye out for any details that were impacted in the edit.
- Do the lines within the image still all join naturally?
- Has the removal created any pixel patches that don’t look quite right?
- Did the spot healing brush or eraser create a new area that didn’t really blend well?
- Is the colour matched and blended correctly into the original image?
The removal tools, while very near perfect, aren’t always 100% accurate so it’s always essential to zoom and really look into your image to ensure all the little elements still line up naturally.
You want it to appear as if what you removed, was never there in the first place so double checking and getting in nice and close will help reveal any errors or further adjustments that need to be made.
Related articles:
How to Create Pastels in Photoshop and Lightroom
Photoshop Editing: 3 Magic Tools to Use


Hello! I’m the founder and photographer behind The Wandering Lens.
With 19+yrs experience as a professional travel and landscape photographer, all advice found on this site is from my personal experience, or that of contributors, on the road. I hope it’s useful for your own travels and would love to hear in the comments about your trips and experiences around the world.

Leave a Comment