
Learning to adjust your cameras shutter speed is one of the first steps to controlling how a photo is created.
Knowing how fast or slow you want the shutter to be will help the camera to let more or less light into the image, hence producing the creative result you hope to achieve.
Once you’ve got the hang of adjusting the shutter speed you can create beautiful blurred shots with movement which is what I’ll go into more detail in this post. While shutter speed is relevant to every photo you take, most times it’s roughly about the same speed if you’re shooting in daylight or a well lit environment.
To begin adding the element of movement, this is where the fun starts.
Firstly, to find where to adjust your shutter speed have a scroll through your cameras menu. Some cameras will have a quickfind button or touch screen solution however others you’ll have to dig a little deeper and adjust in the settings menu.
Now for a quick explanation about what shutter speed is…put simply, it’s the length of time your camera’s shutter is open. If it’s open longer, more light is let in and you’ll have to keep super still if you want a clear shot. If it’s open for a shorter amount of time you’ll essentially be freezing time.
I like to judge it by the sound the shutter makes. You get a really cool ‘click’ when it’s open longer, a little bit like a ‘click….click’ (descriptive I know!) one click for when it opens, the other for when it closes. That’s when you know you’ve got it set as a slow shutter speed. If it’s faster/shorter you’ll hear one quick ‘click’.
Here’s a diagram for the visual people…
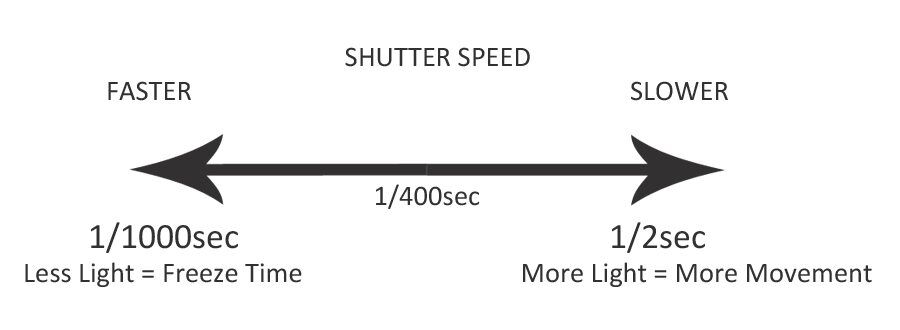
Here are a few techniques to use and test out the various shutter speeds.
Freezing Time
Set your shutter speed to something super fast like 1/1000sec and photograph a moving object. You’ll find it’s completely stopped in time and frozen in the photo. This works really well with water droplets, plane propellers, dogs shaking after a bathies…
Of course I always choose to practice on my dog so here she is in the garden with water sprays caught mid air.
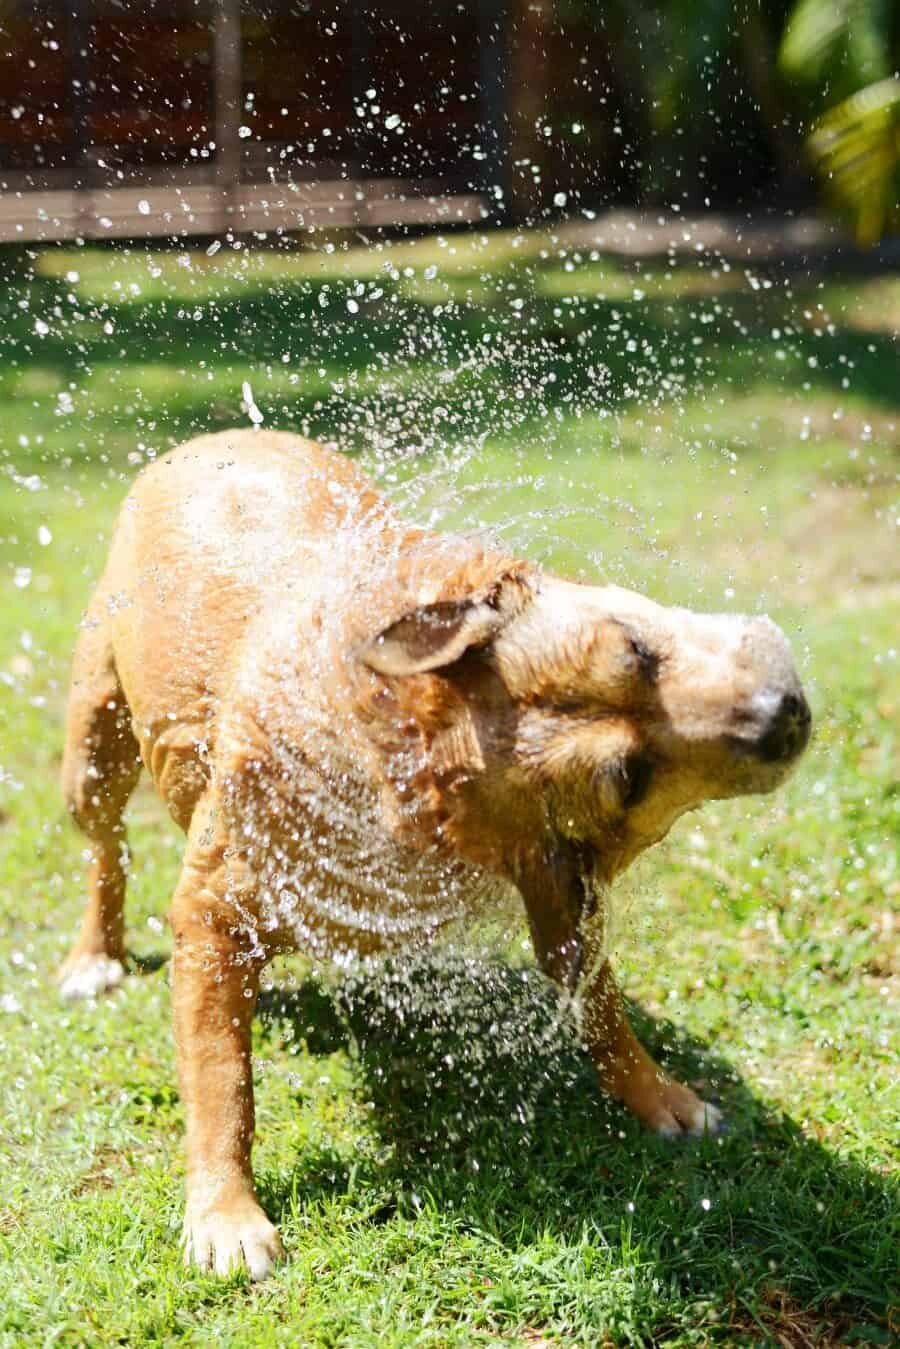
Settings Info: Shutter Speed: 1/1600sec, ISO 200, Exposure +0.7, f/2.8
Slow Motion
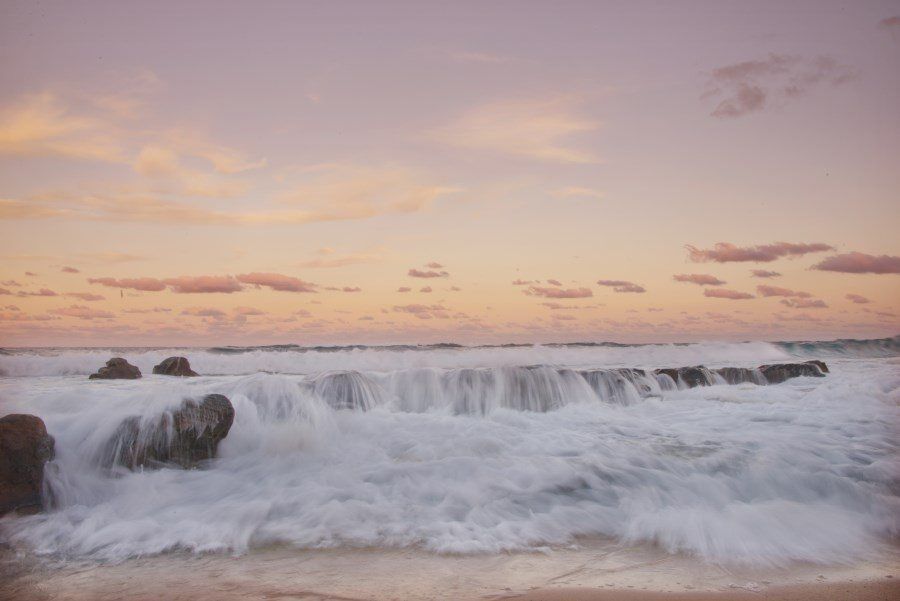
The longer the shutter speed is set the more light is let into your camera meaning more movement. You can choose to keep the camera still on a tripod for a longer exposure and sharp image but having the longer shutter speed will mean any moving element will be blurred. A blurred photo doesn’t always have to be a bad thing, sometimes blurring a certain element can create a beautiful effect.
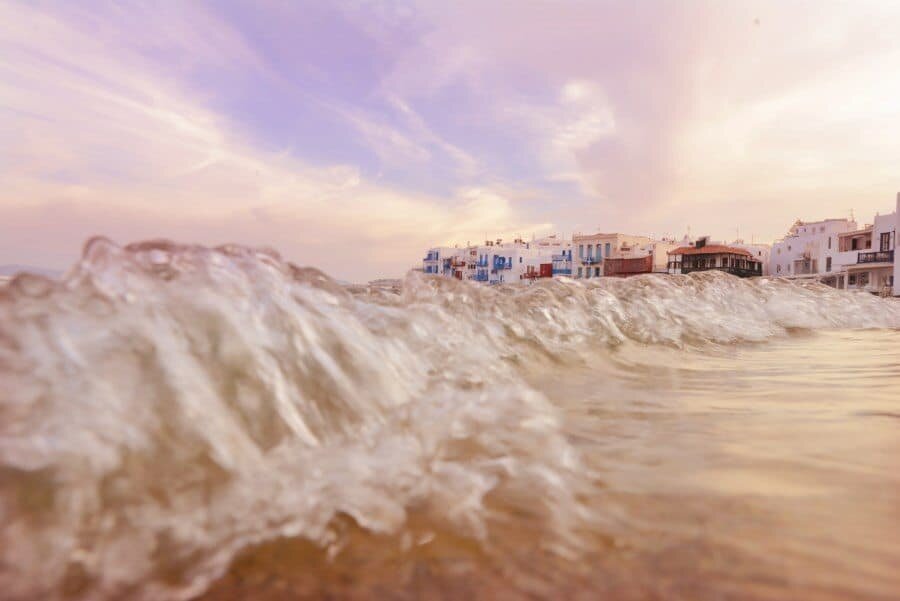
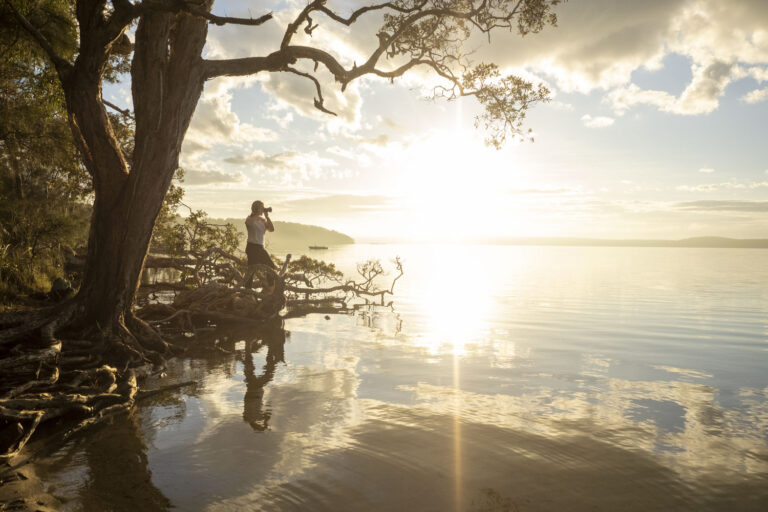
Let’s take a wave as an example. If you’re at the beach and want to capture sunset creatively, try to blur the movement of the waves using a slower shutter speed. Because the sand will remain still, the movement of the blurred water will add an artistic element to the image and draw people into the shot.
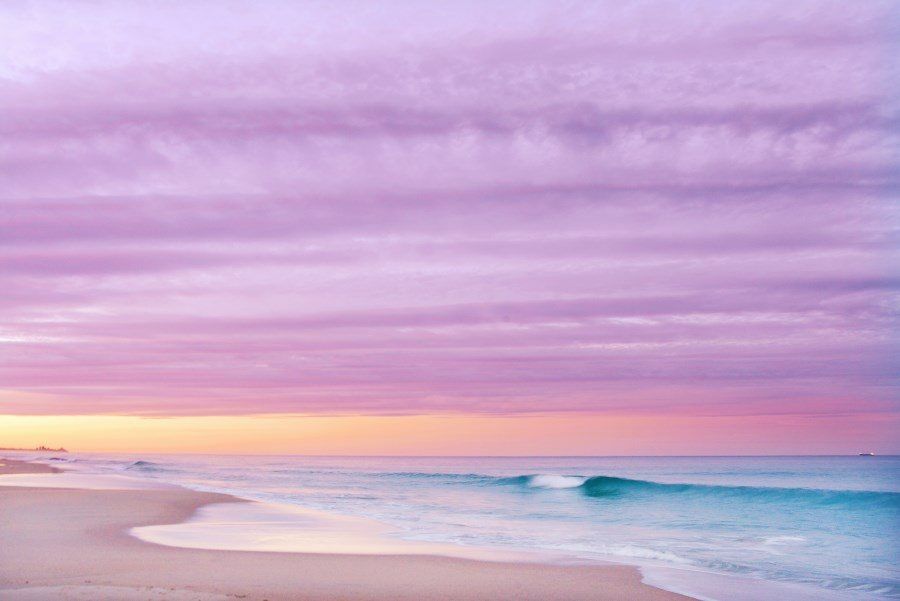
Settings Info: Shutter Speed: 1/3sec, ISO 800, Exposure +0.3, f/9
Total Blur
A total blur can be a disaster if you didn’t intentionally mean it, but if you did, the results can be exciting and addictive! To create a total blur, I love to capture the horizon at sunset or dusk, preferably by the ocean.
Using the colours of the sky with the blue of the ocean you can use a long shutter speed to open the shutter up and absorb the light as you turn from left to right. In short, making yourself a fast turning tripod. Keep steady at your hips and spin at the top ensuring you keep the horizon really straight in the photo.
A shutter speed between 1/15sec to 1 second roughly works best at dusk, if there’s more light you might need to extend it a little longer.
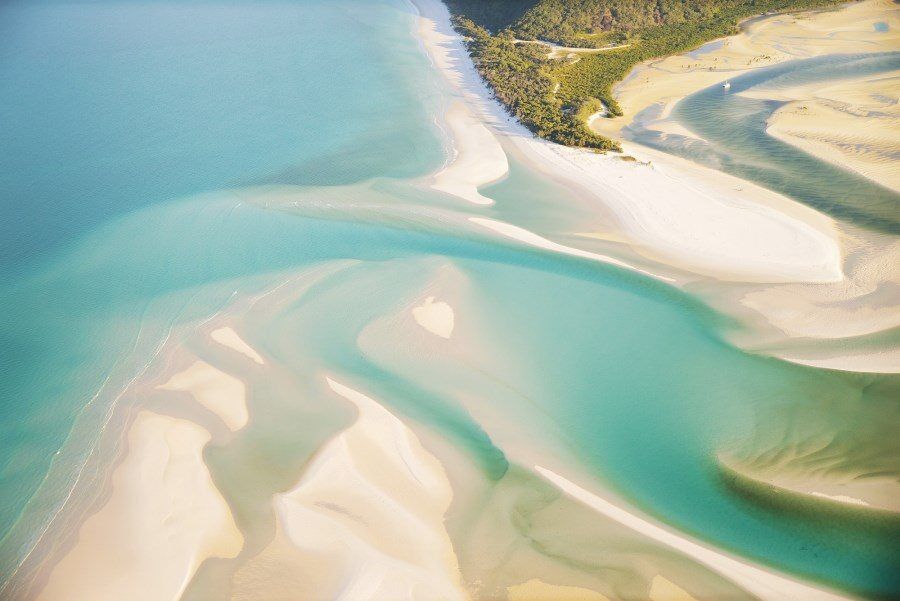
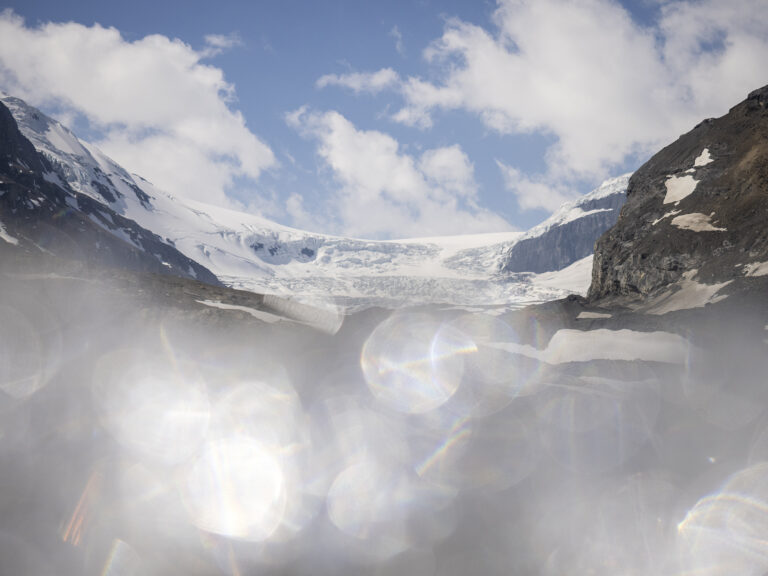
The two shots below were taken with this technique, one at dusk in Iceland, the other at sunset in the Whitsundays, Australia.
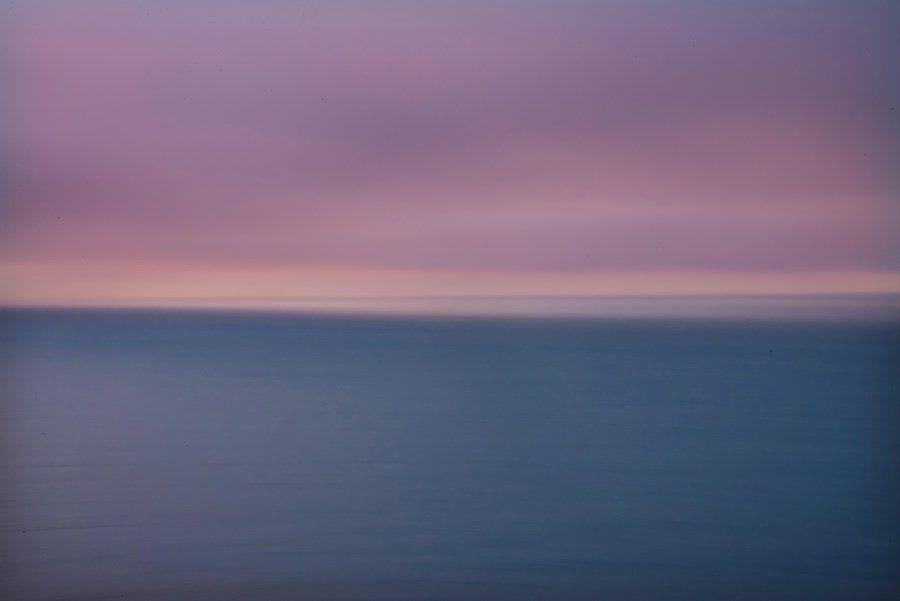
Settings Info: Shutter Speed: 1/15sec, ISO 1250, Exposure -0.3, f/29
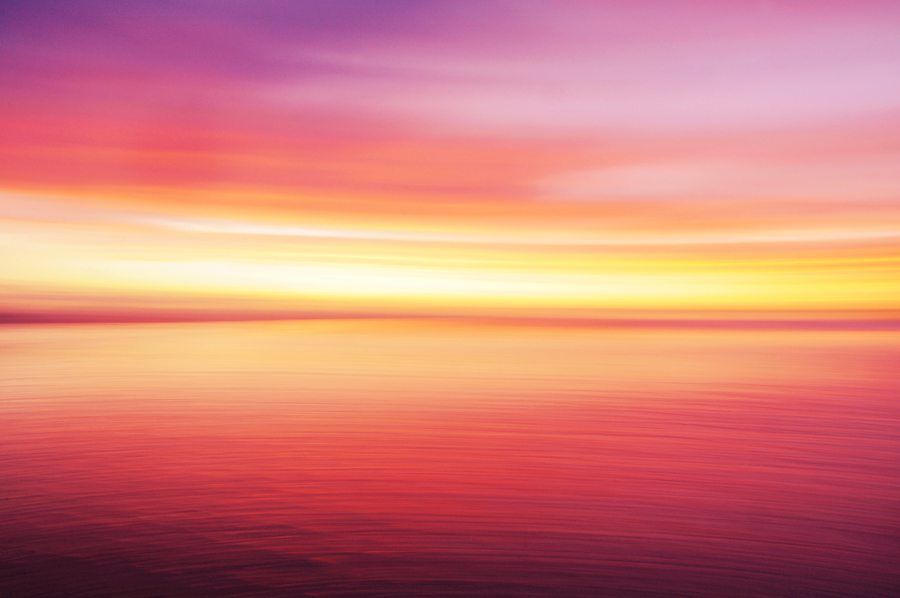
Settings Info: Shutter Speed: 0.6sec, ISO 320, Exposure +1.3, f/22
Be sure to experiment with your shutter speed, there’s no textbook way of doing things in photography! I like to do a few test shots and see how the light is reacting to each speed, it’s just a matter of finding what works for what you’re trying to create.
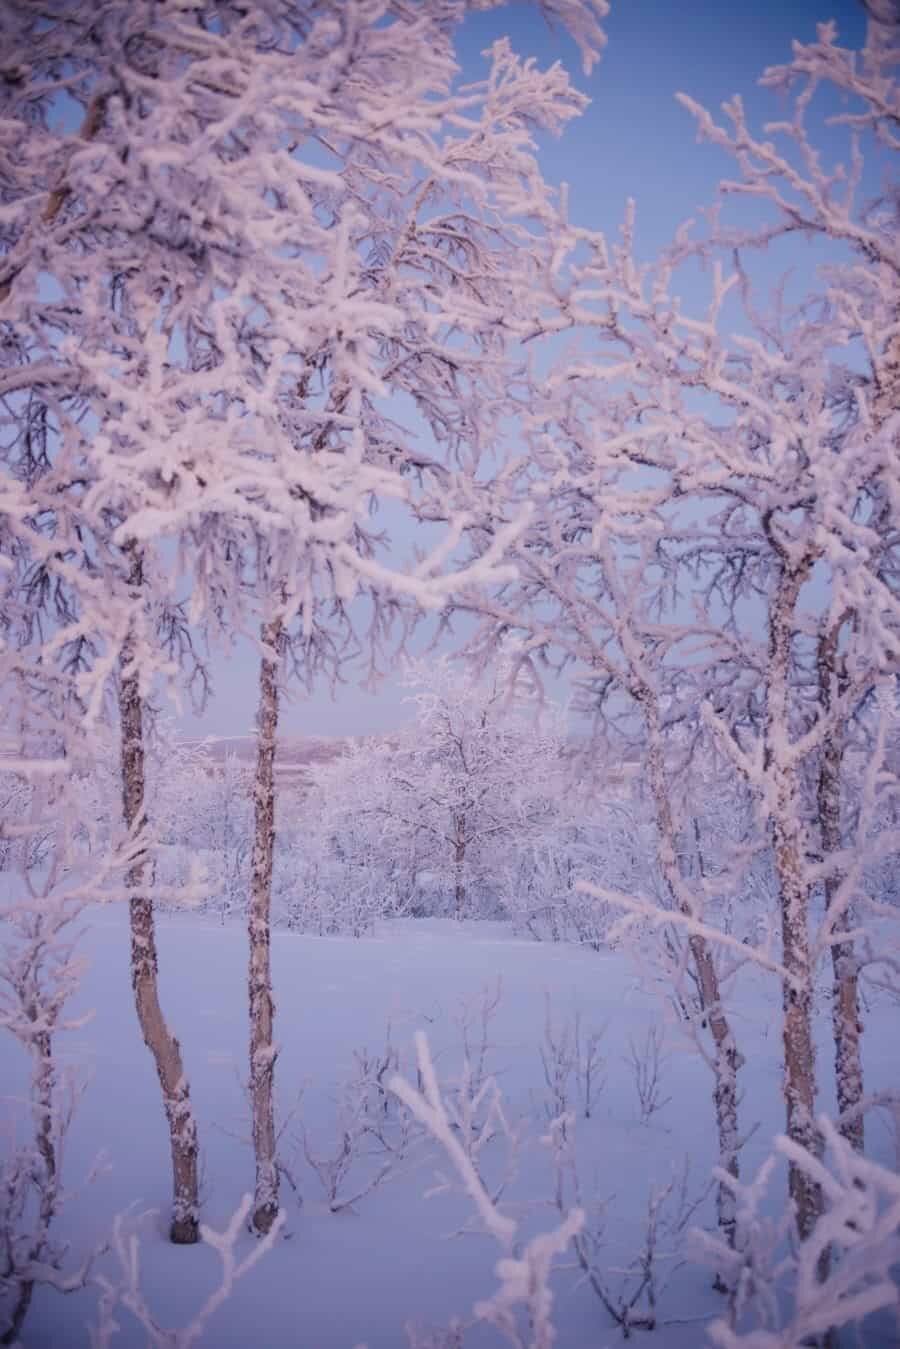
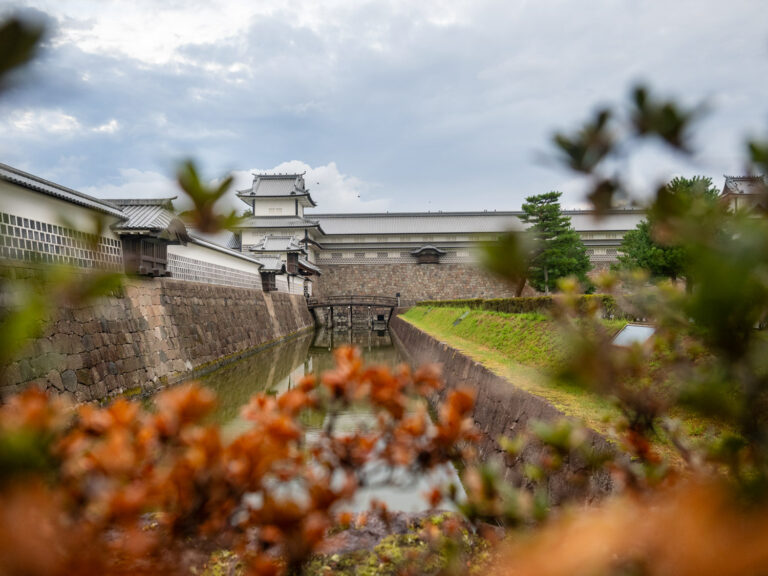
Here are a few of my travel and landscape shots and the settings I’ve used to capture them…
Settings Info – Shutter Speed: 1/10sec, ISO 160, Exposure -0.3, f/22
Settings Info: Shutter Speed: 1/80sec, ISO 500, Exposure -0.7, f/3.5
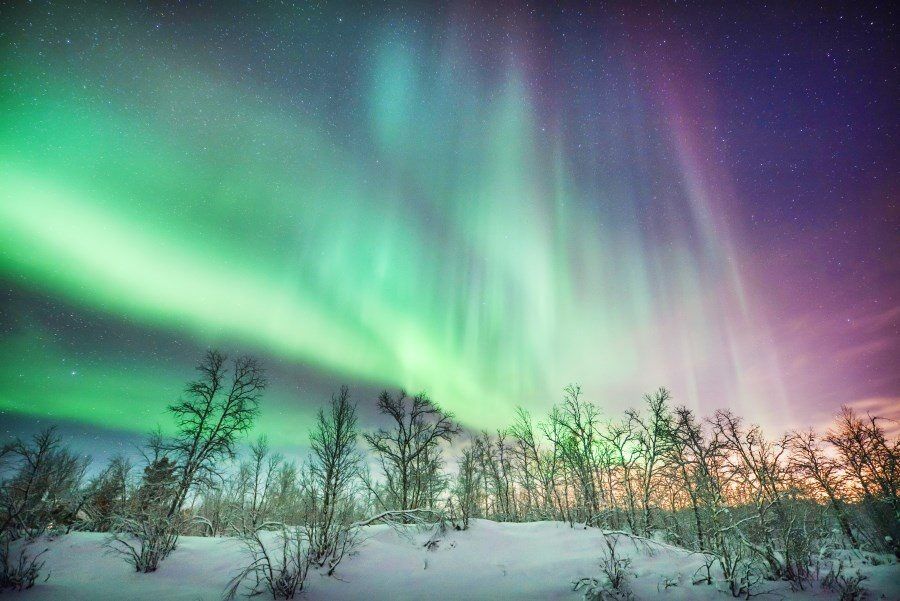
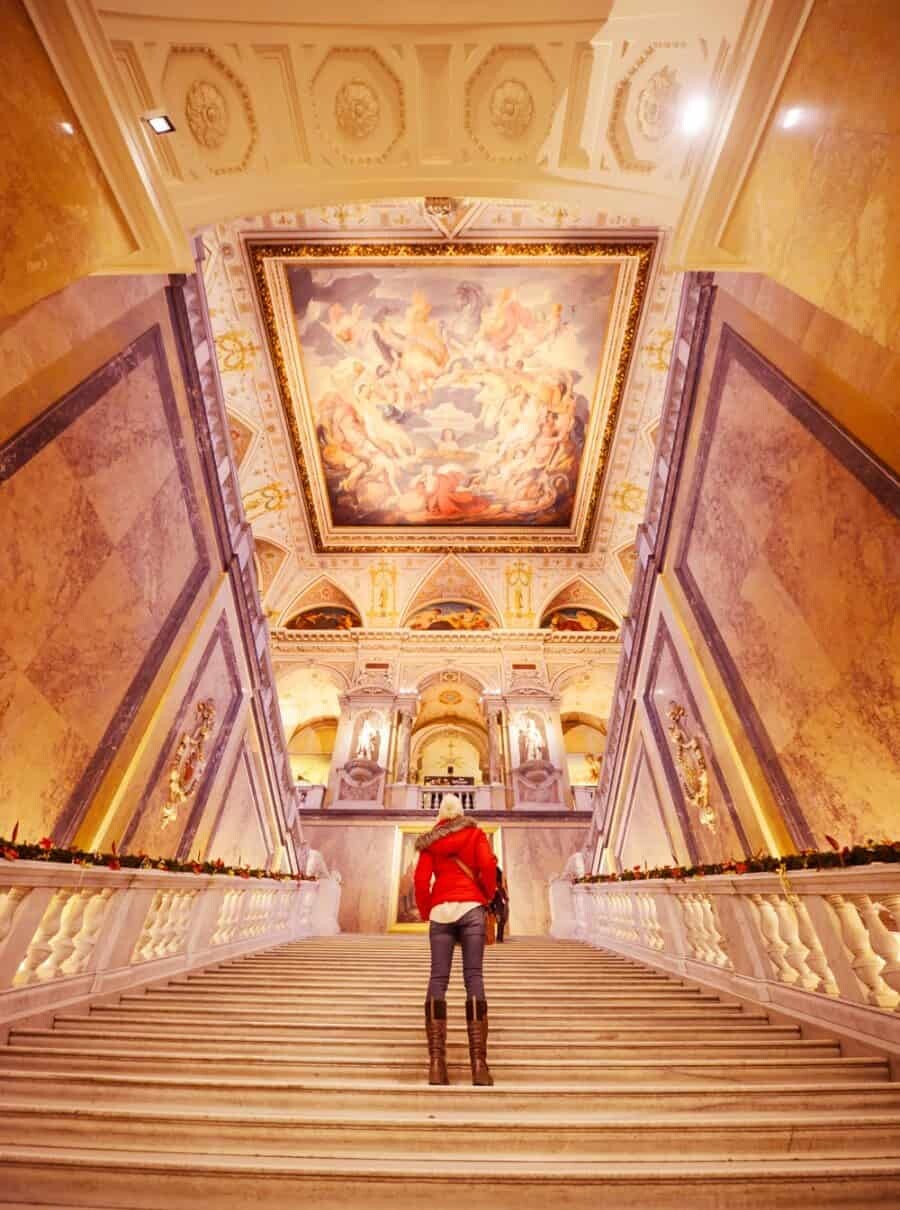
Settings Info: Shutter Speed: 13sec, ISO 1600, Exposure +1.7, f/2.8
Settings Info: Shutter Speed: 1/40sec, ISO 1000, Exposure -0.3, f/2.8
Settings Info: Shutter Speed: 1/1250sec, ISO 640, Exposure +0.7, f/4.5
Settings Info: Shutter Speed: 1/100sec, ISO 320, Exposure +1.0, f/10

Settings Info – Shutter Speed: 1/60sec, ISO 320, Exposure 0, f/5.6
Hello! I’m the founder and photographer behind The Wandering Lens.
With 17+yrs experience as a professional travel and landscape photographer, all advice found on this site is from my personal experience on the road. I hope it’s useful for your own travels and would love to hear in the comments about your trips and experiences around the world.
Leave a Comment