
Photo Tips – Camera Care in Extreme Climates
When venturing away on a trip with your camera you’ll probably check to see what weather you’re expecting beforehand. If you’re like me, weather forecasting is one of the fun parts about visiting a new destination but the conditions are also something you need to factor in for your camera equipment. One thing to always keep in mind is how your camera will react and how to protect it from any extreme environments and climate conditions out of your control.
Now I’m not just talking about the wildest places on earth, you might be heading to the snow for a week of skiing or to a tropical island where you’ll be around a lot of water and humidity. Both environments create the same type of problems for your camera and both just take a little bit of pre-planning in order for your gear to remain in good condition.
The main issue effecting cameras is condensation which results from a change in temperature when you’re walking in and out of a hotel room or from an air conditioned car to the beach. Any dramatic change in temperature will also be felt by your camera so I’ve put together the below pointers to help you out for your next adventure.
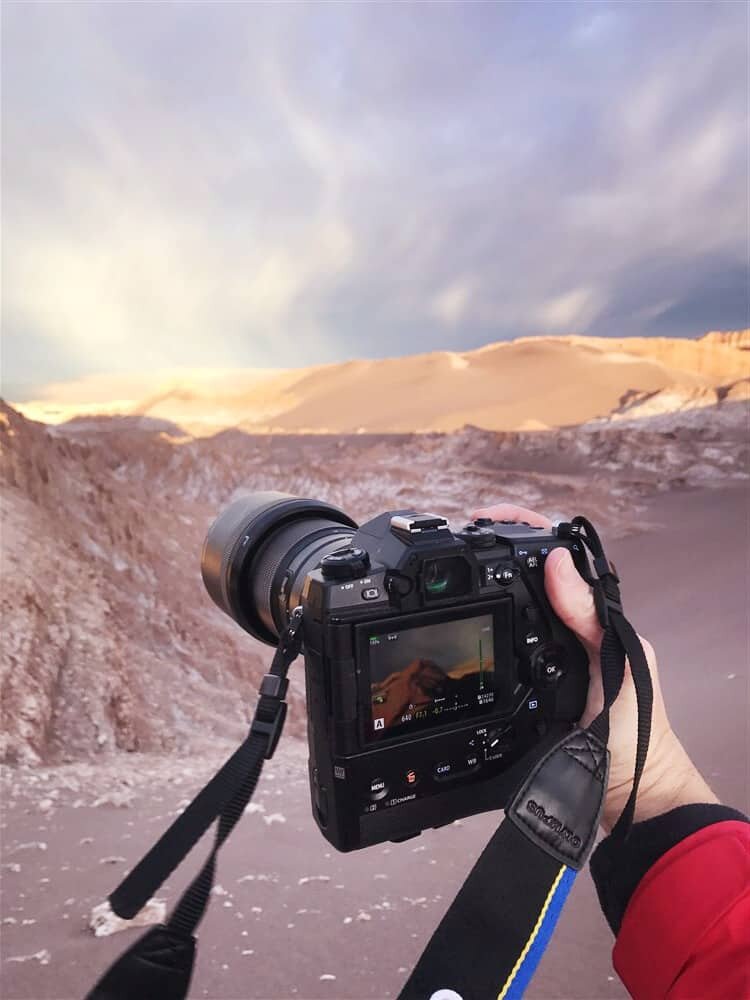
Depending on what camera you use, your equipment will have some sort of weather protection. It may be minimal, or like my Olympus E-M1 MKII and E-M1X, it might be ready for action and can protect itself against all of the elements like wind, rain, snow and dust/sand…knowing your camera’s limits will go a long way towards coming home with beautiful photos!
Checking the Dew Point Temperature
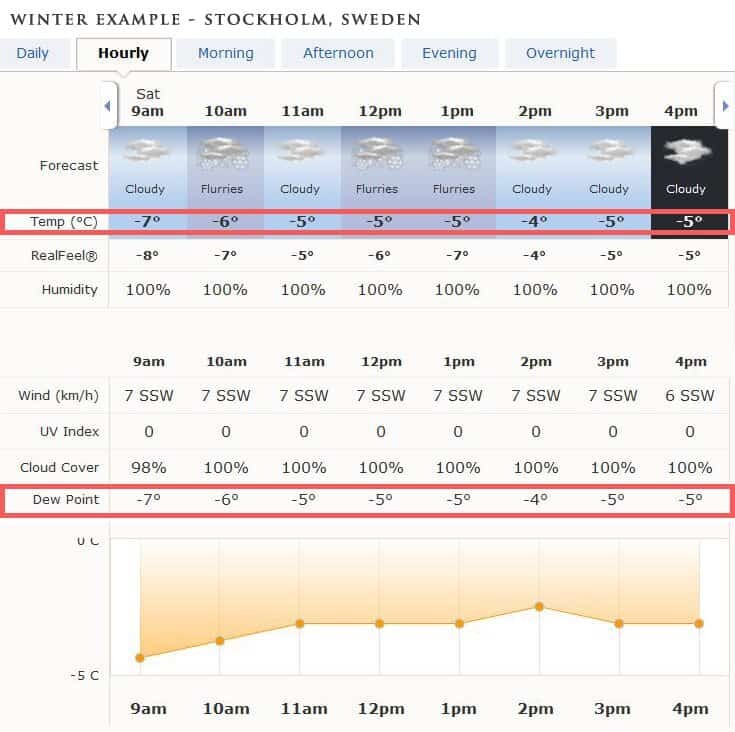
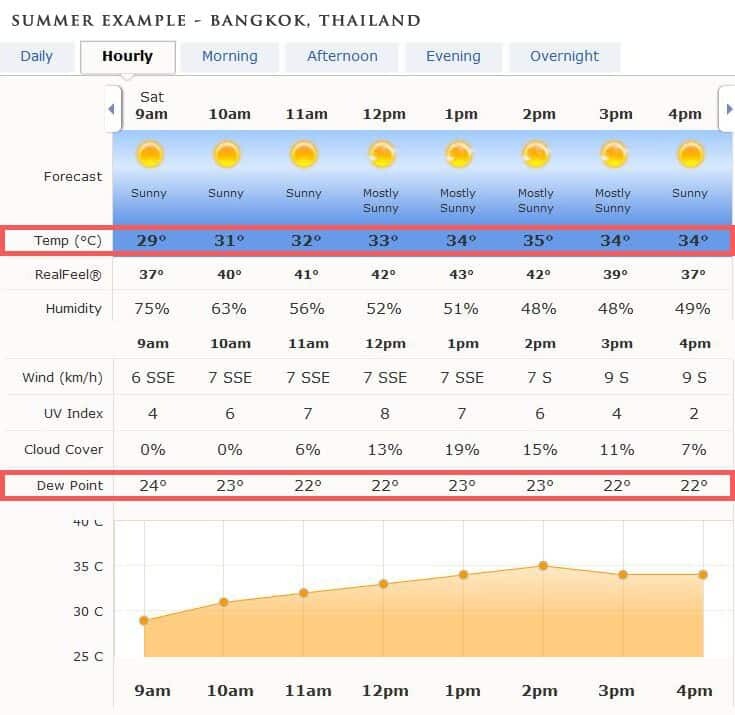
When you check if it’s going to be sunny or wet at your destination, also look for the dew point temperature. You’ll find it listed on most weather websites or apps and this lets you know at what temperature to expect condensation to form. You’ll notice the dew point temp is always a little lower than the actual daily maximum in warm places however once you’re in colder temperatures, it seems to be very similar or even a bit higher.
Have you ever noticed when you walk in and out of air conditioning that your glasses fog up? It’s exactly the same situation for your camera.
Knowing the dew point temperature will allow you to prepare whether or not you need to get ready for condensation. If the temperature is 30degrees, and the dew point temperature is 22 degrees, that means that if you’re in a hotel room with the air conditioning set at 18 degrees, you’ll no doubt experience some fogging and condensation when stepping back outside into the heat.
Take a peek at the forecasts below for winter and summer to see the dew point in comparison to the predicted temperatures.
Humidity – Warm Tropical Destinations
One of the most frustrating situations is when you head outside for the day, want to take a photo and you discover your lens is all fogged up and won’t recover. If this happens, all you can really do is continue to wipe it off the glass with a camera cloth and wait until the camera adjusts to the temperature, or avoid the temperature change in the first place.
DO NOT TAKE YOUR LENS OFF.
Sorry to go all CAPS LOCK CRAZY on you but opening your lens will compromise your sensor and allow condensation to enter your camera…which would create a much bigger problem!
Obviously you can’t sleep in a humid, hot hotel room just to make sure your camera is okay the following day so what do you do? Keep your camera stored in your camera bag, if it’s got a zip seal then it’s best to ensure a nice tight closure to tuck your camera away for the night. Use the camera bag as a portal between the humid outdoors and the cold interior. Most camera bags should be well insulated and will keep your camera at an even temperature that won’t shock it into a foggy fit once you venture out for the day, even so it’s always best to carry it around outside for a little while before opening the bag just to make sure it’s adjusted.
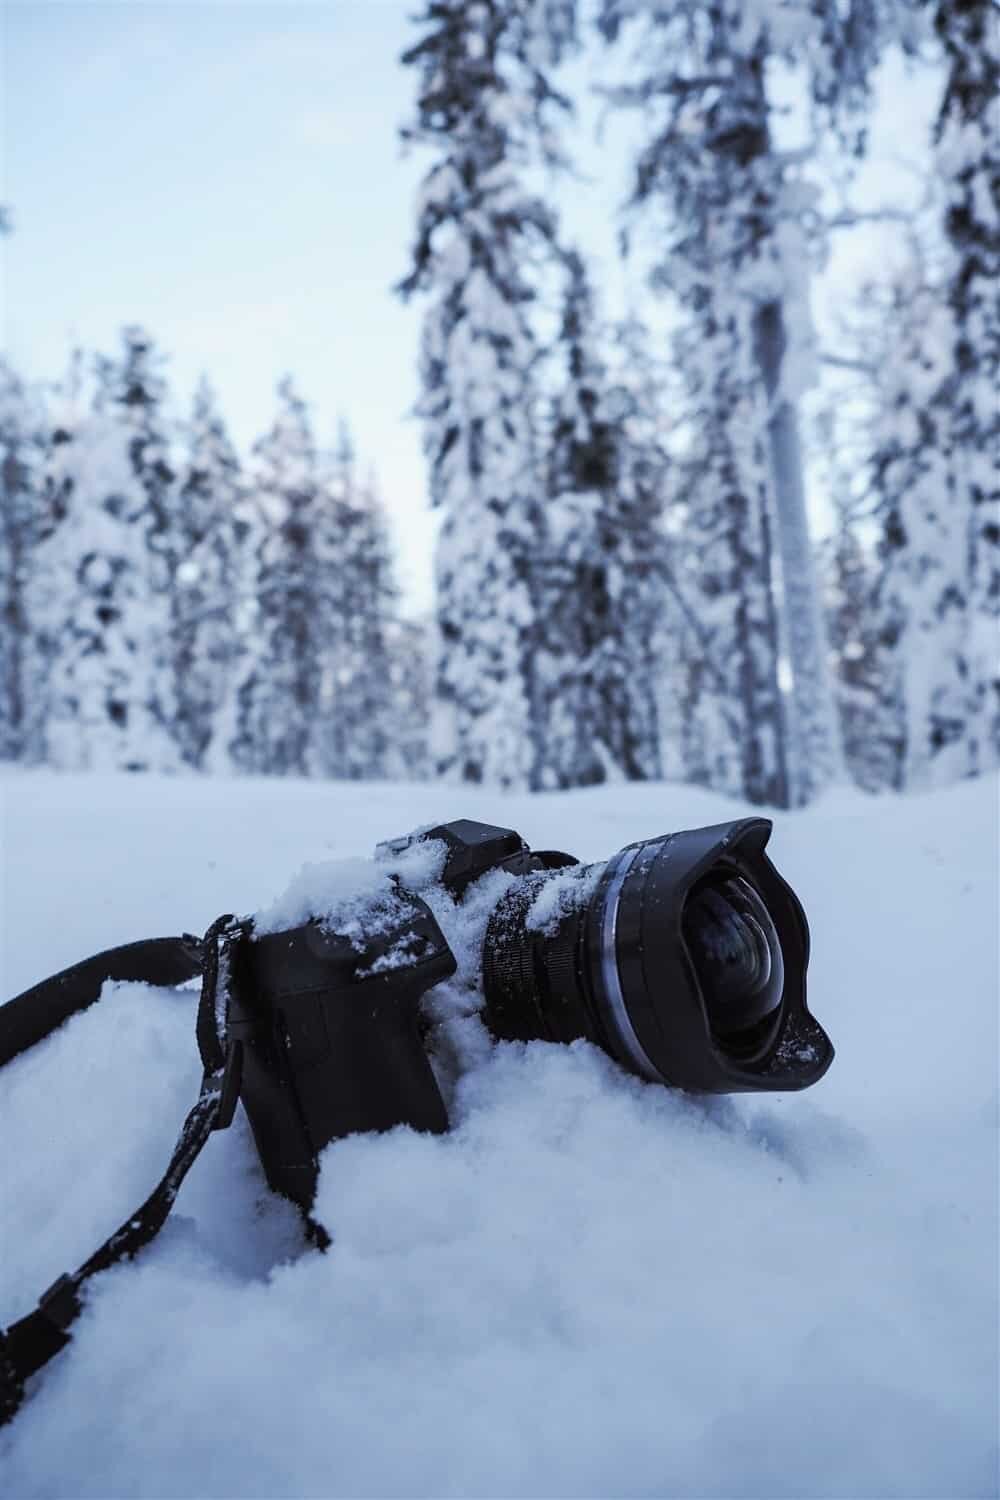
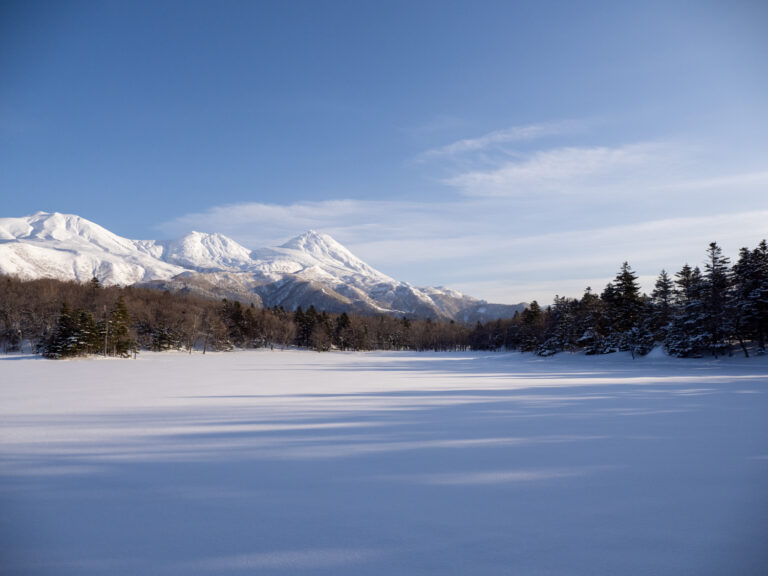
Freezing Cold – Winter Destinations + Snow
Condensation works exactly the same way in colder environments however it’s about keeping your camera at a lower temperature to suit the winter conditions outside. Again this doesn’t mean shivering yourself to sleep to keep your camera happy, it’s just about preparing and keeping the temperature relatively consistent.
You’ll find more often than not, going from warm to cold won’t fog your lens or even create condensation, however going from the cold outdoors to the hot inside will create an instant waterfall that takes over your entire camera, trust me. I’ve done this by accident SO many times because my camera is like an extension to my body and comes with me everywhere…even into a heated spa room where I wanted to take photos, not even thinking my camera was just outside in -26 degrees.
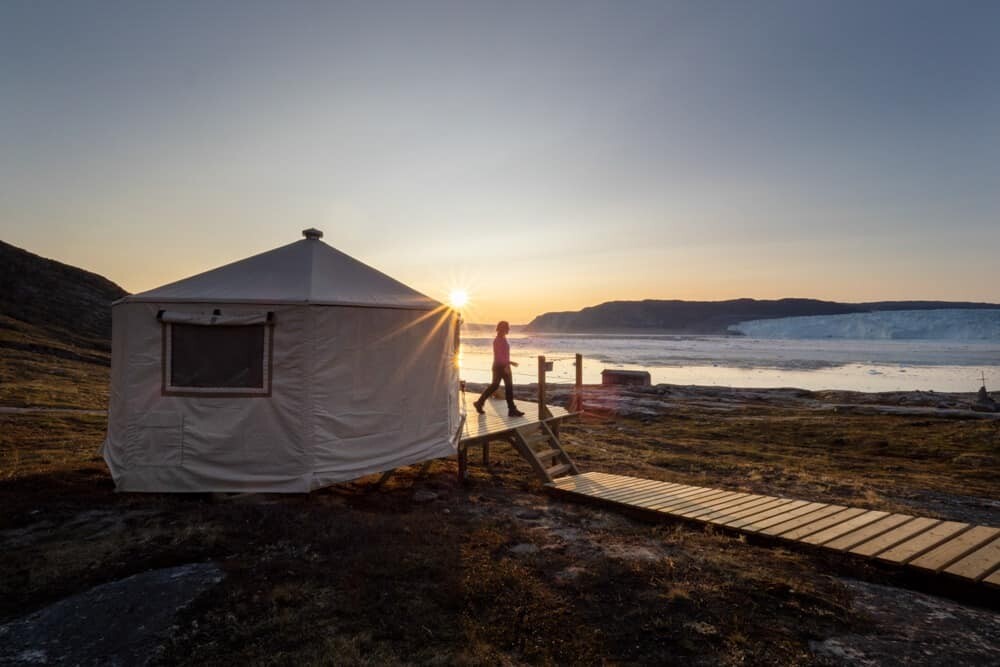
Also don’t be surprised if going from -26 degrees outside, to -5 degrees in a tent or something similar doesn’t create fogging either. Just because you are still cold and the temperature is below freezing doesn’t mean your camera isn’t feeling the rise in temperature.
If you venture out in negative temperatures you’ll find frost develops on your camera quite quickly. Photographing stars in the evening creates this even faster because your camera will be still and stuck to a tripod away from any warmth from your body temperature. The Olympus cameras I shoot with handle the cold amazingly well and I haven’t yet experienced the total frost coverage like I did with my Nikon D800 however it’s always best to avoid it ever happening in the first place. You can try and wrap something around your camera to keep it snug, or a short term solution is the little heat pads you can buy from a camping store. Sticking one of these to your camera will generate some warmth but you’ll need to keep rubbing it or it will just turn cold because it’s out in the open air.
Just like in warm conditions, if your camera has frozen or developed frost all around it then pop it straight in your camera bag and don’t open it again until the morning. Give it a good long rest in the bag to slowly adjust to a warmer temperature.
Yes, your camera bag is your helping hand in humidity and frost!

Camera Batteries in the Cold
If you’re out and about and it’s reaching negative or very close to freezing temperatures you will notice your camera battery depletes very rapidly. The colder it is, the faster your battery will run out so always be sure to have a spare, or three if you plan on being outdoors all day.
The best way to ensure you don’t run out of battery power is to always keep a spare in a pocket close to your body, so it stays warm and fully charged. I’ve even found that if you notice your battery running out, pop it in your warm pocket and it can recharge itself when it warms up…or maybe I just have magic batteries!?
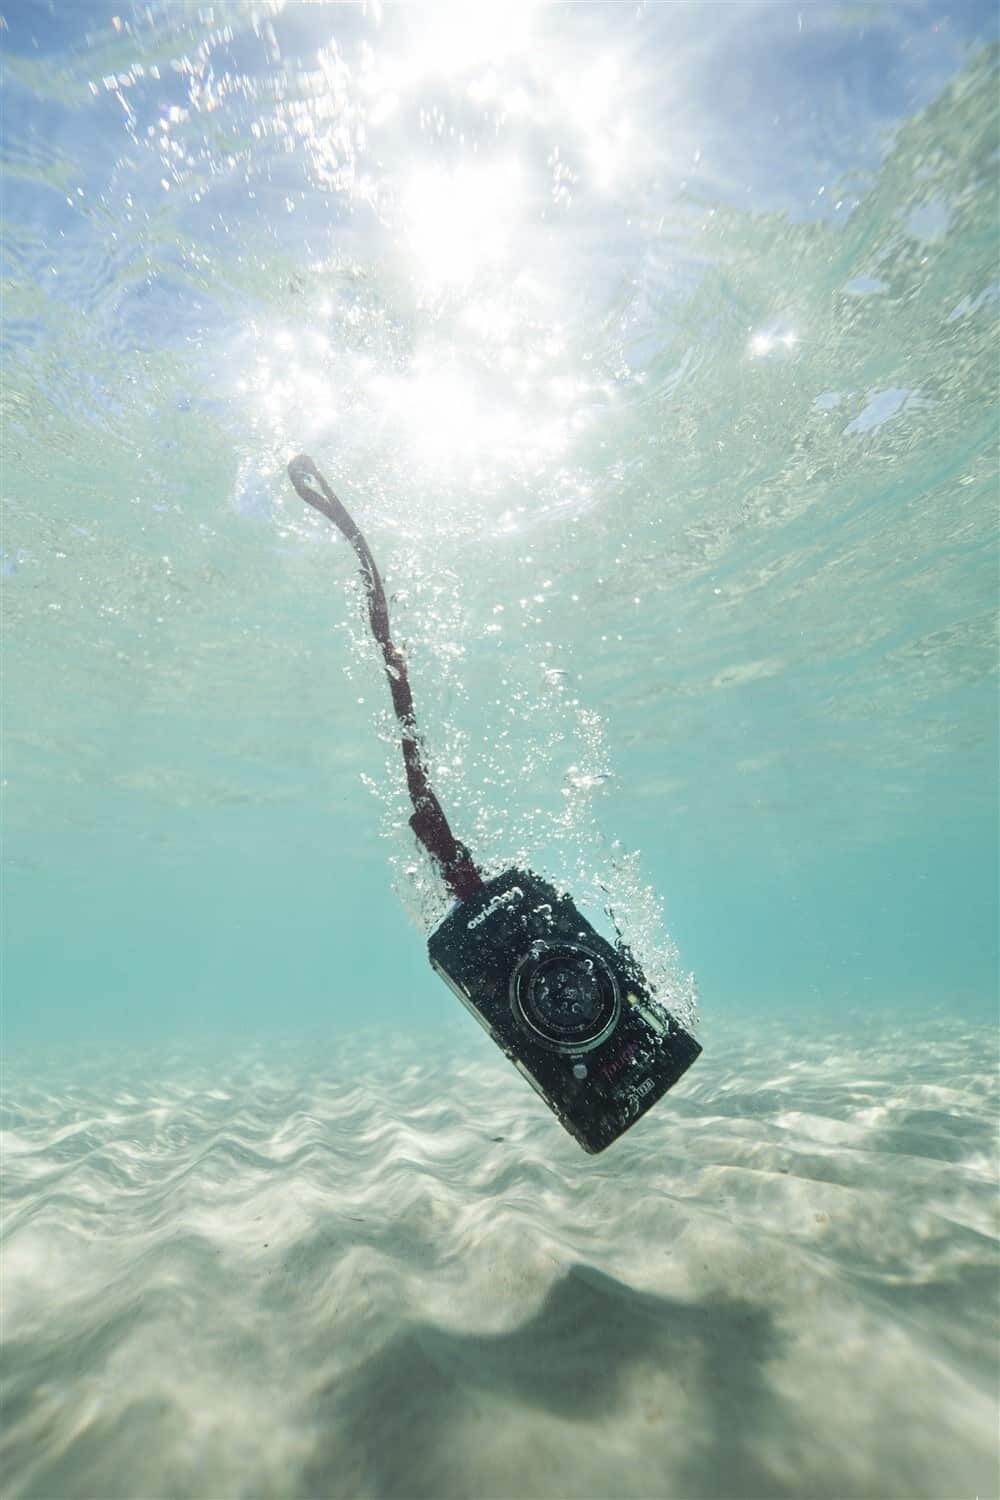
Water and your camera
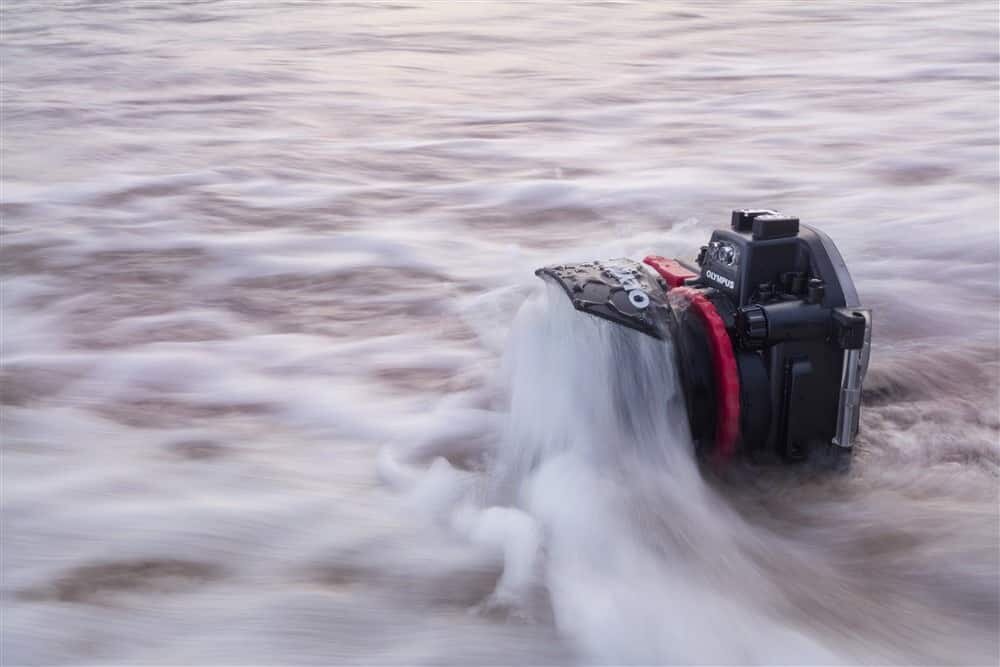
Unfortunately this section isn’t going to tell you your camera will survive if you drop it in the ocean…it probably won’t. But, a little rain never did any re al harm and if your camera is weather resistant, it can usually take a decent dunking no problem (my camera can, don’t say I told you to put yours in the shower).
I’ve used my camera through torrential rain storms and while I tried to protect it, it got completely drenched. After a good towel down it has always worked like normal again, the same as when I accidentally submerge half of it into water when searching for reflections…luckily my gear can handle it haha! The problem with water if your gear doesn’t have a weatherproof seal is always ensuring no moisture enters your lens or camera body as this will sneak it’s way further in and create big problems.
If you know you’ll be close to water, you’re going sailing and are prone to bouts of clumsiness or are heading somewhere known for tropical downpours then grab yourself an underwater housing.
You can go all out and get a professional case that you can go diving with, or if you’re just after a little protection, you can purchase a bag housing that will simply keep it safe in shallow water or rain. Most camera models will have a casing that suits it perfectly and they range in price from $100 – $3500 depending on how much of a hobby or passion photography is. My Olympus E-M1 MKII has it’s own housing, the PT-EP14 which fits perfectly to ensure there’s no leakage.
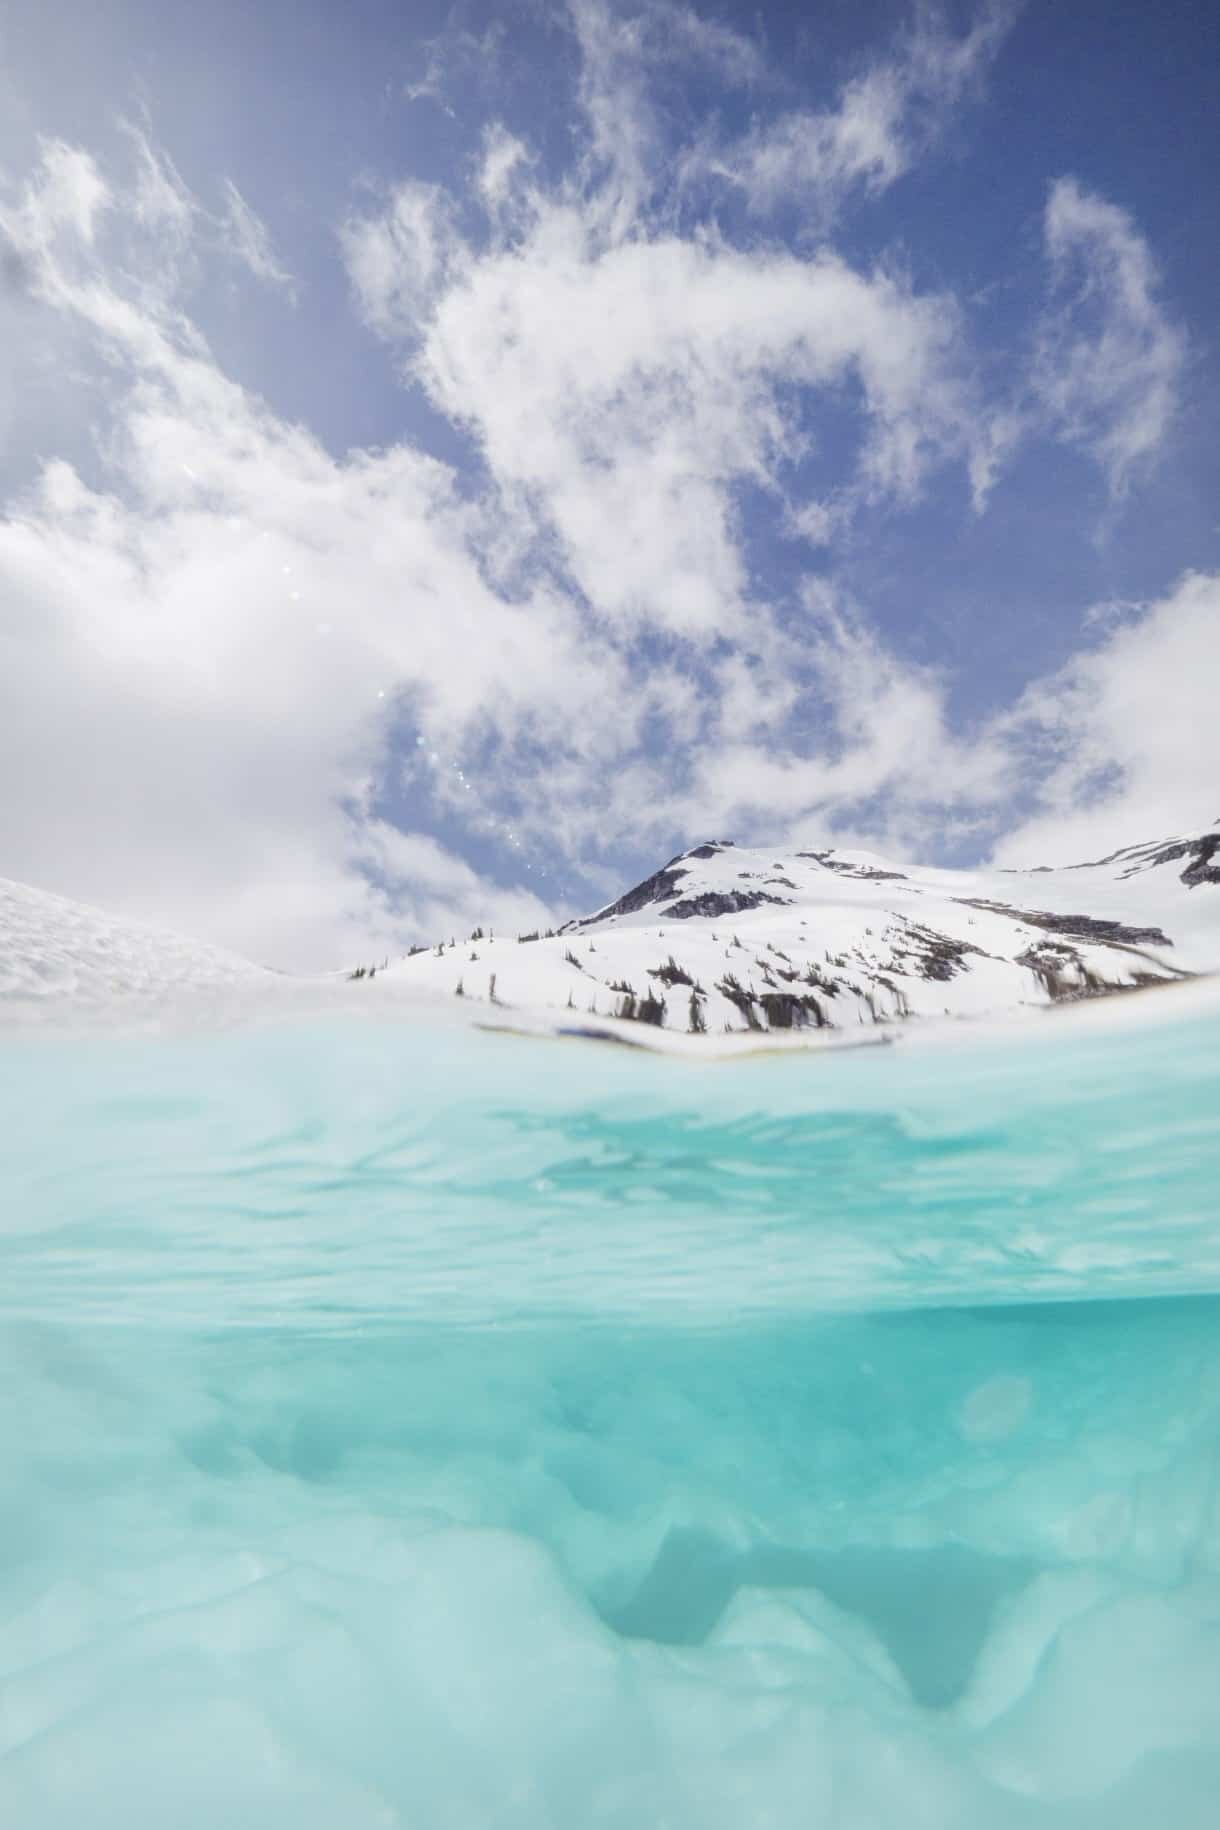
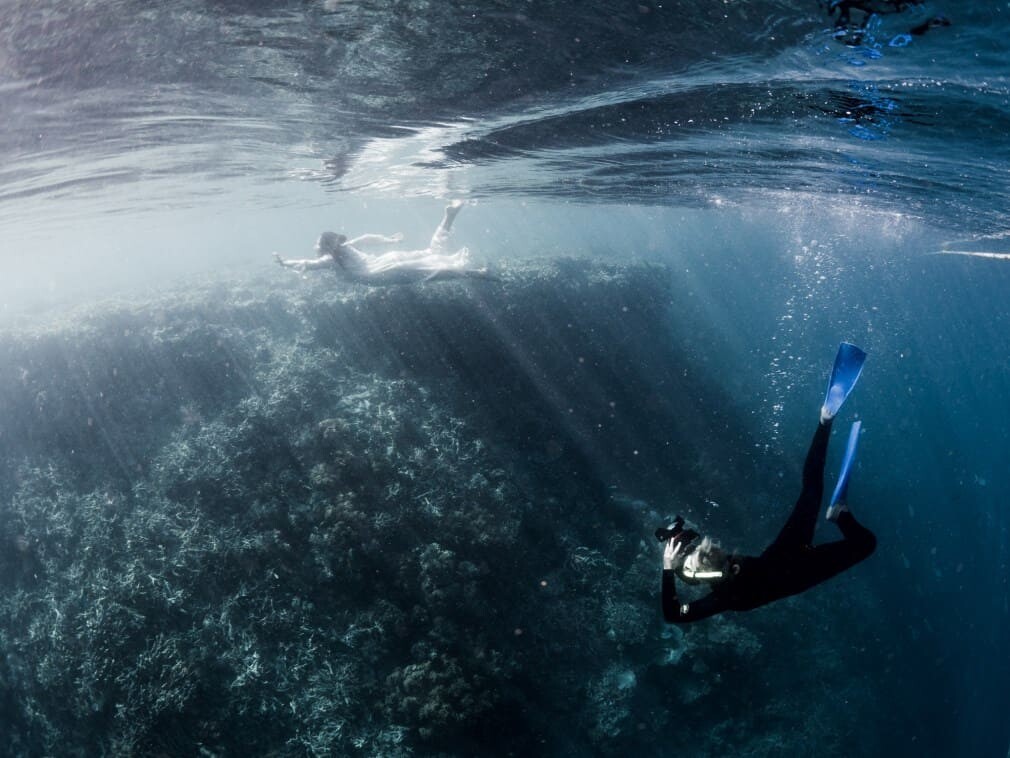
Now with water, if you are using your camera underwater then the same temperature rules as above apply. If your camera is hot from being in the sunshine before entering the water, you’ll find fog appears on the inside of the lens…this is very difficult to remove, especially on the little hand held cameras. On underwater housings it’s usually just a matter of having a little absorbent sachet that will consume any condensation, or you can open it up and simply wipe it off if it’s on the lens port.
To ensure you don’t have this problem, keep your camera safe and sound in a bag out of the sunlight so it’s not sitting in an oven. Consistent temperature is the key when shooting in the water…if your camera is cool and kept in the shade, you shouldn’t have any problems once you dive into the refreshing water.
The above tips are all from my personal experiences in extreme climates. Of course, I can’t promise by doing everything above that your experience will be the same as mine, but they will definitely go one step towards ensuring your camera stays happy and healthy on your travels.
Definitely don’t let the weather stop you from taking photos, either purchase gear that can withstand the elements or just plan to protect your camera and snap away!

Hello! I’m the founder and photographer behind The Wandering Lens.
With 19+yrs experience as a professional travel and landscape photographer, all advice found on this site is from my personal experience, or that of contributors, on the road. I hope it’s useful for your own travels and would love to hear in the comments about your trips and experiences around the world.
Blog Comments
Jimmy Dau
January 21, 2016 at 12:27 pm
Nice write up Lisa.
I’ve read that using prime lenses are more useful especially in the arctic, but I guess not everybody would have multiple bodies to cater for various focal lengths. I find that the leaving it in your camera bag is the best method and to leave it inside, close to the door where it’s cooler still – just make sure you take memory cards out if you intend on downloading images.
thewanderinglens
January 29, 2016 at 8:26 pm
Thanks Jimmy! Good point on the memory cards, forgot to pop that one in 🙂
Marcus Williams
February 17, 2016 at 8:04 am
This is such a great read Lisa. I myself use a prime lens and a 50mm but for scenic views, I’m thinking of investing in a wide-angle lens too. By the way your photos on the blog are just amazing! Great job on that. Any particular camera you’d recommend for outdoor activities?
thewanderinglens
February 18, 2016 at 11:22 am
Great to hear Marcus! A 50mm lens is one of my favourites too but a wide angle for landscapes is a good investment! Better yet, if you can find a wide-angle zoom lens it will give you some versatility. I use a 28-300mm for most of my shots and then the 14-24mm for astrophotography and underwater shots. There are a lot of tough cameras in the market now and most will do a good job in outdoor activites/sports, I’ve used the Nikon AW1 which is a handy little camera that’s waterproof, shockproof and freezeproof to -10.
Shaun Crutcher
July 23, 2020 at 10:23 pm
Really your guide is very helpful. i have got your website search by from google. thank you for your helpful article.