
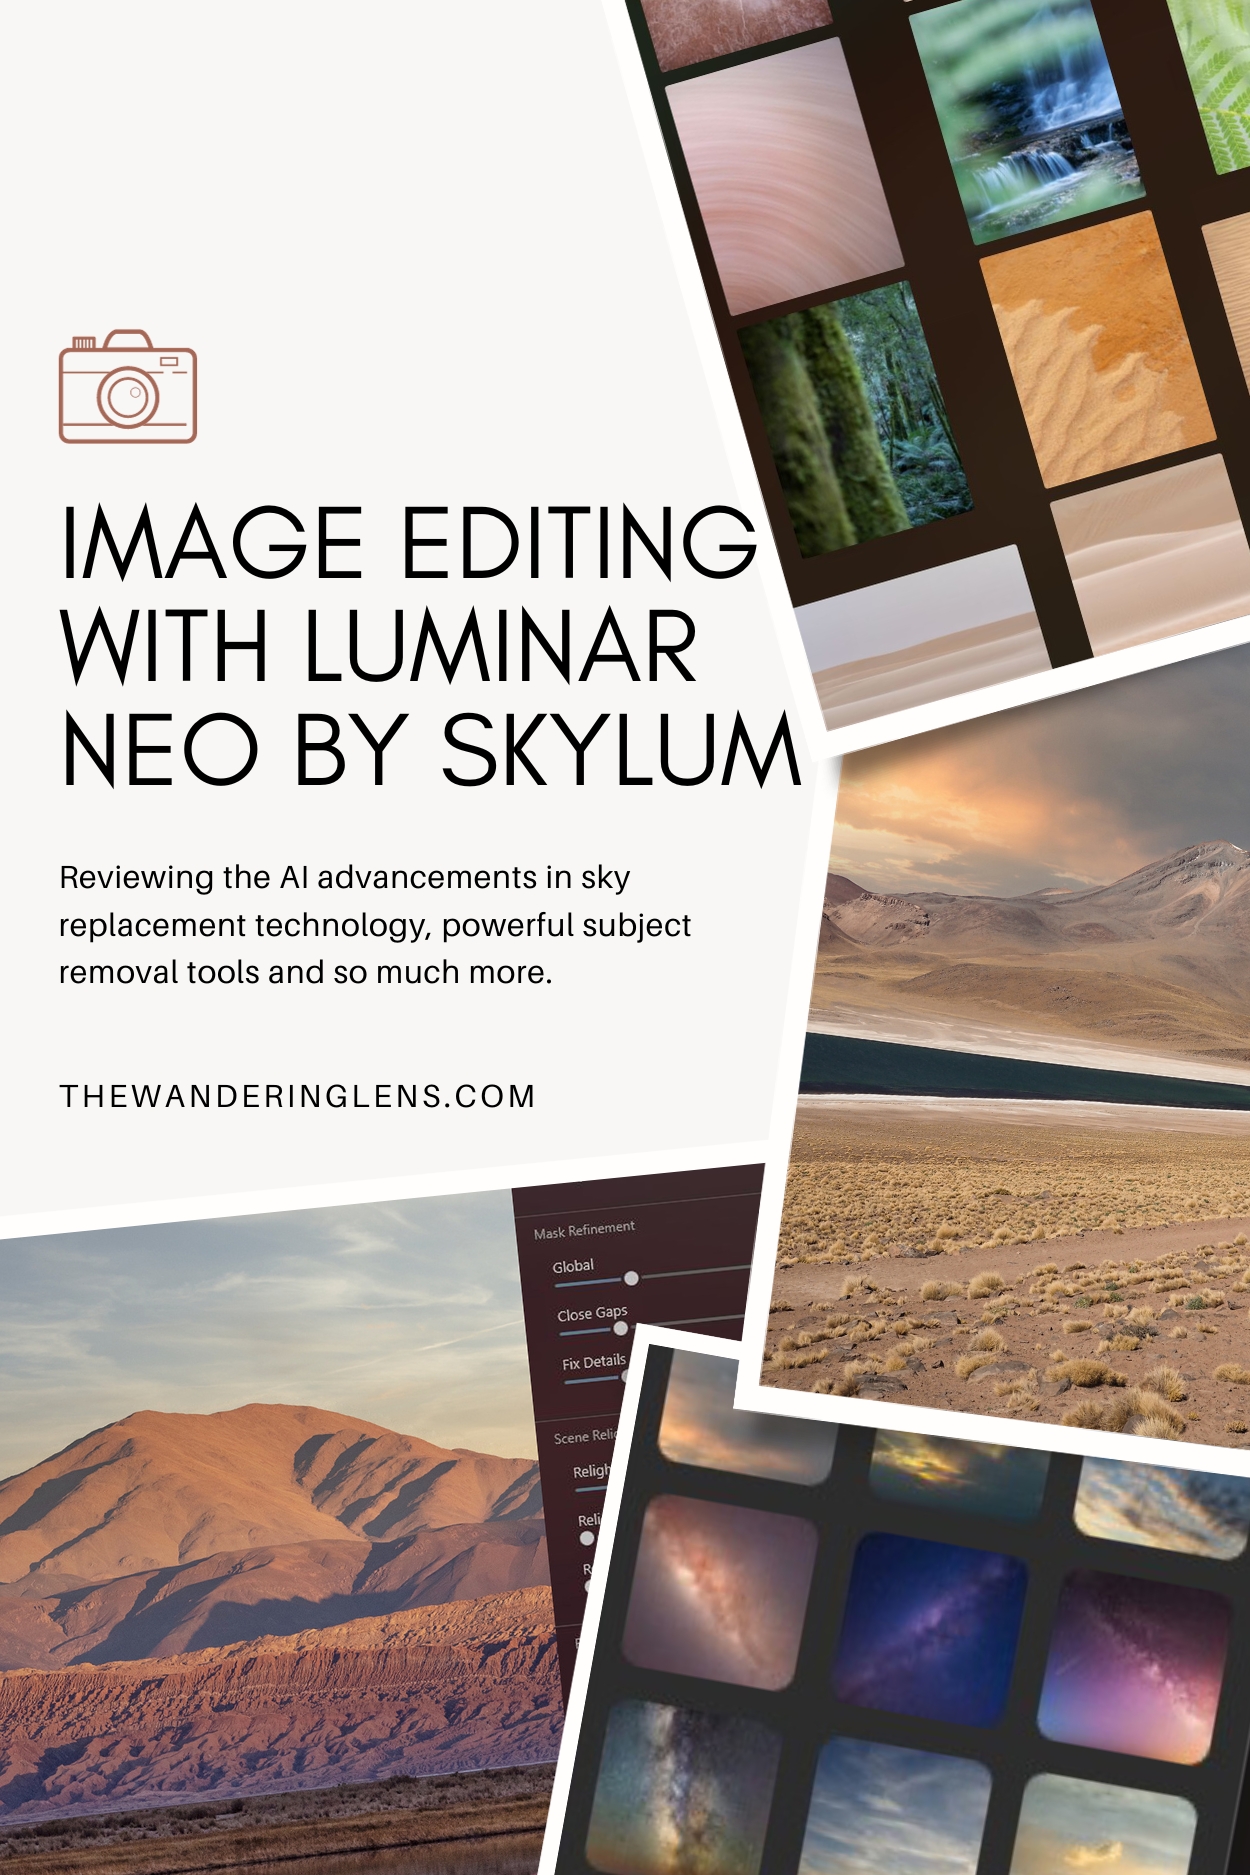
Image Editing and AI with Luminar NEO
Let’s talk image editing, a topic we’re all interested in, yet sometimes fail to explore beyond our comfort zone. For years there have been some key players in the program realm, but lately, the innovation of AI and new technologies, have led to some exciting developments.
If you’re like me, you probably have a favourite program and editing workflow in place. You’re comfortable opening an image and knowing what you want to do with it. But what if there are more possibilities? Tools available that will help take our work to the next level, or simply allow our creative mind to wander into a world where anything is possible?
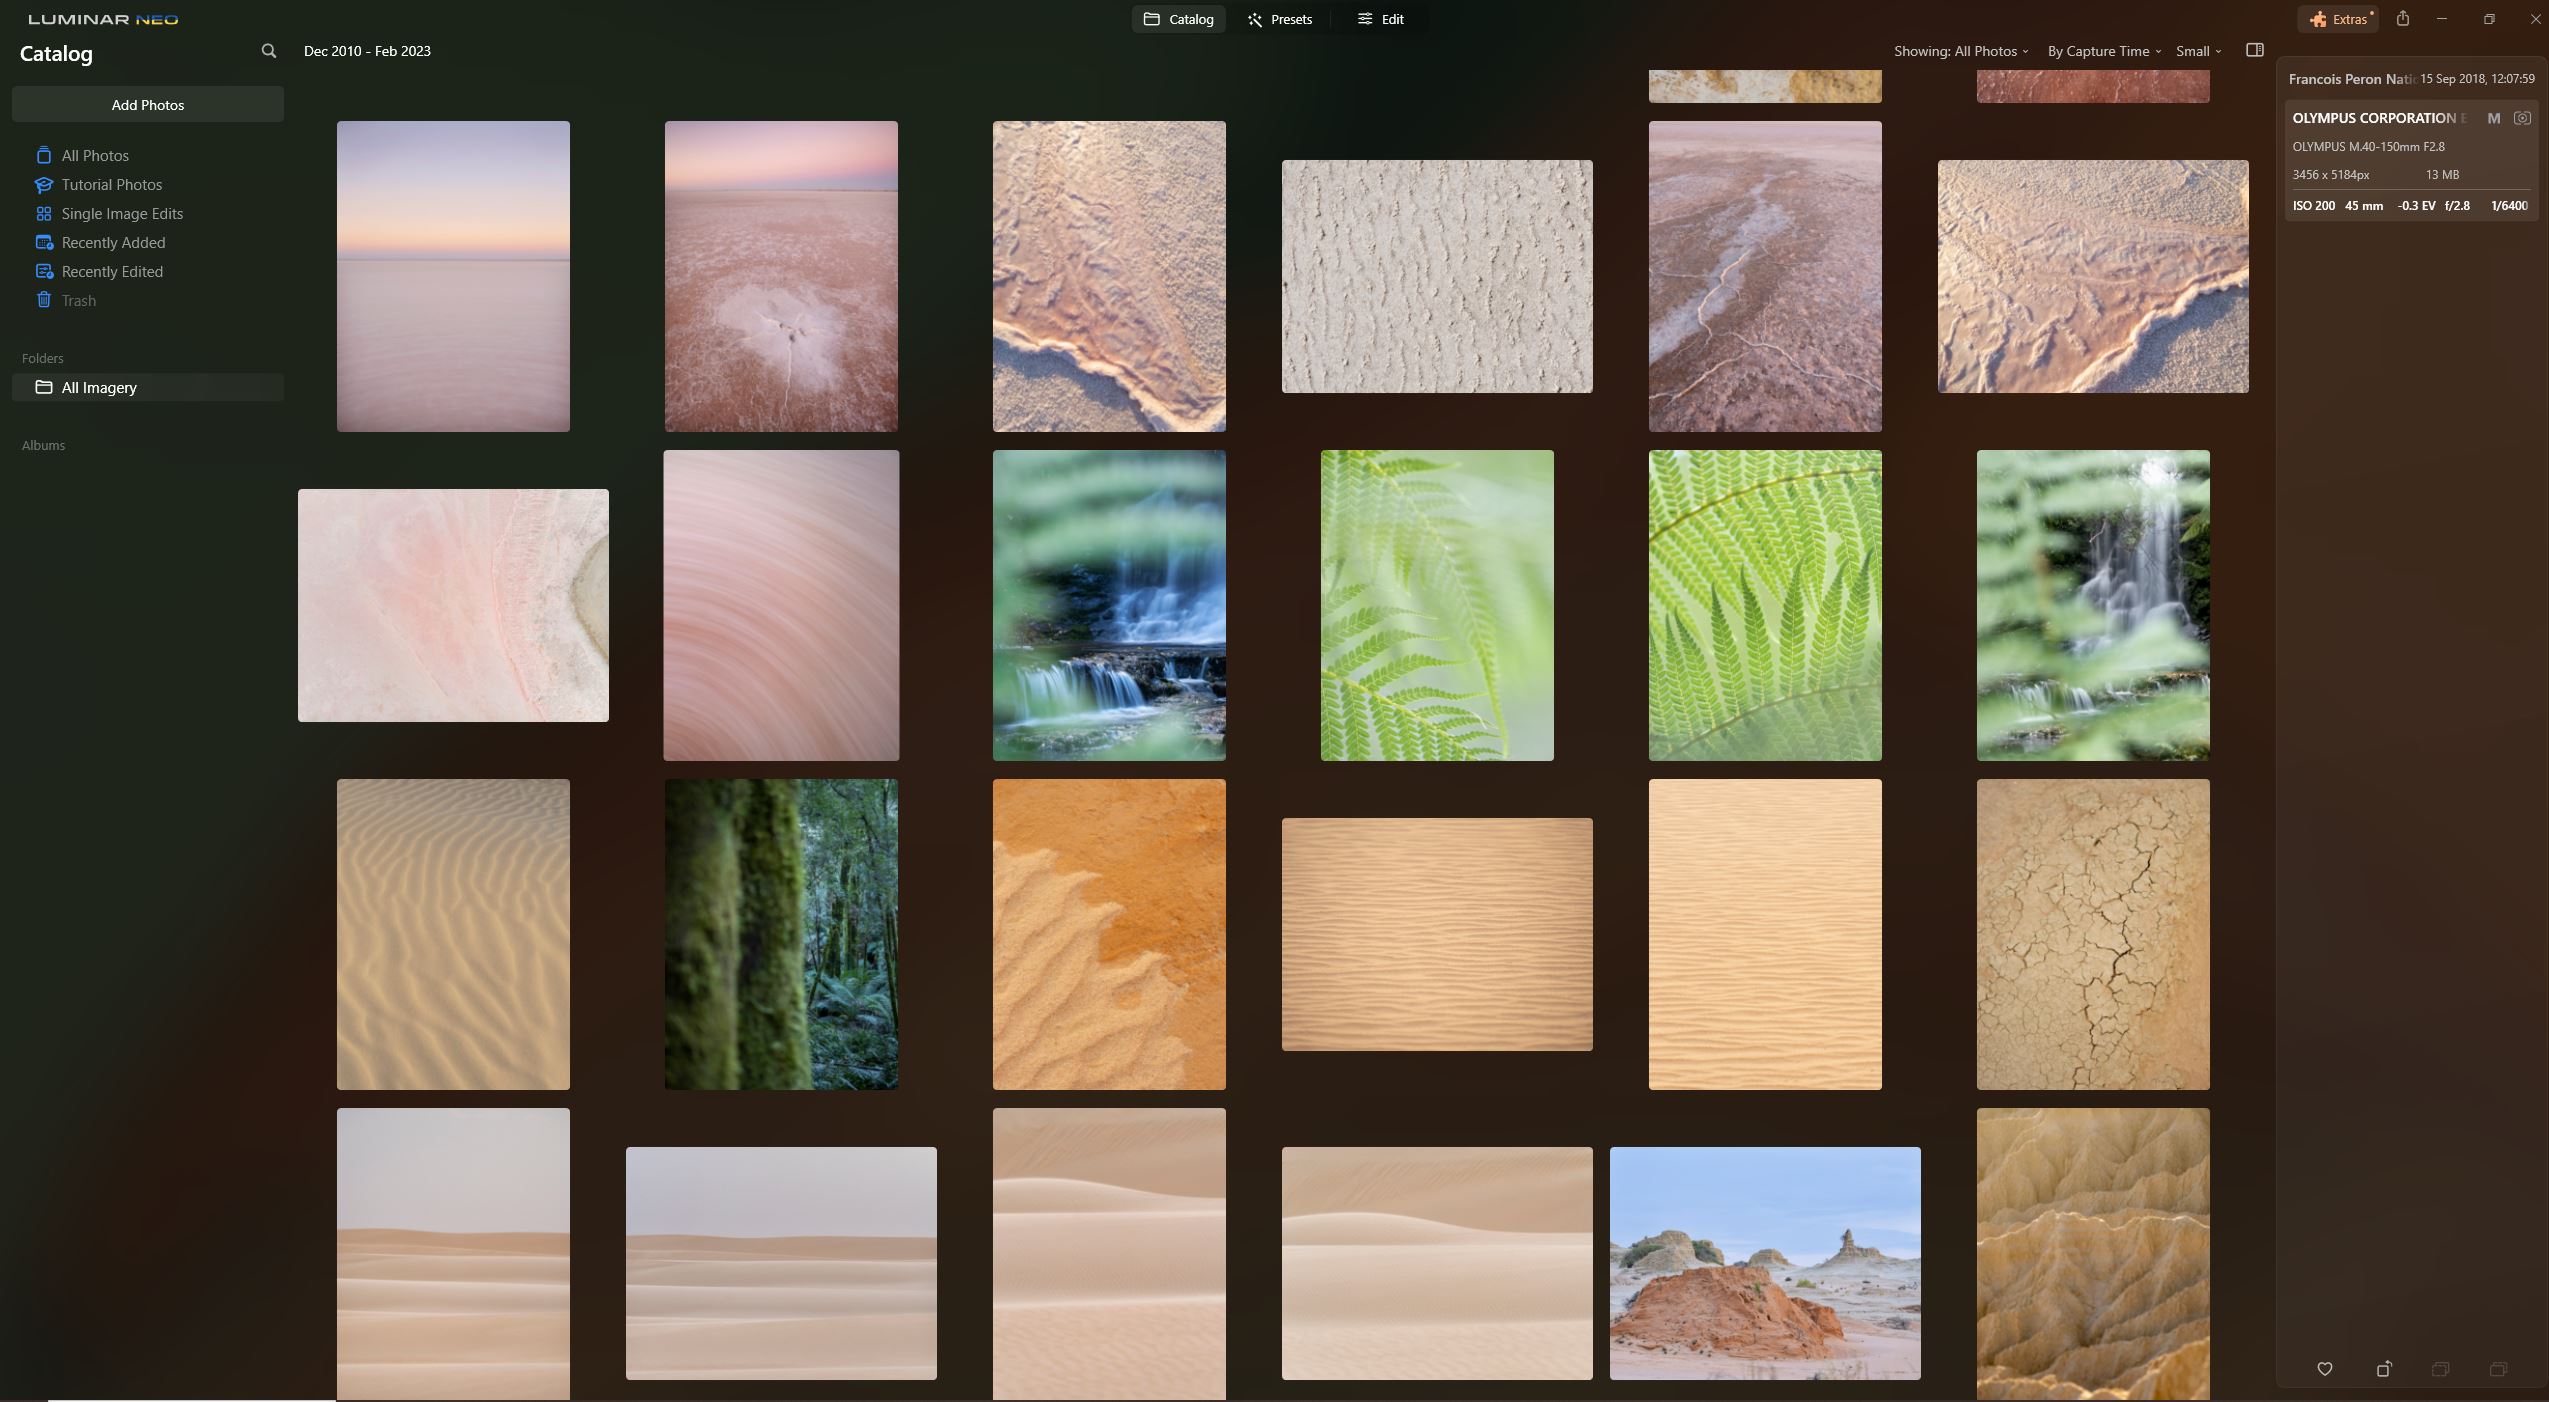
I’ve spent the past two weeks experimenting with Luminar Neo, an advanced image editing software created by Skylum. Just opening the program feels like a breath of fresh air, its clean and minimal interface and appearance makes exploring the features and tools quite fun!
When testing a new program, I like to edit both a coastal scene and a mountain scene, as I find they’re great examples of landscape photography and work well with enhancements and adjustments to see what can be achieved.
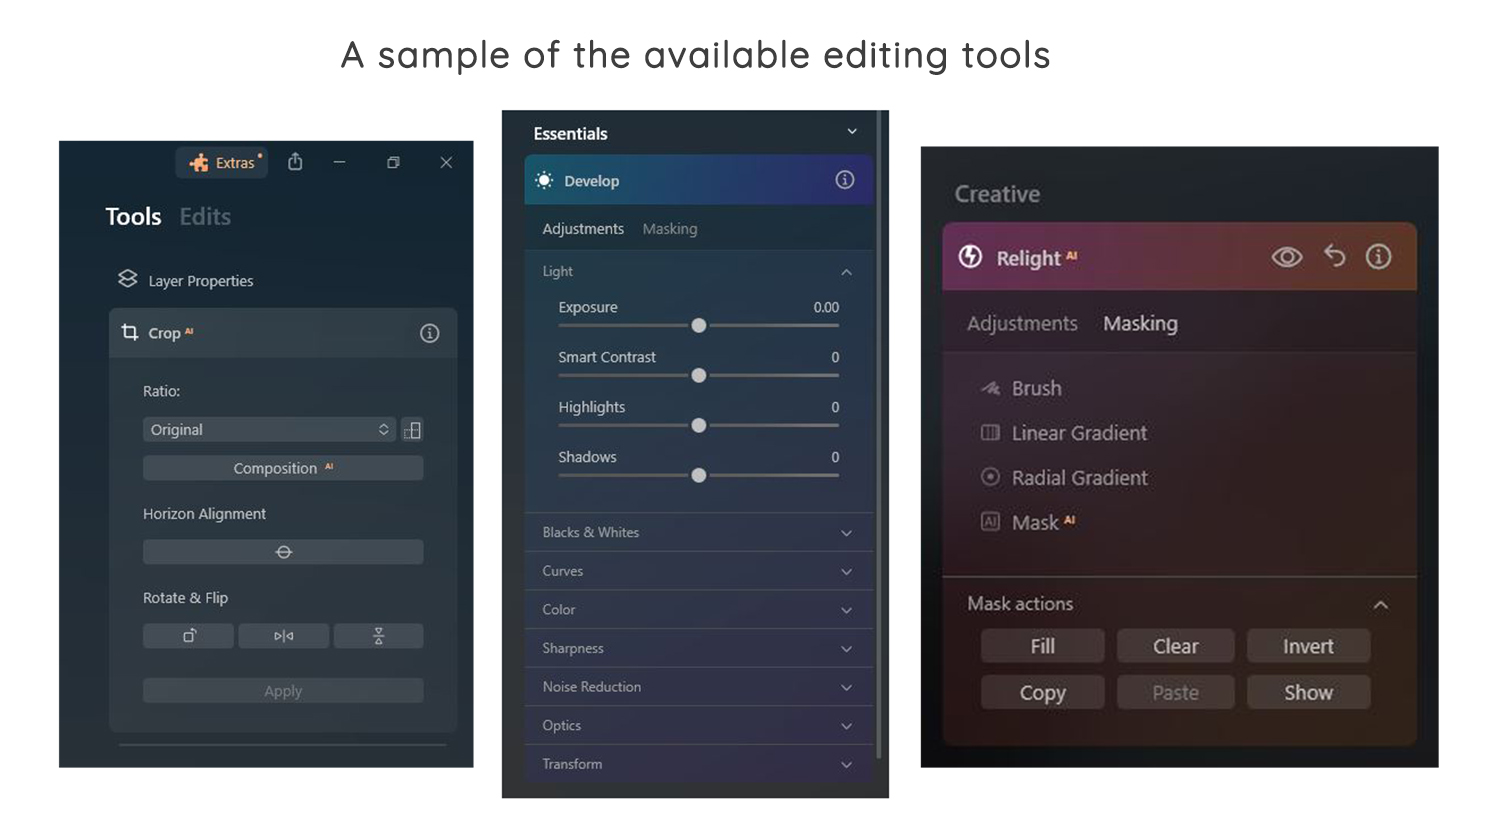
One of the standout offerings of Luminar Neo is the AI tools. Available via a simple drop-down list of options, tools such as sky replacement, enhance, relight and atmosphere, will blend into your image, automatically aware of what is ‘sky’ and what isn’t, for example, then you’re able to adjust a little if need be.
Even after editing just one image, I was immediately impressed by just how quickly it’s possible to replace a sky, adjust the position of that sky, and then relight the foreground to suit the new sky. It’s incredible stuff! With every click, it’s as if the program knows what you’re trying to achieve, or if it’s not quite on par with your vision, a few easy adjustments on the toggles will have it looking spot on.
For my style of photography, with a focus on soft, pastel tones, some of the colour enhancements are a little too strong upon first click, however, some quick tweaks using the extensive menu, easily bring them back to where I’m comfortable.
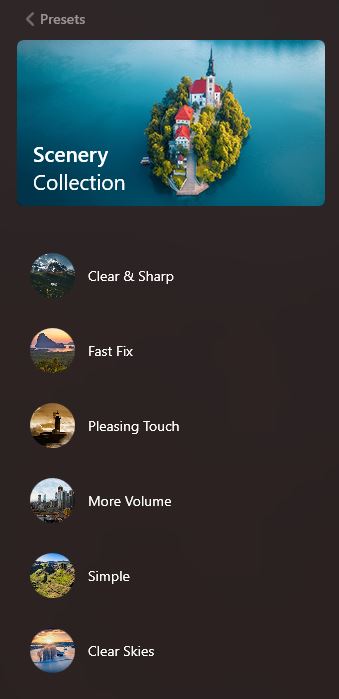
Luminar Neo also offers an extensive range of creative tools and presets to transform photos, particularly beneficial for someone who doesn’t necessarily want to spend too much time editing. If you’ve used Lightroom Presets before, you’ll know you need to either create your own, purchase some from your favourite creators, or use the in-built presets. Luminar NEO offers preset collections by theme, each with an adjustable toggle so you can decide how much, or how little impact you want the preset to have on the original image.
My top five features of Luminar NEO –
- Sky Replacement AI (personally I won’t replace skies in my professional imagery, but it’s very fun to play with!)
- Enhance AI, a wonderful peek at easy edits using a simple toggle
- Erase Tool, automatically remove power lines and dust spots!
- Masking
- The clean interface and catalog

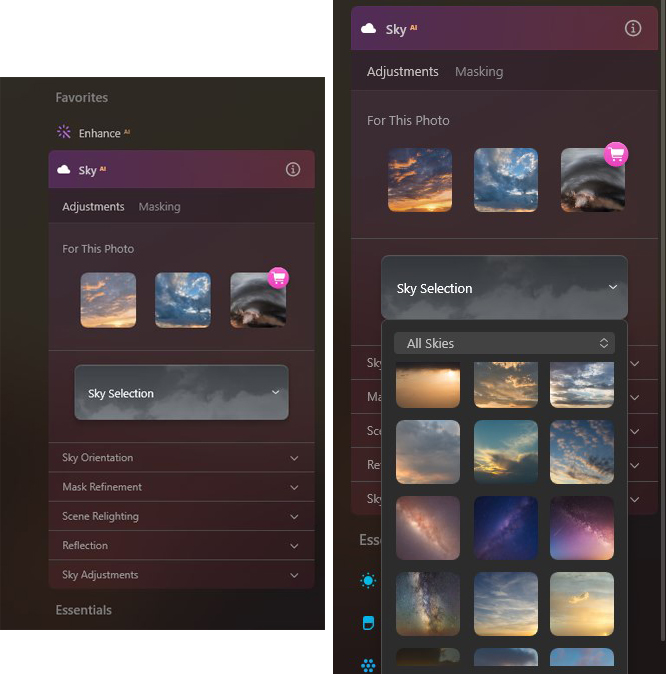
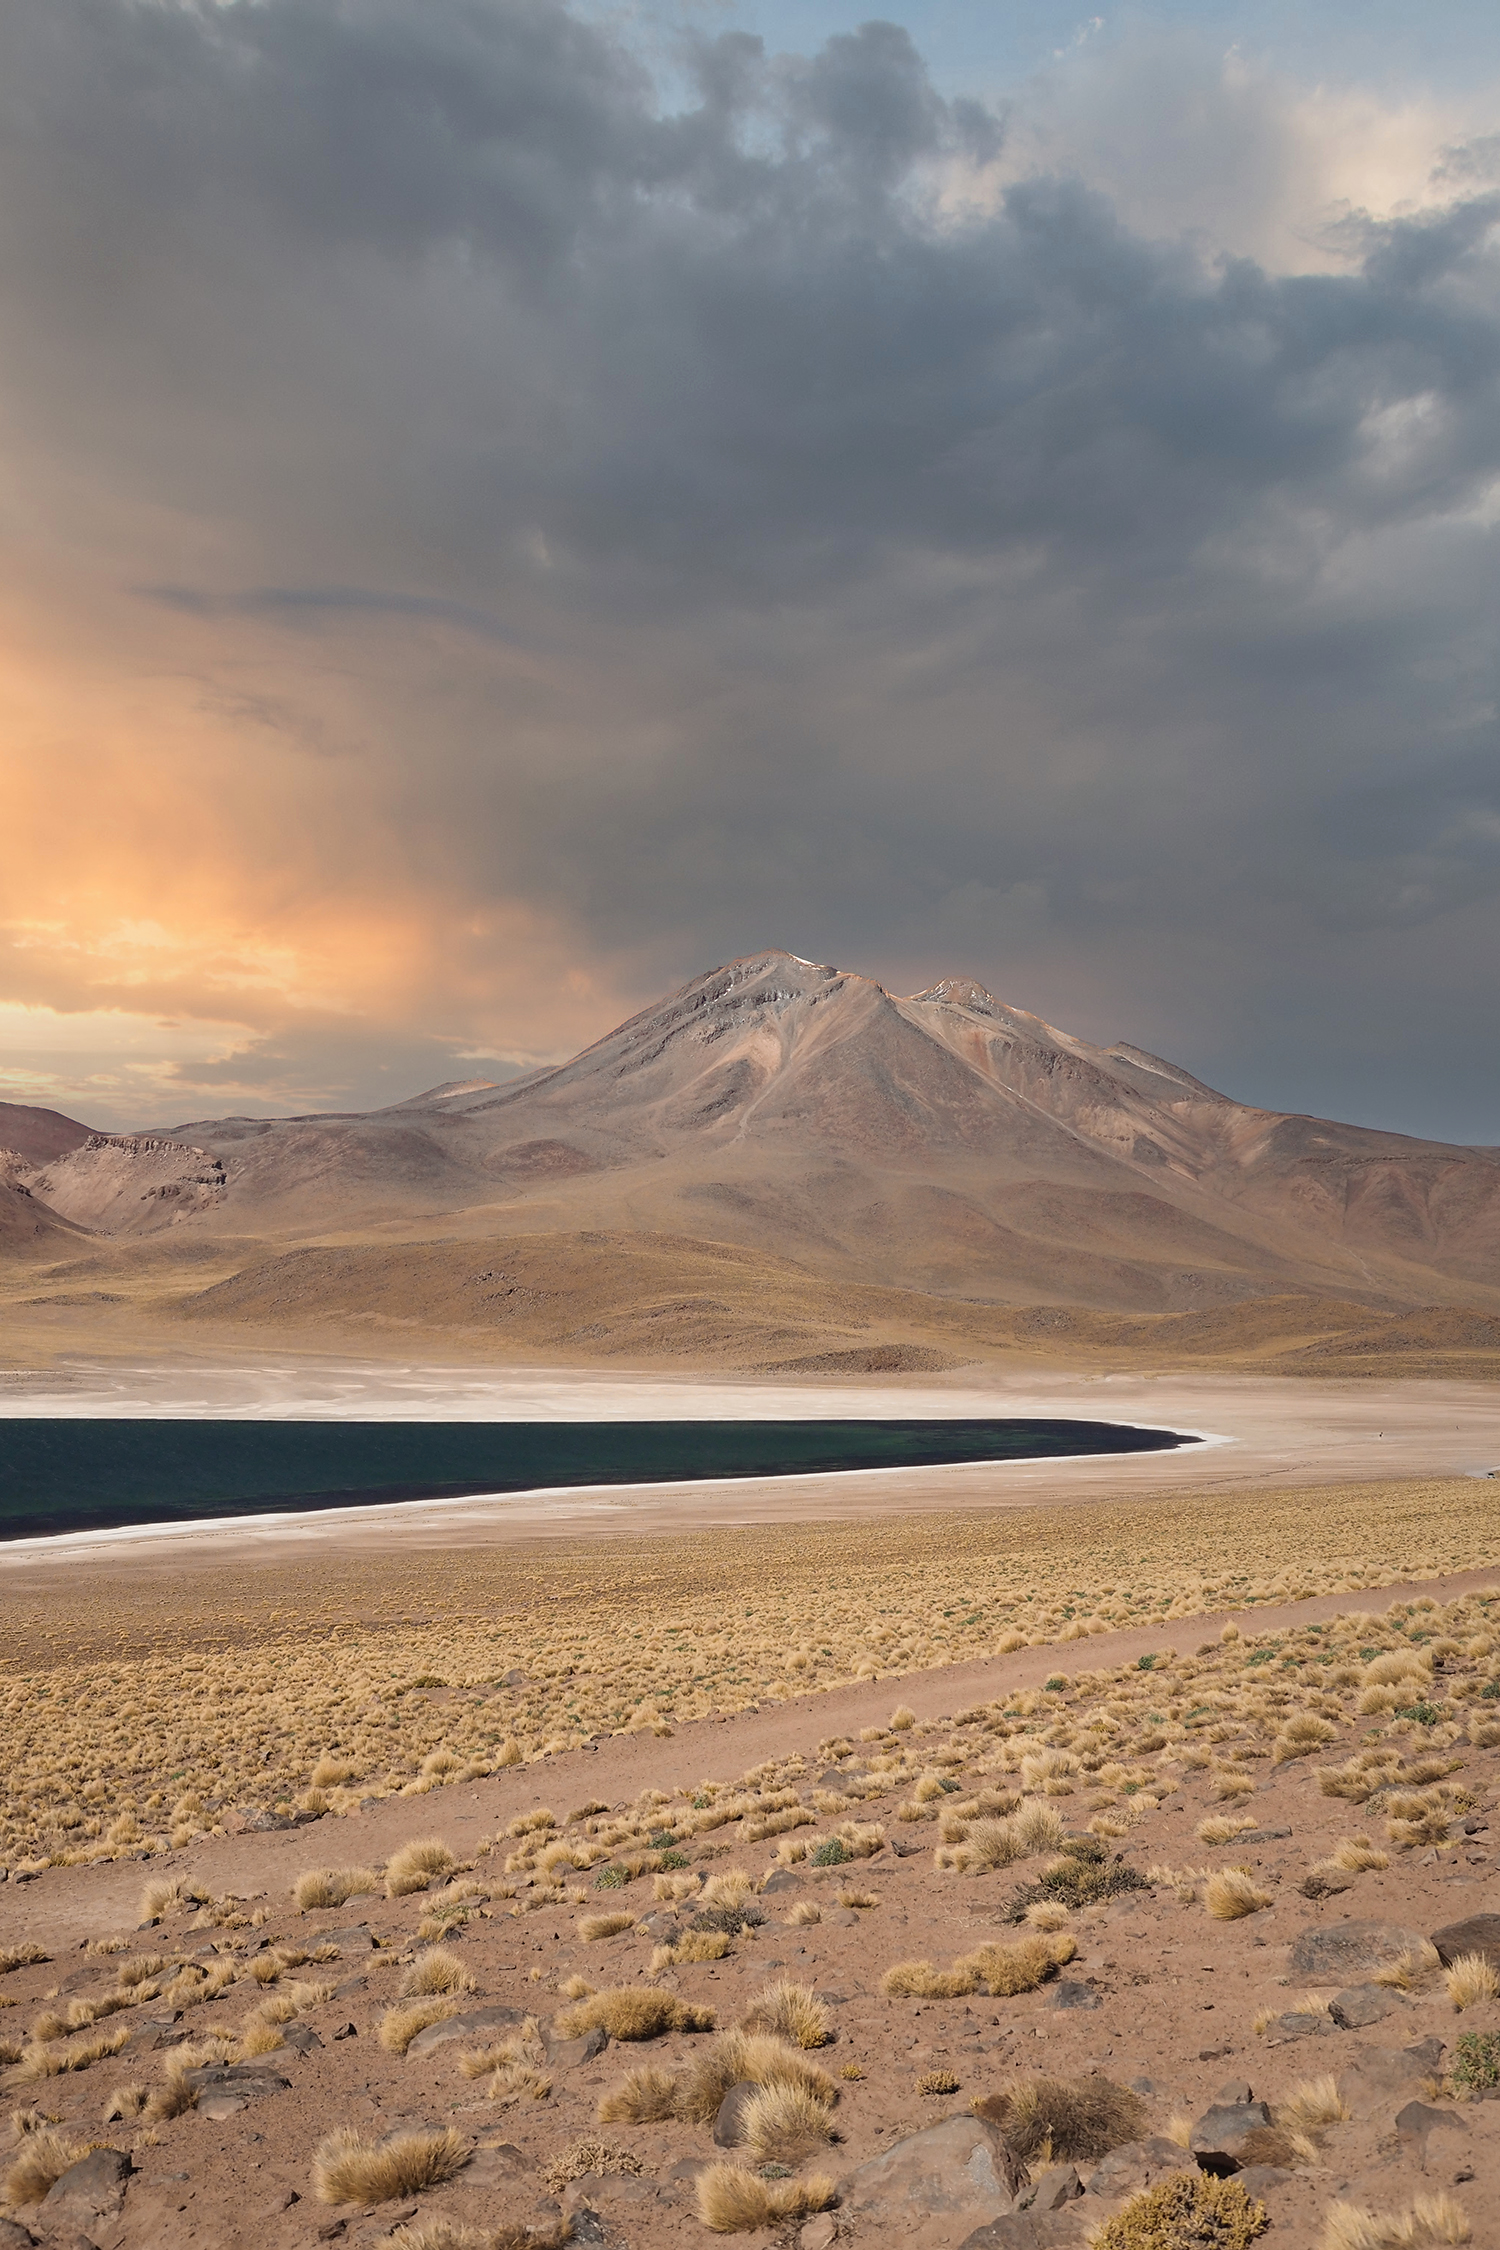
Okay, back on to the Sky AI because I know this is a feature that a lot of people reading this, will want to test out. When photographing outdoors or landscapes, it doesn’t always end up being the best conditions with the best sky and light. Sometimes, the weather doesn’t play ball and of course, that’s okay. If you’re keen to replace a drab or boring sky, with a few clouds, more intense light or a little storm on the horizon, it’s completely possible with this very innovation, fast and quite seamless feature.
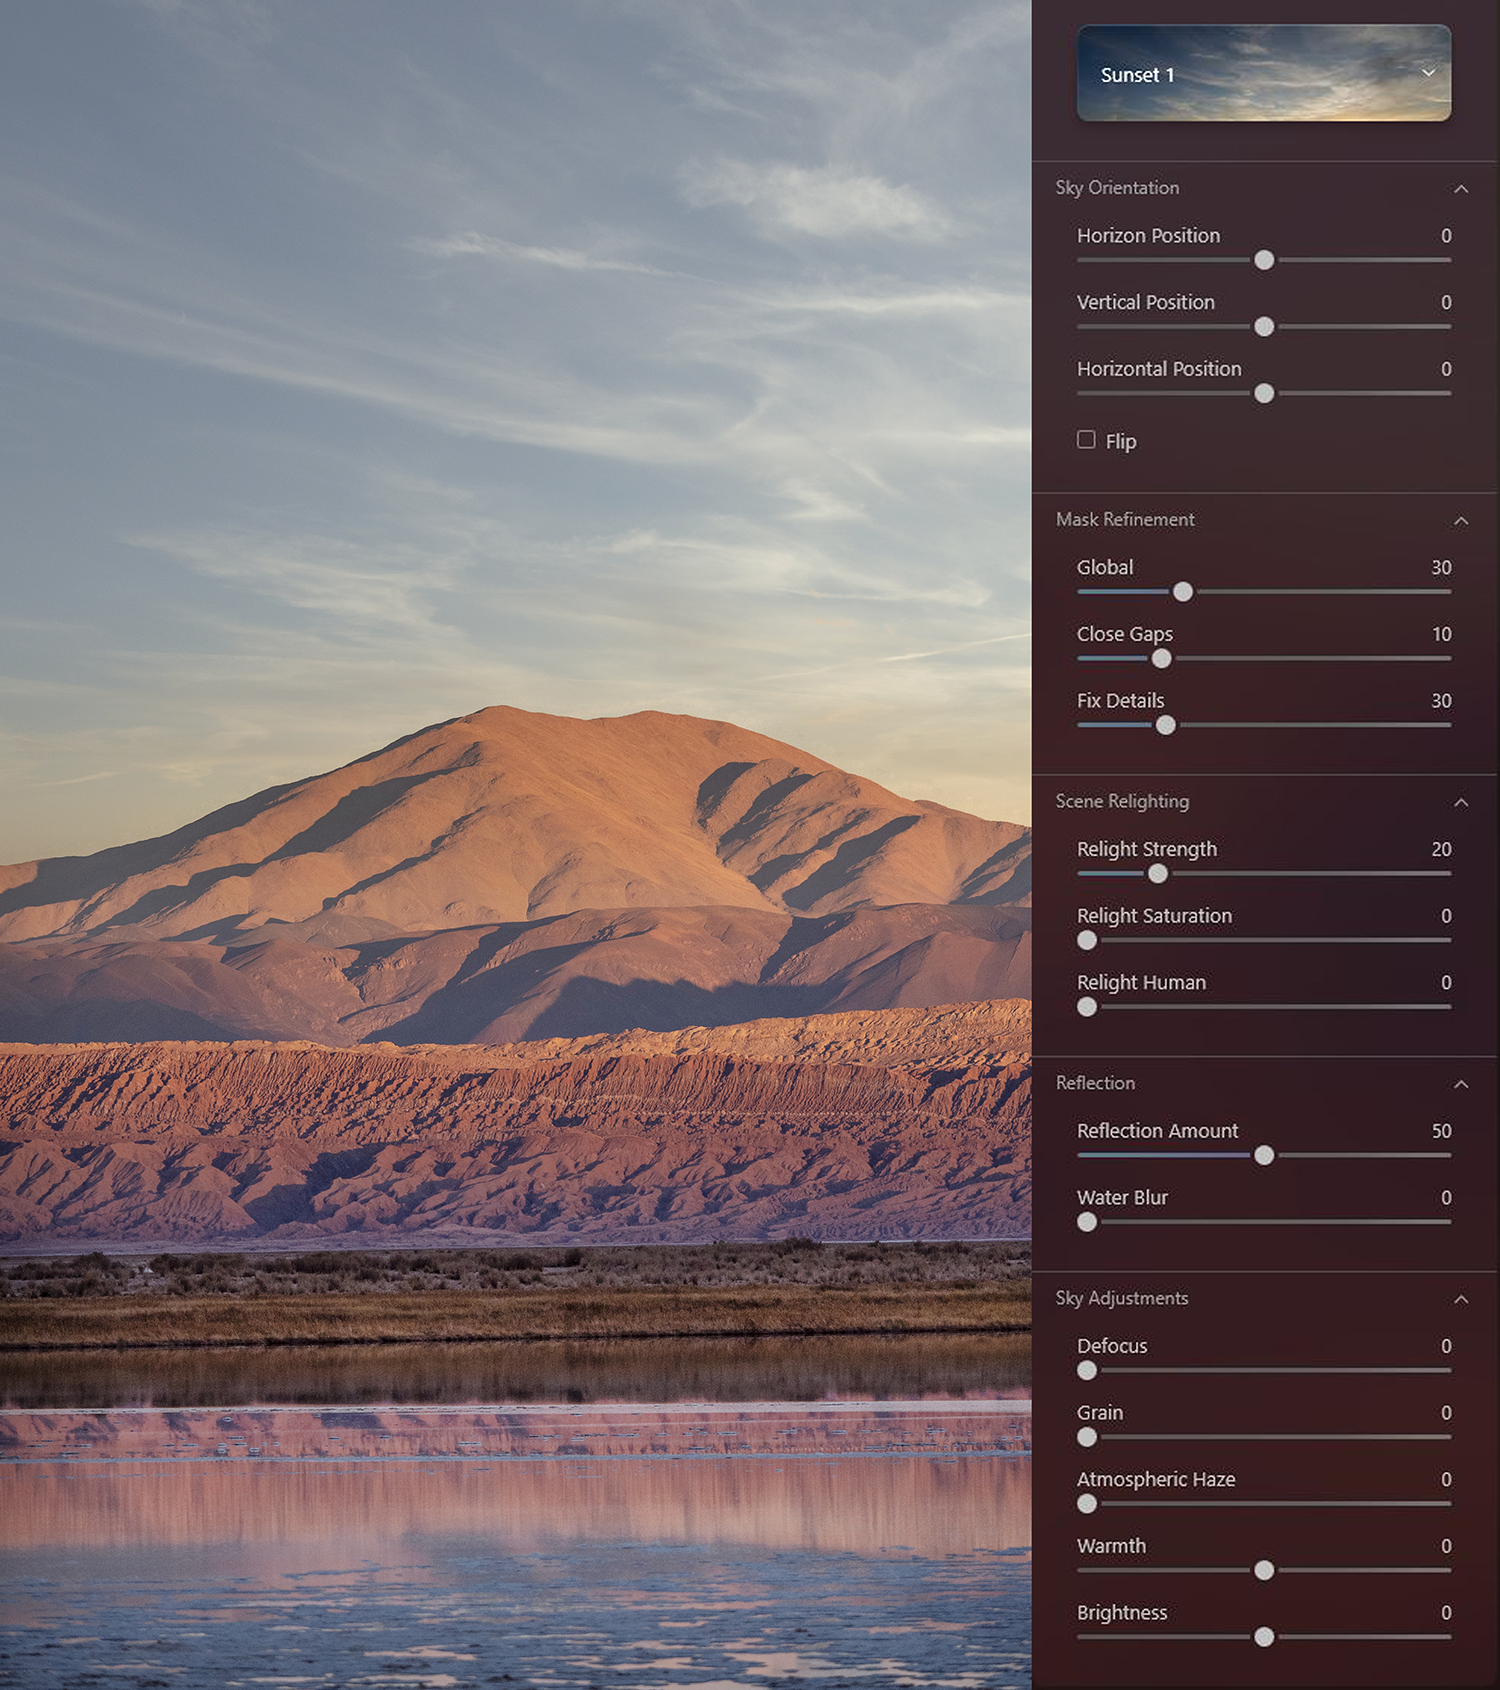
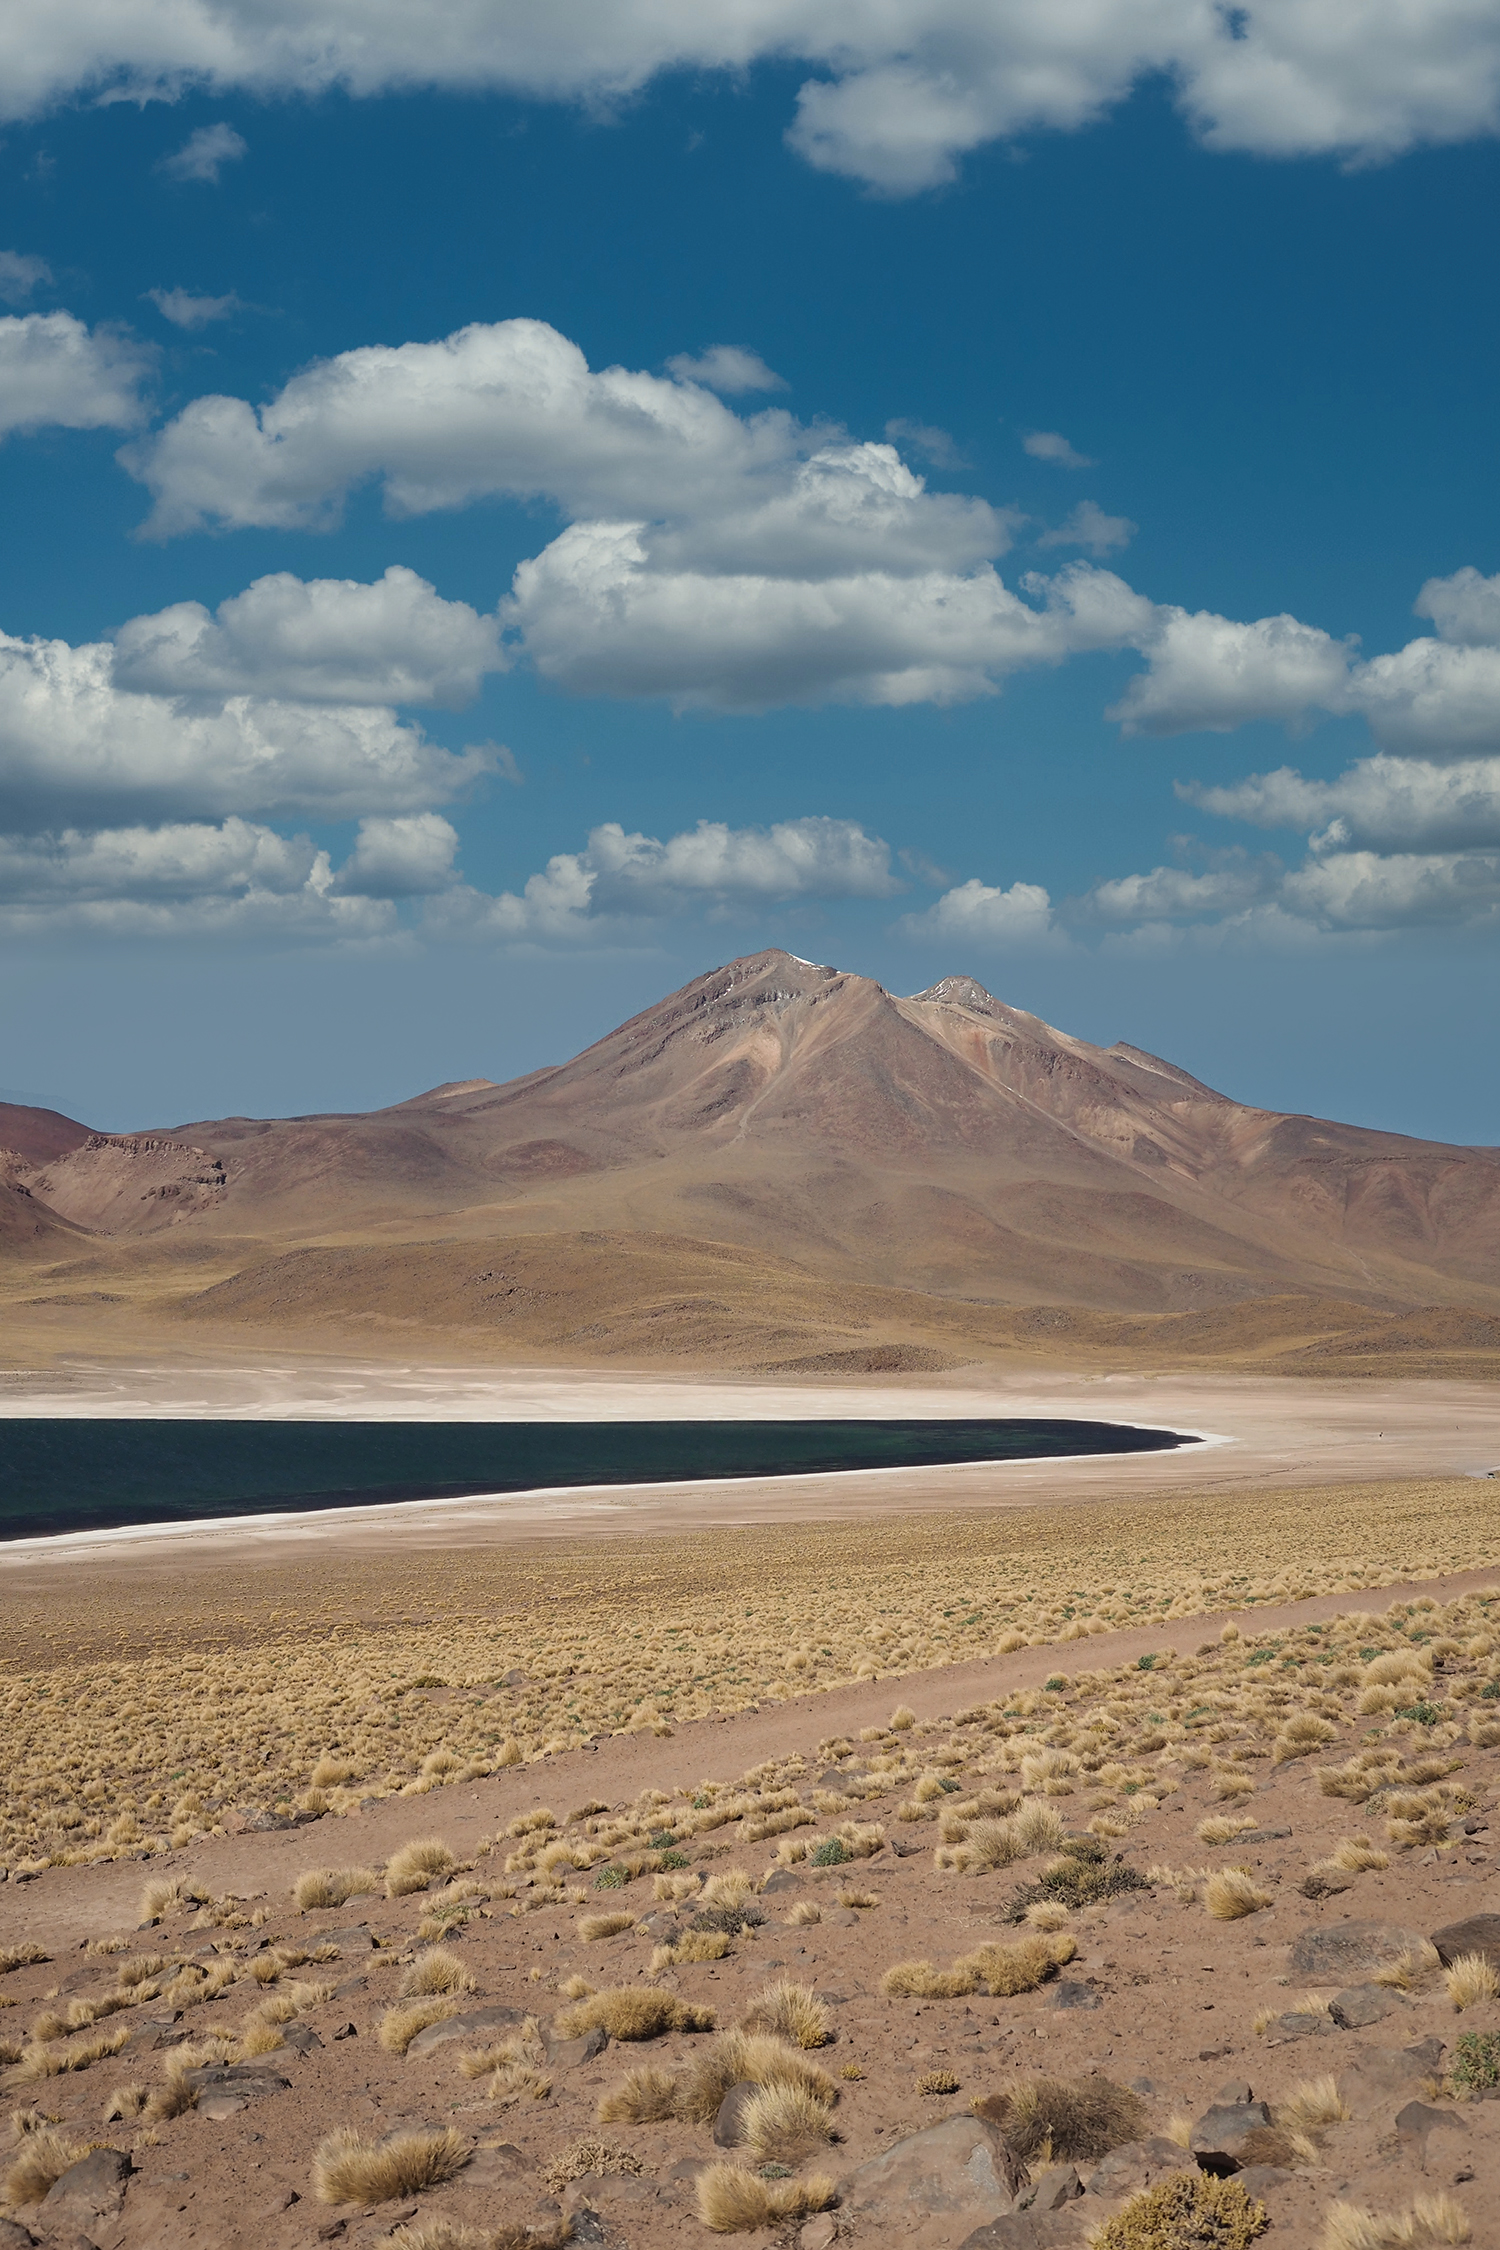
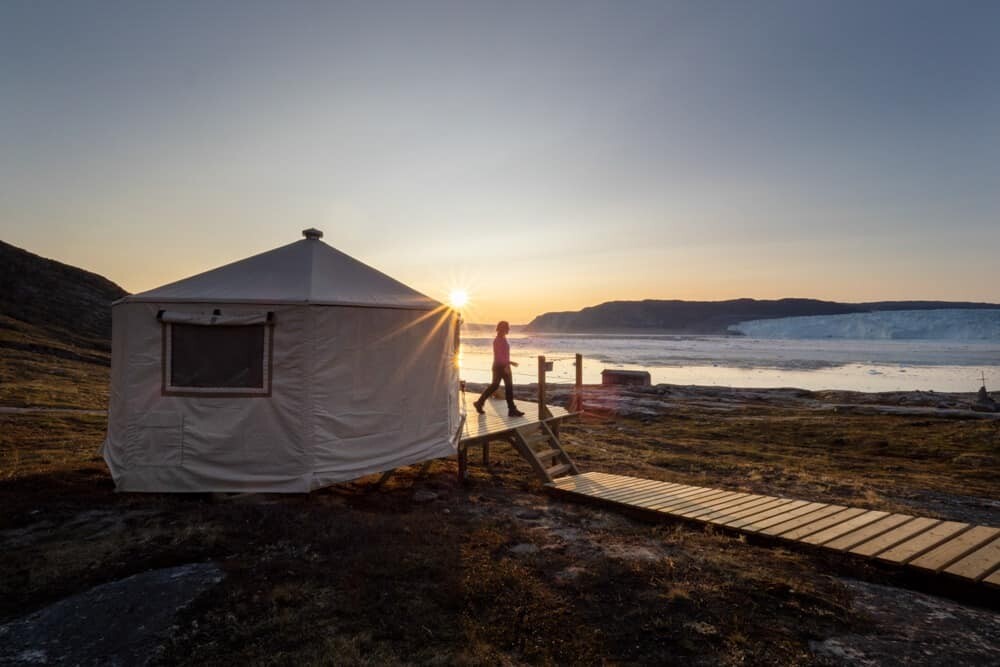
Upon uploading an image I took in The Andes of Chile, I wanted to experiment with replacing the bright blue sky, to change the scene up a little. The list of sky replacements ensure there’s probably a sky suited to whatever image you’re uploading. From blue cloudy days, to warm, glowing sunsets, and the program will actually offer up three suggested skies based on your image.
Simply clicking and replacing the sky is one step, of which the sky is automatically placed without error. The second step can then involve moving the position of the sky around, adjusting the horizon, the intensity and direction of light.
The Mask AI tools are also an impressive inclusion in Luminar Neo. The program can determine between what’s human, natural, man-made, sky and architecture, allowing users to simply click the required mask, opt for which area, and it’ll automatically go about selecting it. Genius. For those keen to have a little more control over which areas they edit, you can opt to brush the mask over your chosen area or use a linear or radial gradient.
While I work primarily with landscapes and wildlife, I find the portrait AI tools very exciting. Opt between adding Portrait Bokeh, adjusting skin shine, brightening faces, slimming faces, even adjusting body shapes. Similar to the liquify tool in Adobe Photoshop, this feature of Luminar Neo is all AI, with the potential to opt for masking certain areas and adjusting the intensity.
I think what I enjoy most about Luminar NEO is the freshness. You can enjoy editing again, without the worry of perfection. Perfection is absolutely possible with this program and can be found at the click of a button, but if you’ve been editing with the same program for years, it’ll take a little bit to adjust, and as you do so, have fun with it. Explore the new technology, play around with various image genres, presets, AI tools and see what’s possible. It may just surprise you how much you enjoy editing again!
Where can you download Luminar NEO? If you’re keen to browse the plan and programs by Skylum,take a peek here.

Hello! I’m the founder and photographer behind The Wandering Lens.
With 19+yrs experience as a professional travel and landscape photographer, all advice found on this site is from my personal experience, or that of contributors, on the road. I hope it’s useful for your own travels and would love to hear in the comments about your trips and experiences around the world.

Leave a Comment