
Photo Tips – Camera Stability without a Tripod
A little flashback to my first attempt at long exposures in 2007
Camera equipment can be a pain to lug around on your travels and I to like pack nice and snug with only essential items to minimise weight and space.
What’s the first item I ditch? My giant tripod. Especially now that I photograph with the lightweight Olympus system!
Some of you might be gasping in shock, the thought of getting a steady shot without a tripod is a little hard to take, I get it, but to be straight up I very rarely use a tripod when travelling.
Tripods are definitely a great tool for taking long exposures, photographing in low light and to use if you’re a little shaky but there are many ways to go about getting stability, some are staring you right in the face.
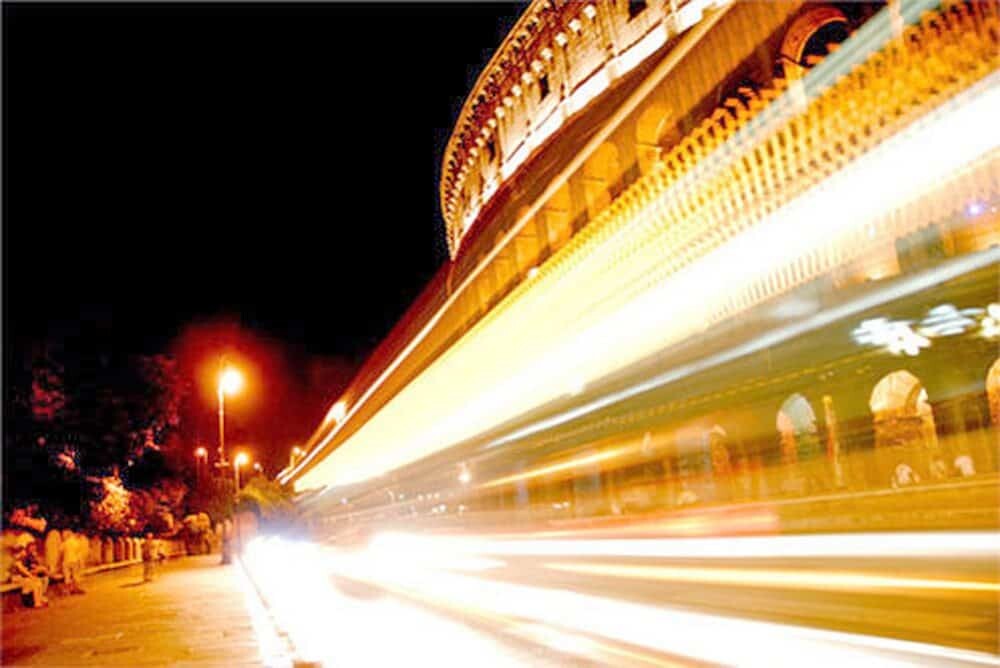
One of the first shots I ever took with a long exposure was in Rome at the mighty Colosseum, way back in 2007. I spent the evening testing out how to set a long exposure (I prefer to learn with my camera) and then perfect the settings so I had the lights of the modern traffic lighting up the historic Colosseum and creating a sense of movement. I didn’t have a tripod or an external flash, just an idea in mind and then I fiddled with the camera until it began to come to life. I’ve never completed a course in photography so this probably isn’t the most technically correct advice but what I’ve learnt during my travels is what works for me and I’m definitely still learning new creative ways to photograph every day!
The first thing I learnt about long exposures that night was that I needed something to keep the camera steady. Obviously a tripod would have been ideal but to make it fun I went on the hunt for something flat, high enough to be at the angle I wanted and out of the way so it wasn’t bumped by people passing by. I found a garbage bin. That’s right, a dirty old garbage bin that just so happened to be sitting in the perfect place to keep my camera steady as the traffic drove past the incredible Colosseum.
The resulting photograph is below. Like I said, it’s my first long exposure shot so don’t judge too harshly!
If you’re willing to let your precious camera sit on a garbage bin like me you’ll begin to see there are possibilities all over the city to create a temporary tripod. Fences, railings, rocks, gutters, stairs, tables, trees, posts, windows…the list can be as long as you want. Anything stable enough to hold your camera can be used as a tripod and I think it adds a little mystery to your photo, the hunt for the perfect item can be a little fun too.
Below are a few photos and the stories behind how I took them using a temporary tripod.
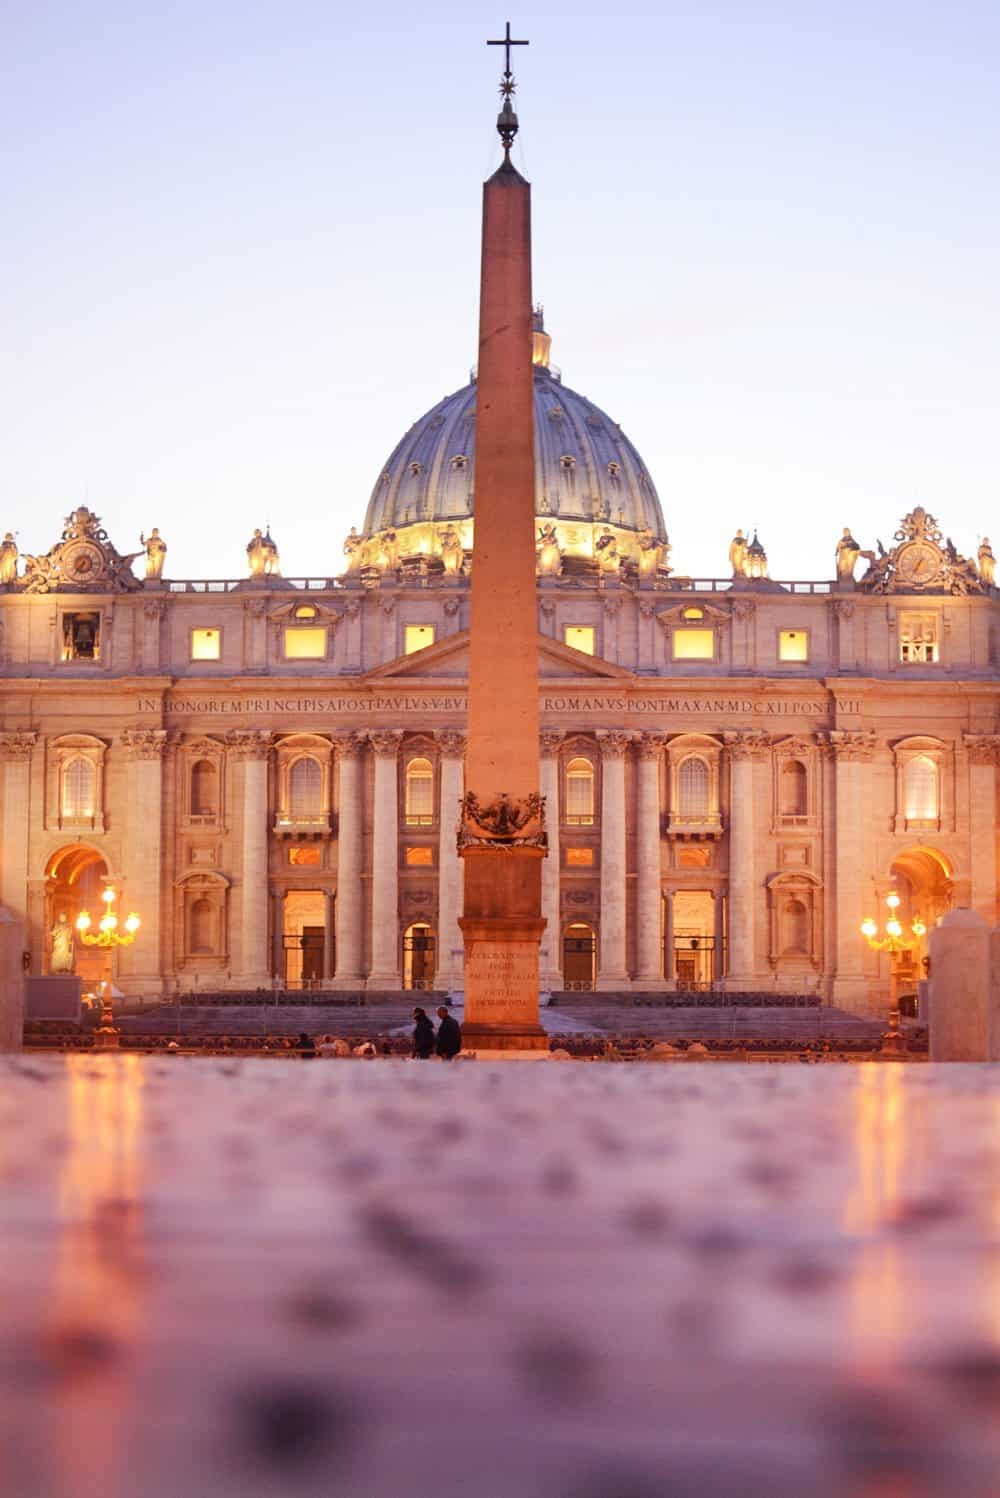
Taken simply by putting my camera on the cobblestones of Piazza San Pietro. Steadying the camera on the ground gave an alternate angle making it a little creative and the added bonus of the light reflecting against the shiny stoned square created a little atmosphere.
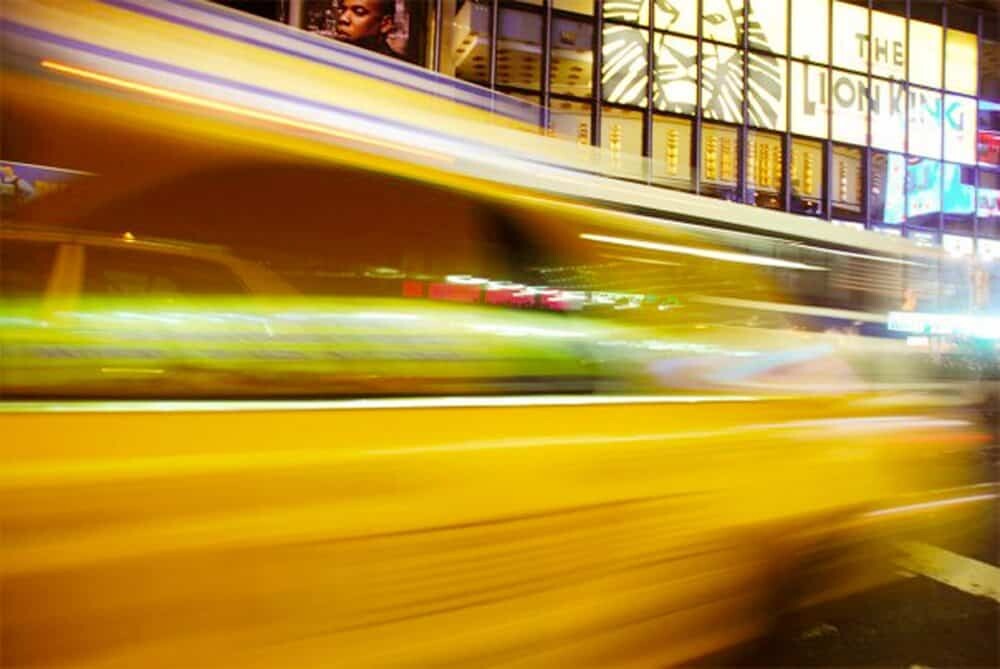
For this shot I used a bin again…hmm it’s starting to sound like a grotty habit!! Times Square, NYC is filled with lights and excitement so in order to capture a little of the brightness alongside an New York icon like the yellow cab, I sat my camera on a bin and let the exposure run free. This is one of my favourite travel shots mainly because I love remembering the vibe at the time I took this shot and the amount of funny looks I got with my camera sitting on a bin.
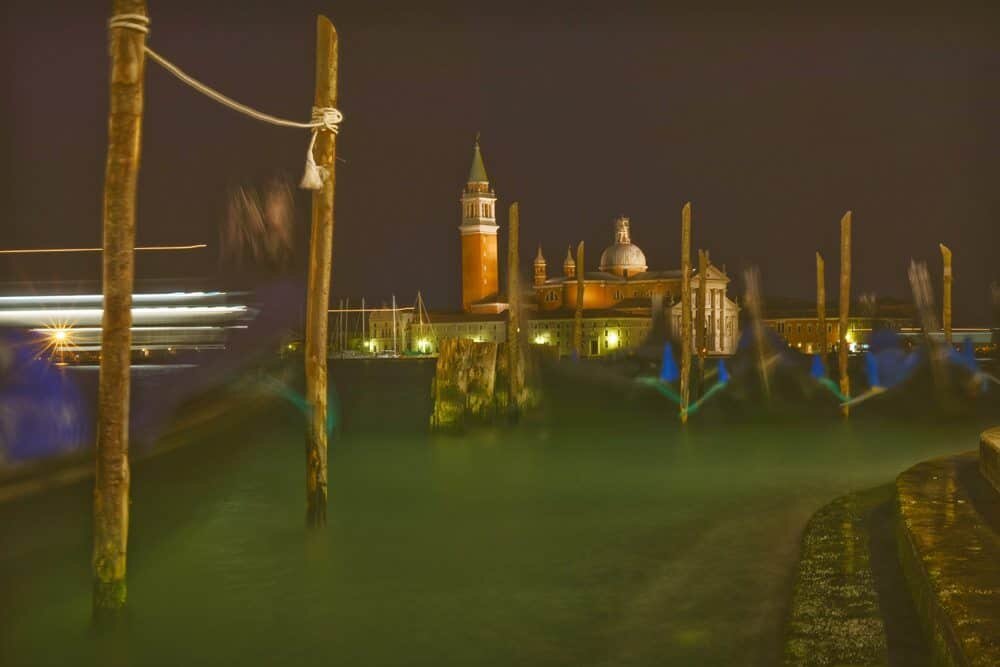
The gondola docks in front of St Marks Square in Venice are the perfect place to test out this technique. The floating gondolas, rolling waves of the canal and dimly lit lamp posts create a great subject for a long exposure and you’ve got a few options for temporary tripods. For this shot I used one of the packed up Venetian mask stall which at night is basically a folded up table sitting with a great view waiting to be used as a tripod!

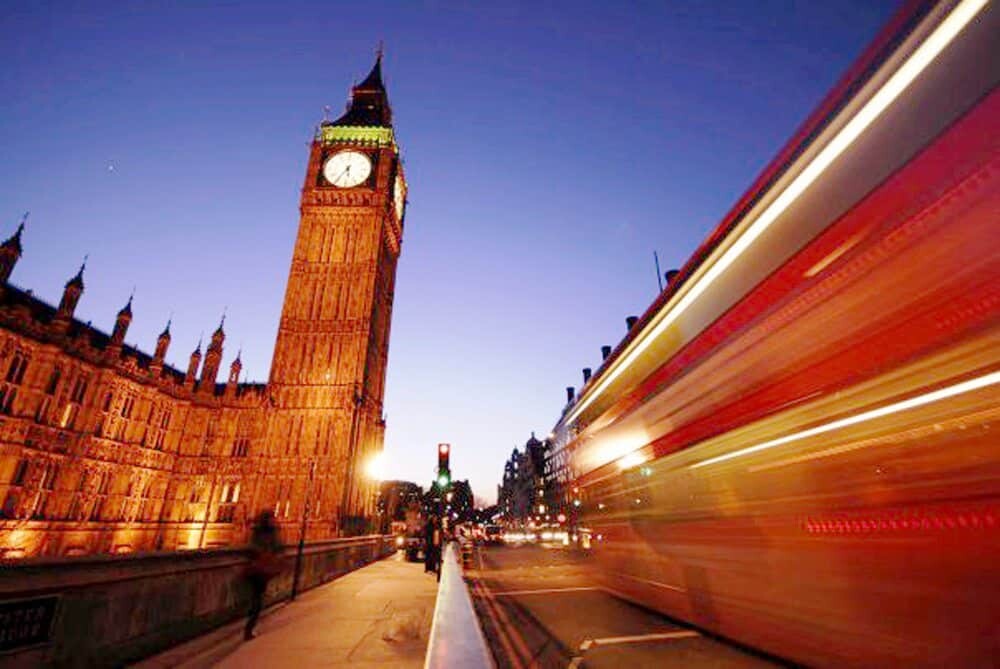
Westminster Bridge, one of my favourite places to stand and watch the world go by. There is so much happening and with such an iconic cityscape before it’s a photographers dream for long night time exposures with the big red buses, black cabs and Big Ben sparkling down over all of it. I propped my camera up on the edge of the railing (held on to the strap tightly!) and set the exposure so it was long enough to blur the traffic and passing people partially disappeared.
If you’ve tried this technique let me know! I would love to see how your shots turned out either via Instagram @the_wanderinglens or by tagging your photos with #thewanderinglens

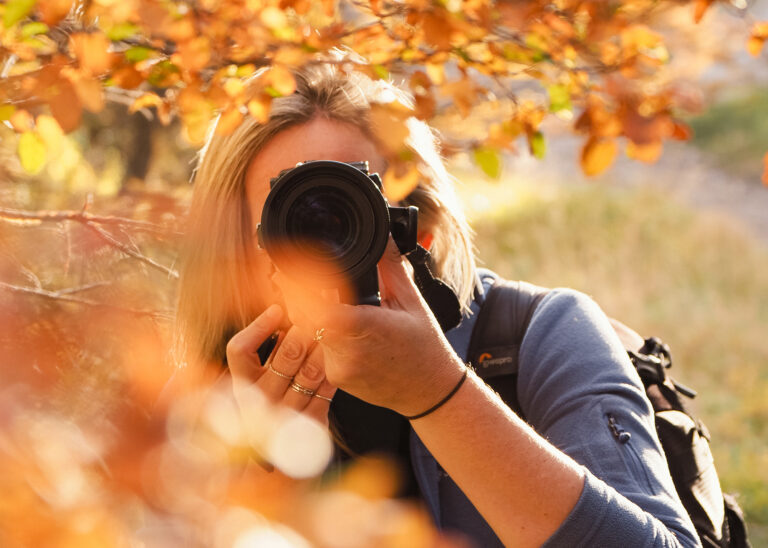
Hello! I’m the founder and photographer behind The Wandering Lens.
With 19+yrs experience as a professional travel and landscape photographer, all advice found on this site is from my personal experience, or that of contributors, on the road. I hope it’s useful for your own travels and would love to hear in the comments about your trips and experiences around the world.
Blog Comments
David Maryzak
September 10, 2016 at 1:49 am
Outstanding images. Am preparing to travel to Croatia, Slovenia and Venice. What exposures and shutter speeds were used for the no-tripod images? And your wonderful images of narrow alleys, streets in Dubrovnik where contrast between light and shadow,..any tips for getting the exposures right? Thanks, and bravo on your photographs.
thewanderinglens
September 12, 2016 at 3:14 pm
Hi David, exciting to hear you’re off travelling soon!
To capture the slow shutter shots without a tripod I usually flick the camera to Aperture mode and then simply adjust the ISO and f-stop to suit. Having a low ISO and a setting of F/22 will allow a lot of light in and will create blur of any moving subject in the frame.
Regarding shadows, most of the time I adjust them in post processing, especially if I’m travelling without much gear (filters etc). You can take a shot by focusing on the light and then bring out the shadows in Photoshop or Lightroom later, provided your camera doesn’t produce too much noise. Otherwise, late afternoon is a beautiful time to shoot shadows in the streets of Dubrovnik as it will filter through but still be bright enough to highlight some of the shadowed areas.
Have a great trip!
Éleonora
February 3, 2017 at 6:15 am
Hi,
I have trouble understanding how f/22 will allow a lot night, I always think that it is the contrary ( i am quite new to photography). Will you please explain ?
thewanderinglens
February 3, 2017 at 7:15 am
Hi Eleonora, aperture is quite tricky because it also depends on what other settings you’re using. When I’ve mentioned f/22 here I’m pairing it with a very low ISO at night which results in a slower shutter, leaving it open for longer and allowing more light movement into the image. If you increase the ISO, the image will turn out darker and any movement will be more motionless and less bright. I hope that helps explain a little 🙂