
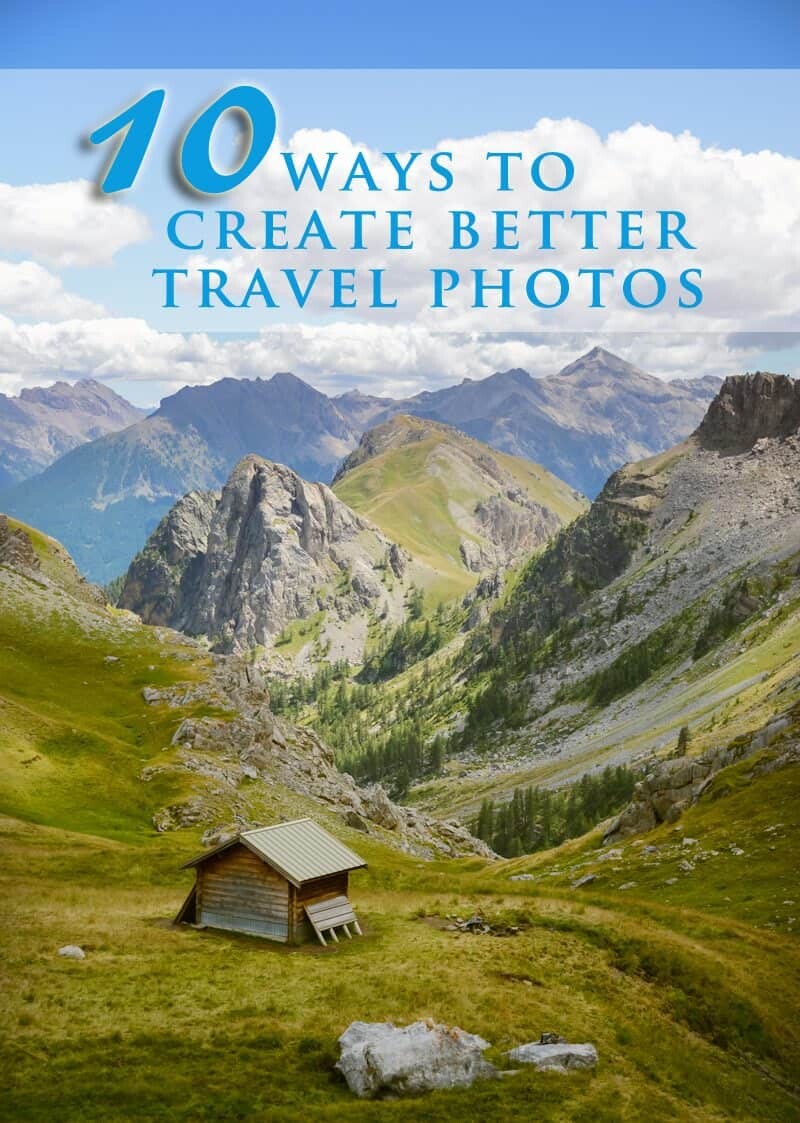
How to Take Better Travel Photos
Whether you travel around the world or just to the beach for the weekend, taking photos is all part of the fun to document your adventures. Or is that just me?
If you’re all about sharing your journey on social media or are hoping to take your photography to the next level, these simple tips will help enhance your photos. It doesn’t matter if you’re using a phone or fancy camera, thinking about how you will compose an image, make it uniquely yours or what colour temperature you need will all go towards creating better travel photos.
I’m all about going with the flow, I didn’t learn photography from a textbook, I learnt from being in the moment and testing what works best. Call it, trial and error, or as I like to see it, finding my own way, but learning how to make your camera work for you is essential to improving your photography.
Let’s get started with some travel photography tips…
#1 COMPOSITION + CONTRAST
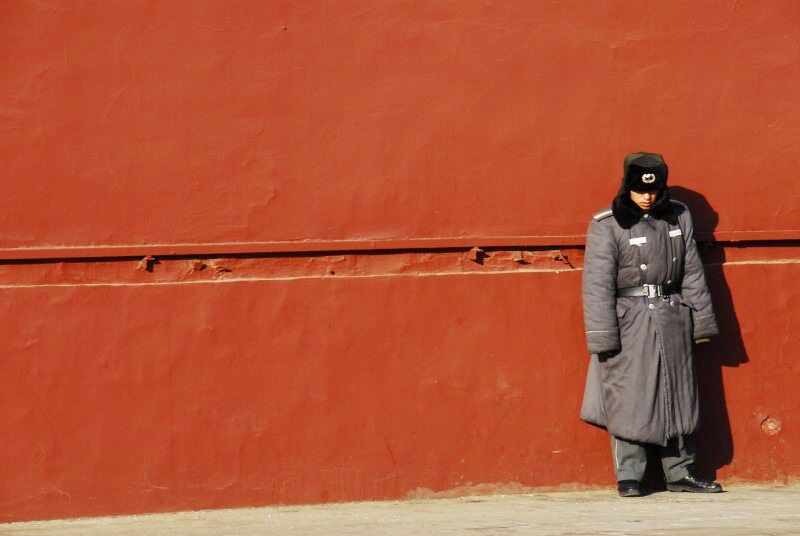
Creative composition can enhance your image immediately. The Rule of Thirds is a great way to help you think about where to place your subject rather than just pointing and shooting straight ahead. You can use this method of composition whether you’re photographing a building, person or landscape, it’s just about thinking outside the box and changing the focal point of the image. Using contrast with composition lets you play with colours that help each other to stand out.

Take Better Photos: A guard at Beijing’s Forbidden City with his grey uniform against the rich red wall. By composing him slightly right of centre it enhances the image and the effect of the contrasting colours.
#2 SEEK UNIQUE ANGLES
You know those photographers you see crouching down or climbing a wall to get ‘THE’ shot? Or the ones lying on the ground when wonder what on earth they are seeing that you aren’t?
Well…give it a go. They’re no doubt trying to create a unique angle and it’s a great way to take better photos! While it may look a little crazy, who cares if you can walk away with an angle that no one else has! My favourite angle? Photographing from the water, it’s a lot less awkward to do the photographers stance underwater 😉
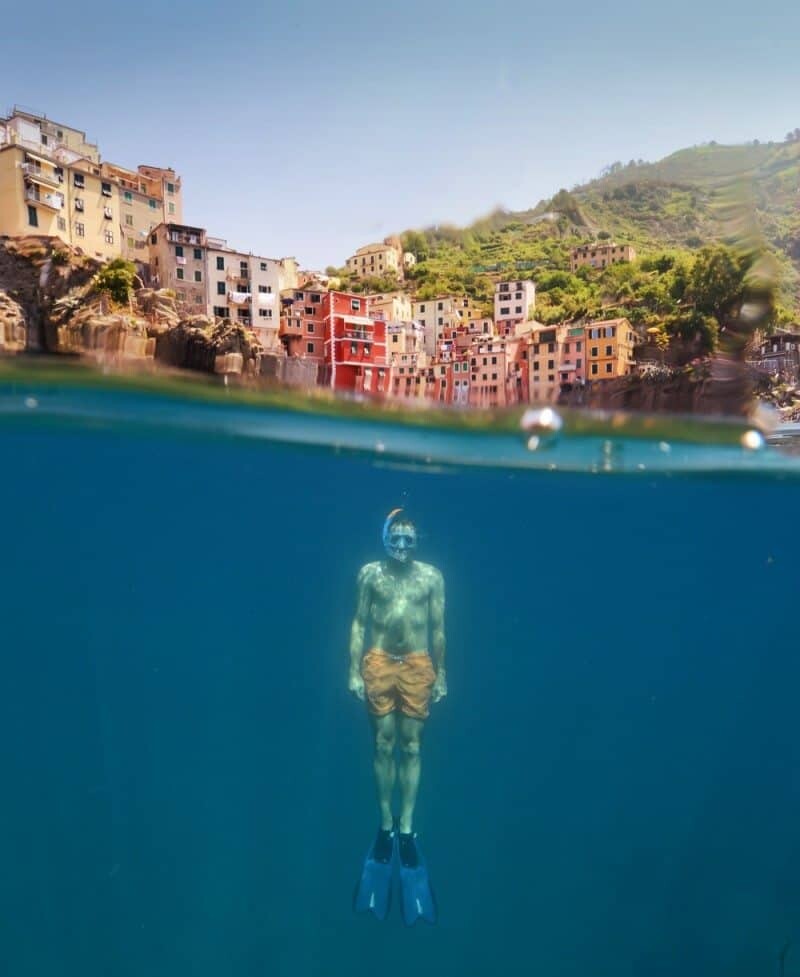
Take Better Photos: Find an angle that’s unique to your view. You can frame your shot with flowers, shoot from the air or like me, photograph the world from the water.
#3 SHOOT IN APERTURE MODE
To add background blur to your photograph shoot on Aperture Priority mode (A or Av) with a large Aperture like f/1.8 or similar and focus on the subject to create a beautiful bokeh (blur) behind. This is achieved best by using a prime lens like a 50mm or 85mm lens. The 50mm lens is one I never leave home without, it’s great for street photography, portraits and detail shots making it the ideal companion for travelling!
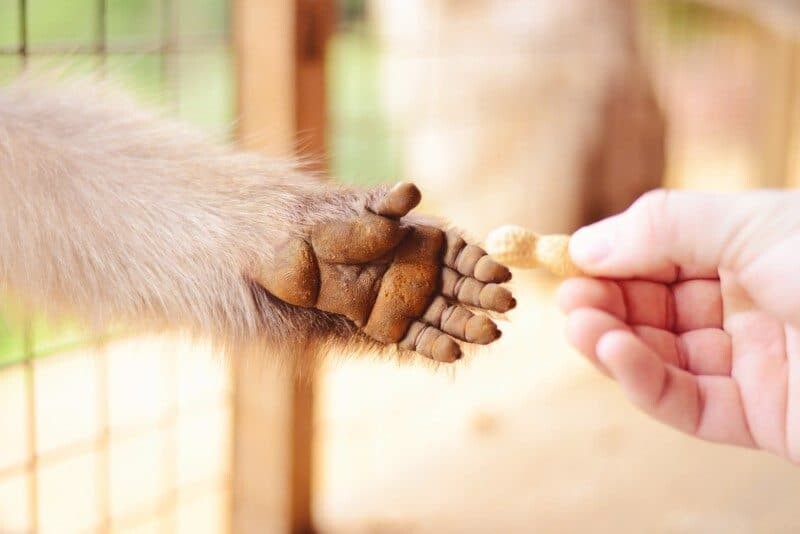
Take Better Photos: The cutest little monkey hand with the effect of bokeh from a 50mm lens highlights the details of his little fingers and fur. Kyoto, Japan
#4 KEEP IT STEADY
Ensuring you stay nice and still whilst taking a photo will avoid the dreaded blur. You don’t need a tripod to keep your camera still; balance it on the pavement, a trash can, lean against a wall, table, your friend’s head…whatever keeps it steady is just as good as a tripod most of the time! If you’re finding your images are still blurry even though the camera is still, it might be time to look at the settings…low light means you’ll need a higher ISO.
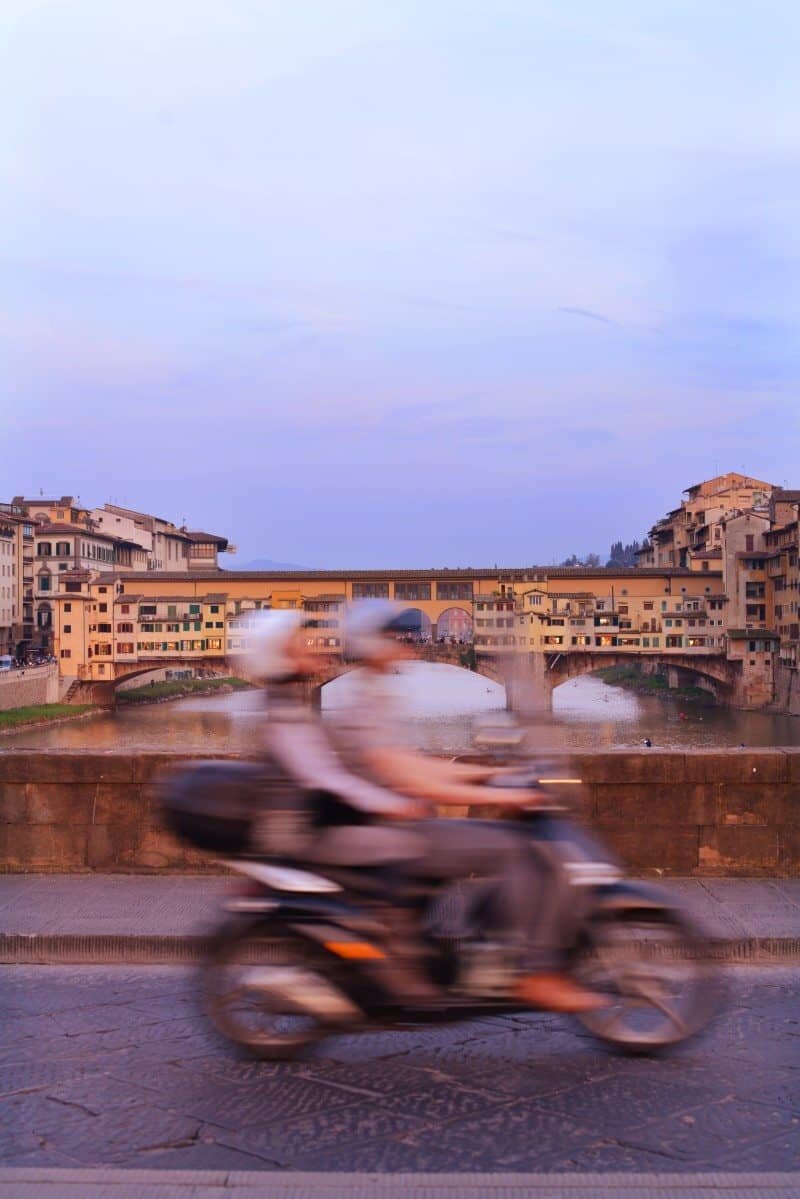
Take Better Photos: This shot was taken by balancing the camera on a bridge in Florence and adjusting the aperture and ISO to slow down the motorbike.
#5 EXPERIMENT WITH WHITE BALANCE
Manually adjusting your cameras white balance will control the colour temperature so you can choose how the image turns out. Rather than set your white balance on automatic, switch it manually depending on the type of light you’re working in to ensure a more accurate reading of the scene.
The top three to focus on is ‘cloudy’ white balance which works when you’re in a rainforest or similar green environment to enrich the green colours and make them vibrant. It will also warm up most beach or city scenes too! ‘Daylight’ is best for direct sunlight during the day and ‘Flash’ will help warm up the colours when you’re using your flash both indoors or outdoors.
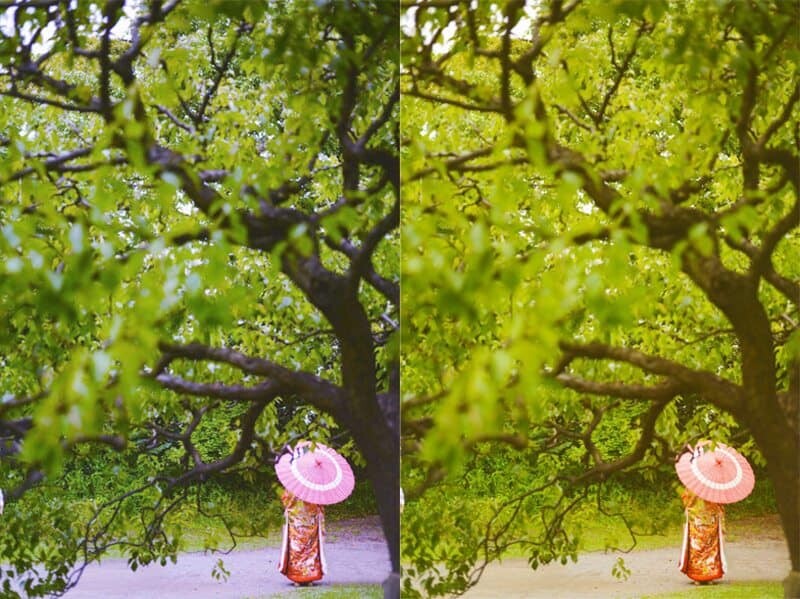
Take Better Photos: The image on the left is taken using ‘Auto’ white balance….on the right is ‘Cloudy’ white balance, you can see the vibrancy and warmth changes quite intensely.
#6 FOCUS ON THE UNUSUAL
Keep an eye out for something interesting, colourful, quirky or cultural to include in your photograph. Rather than taking photos only at lookouts or the best vantage points, try and work with the details. When travelling you’ll no doubt see something every day that you can photograph to help give your images a sense of place. It can relate to the destination or be completely out of place.
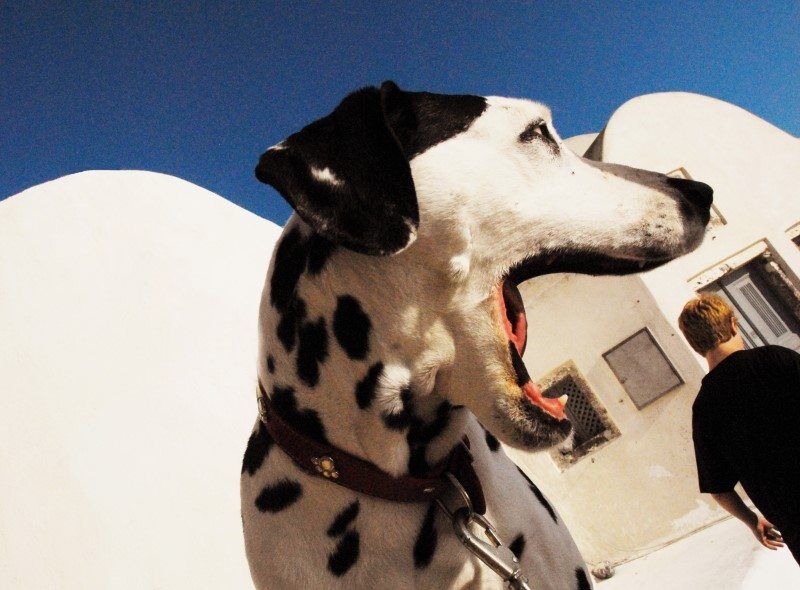
Take Better Photos: This Dalmation dog caught my eye in Santorini, Greece because his black and white spots against the whitewashed buildings looked great. Then he yawned and it appeared as though he was eating a tourist…
#7 CREATE PERSPECTIVE
You have no doubt seen the hundreds of photos circulating on social media of people staring at a vast landscape and looking very small. This is how to create perspective. If you’re photographing a mountain, try to find a subject that will help showcase just how tall and imposing it really is. By placing a person in the distance you give the mountain or landscape an actual size comparison to help the viewer judge just how incredible the scenery is.
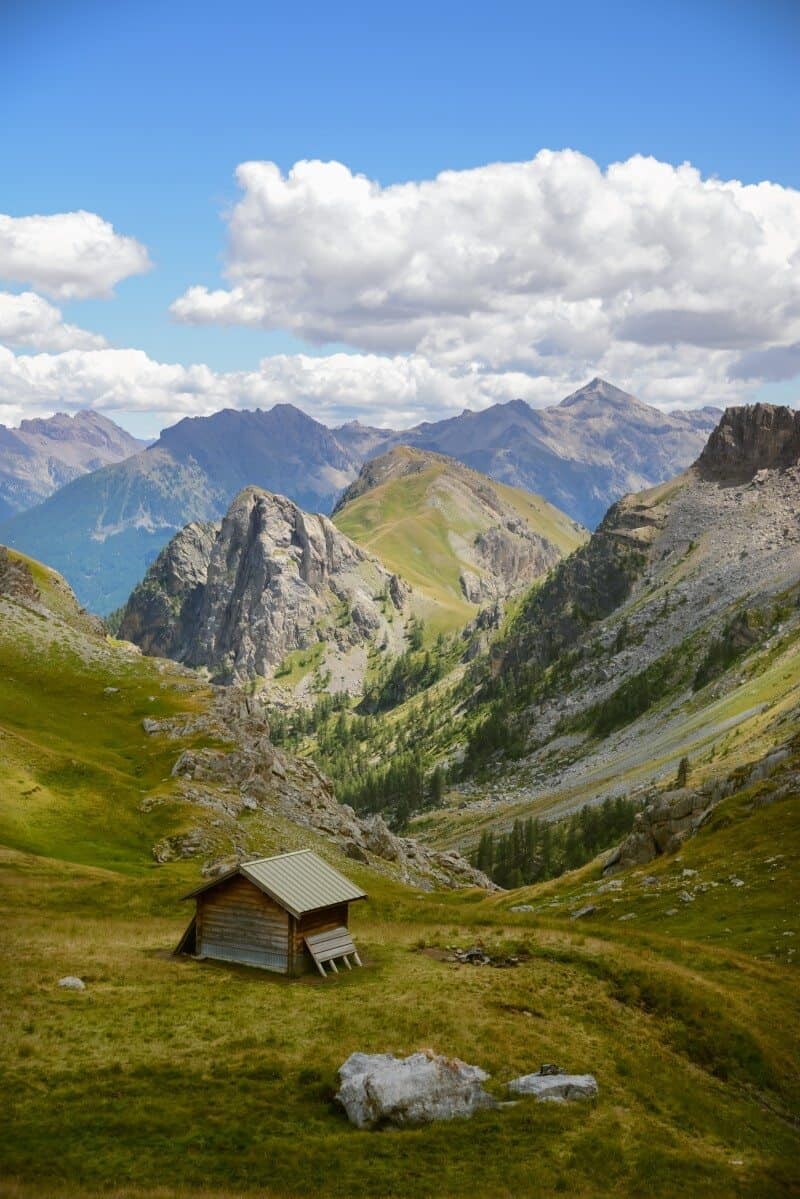
Take Better Photos: Create perspective by placing a subject in the frame to give a size to the landscape.
#8 LOOK FOR THE BEST LIGHT
If you’re tired of saying, ‘I wish I had my camera for that sunset!’, start planning! Researching the times for sunrise and sunset will help you plan your day around the best light for photography. The warm afternoon light is my favourite to work with. When I’m travelling I always suss out the best place to be about one hour before sunset to ensure I can capture the changing colours. Be sure to know where the sun rises and sets in the place you’re visiting too as this will help you to decide where to be at the best times.
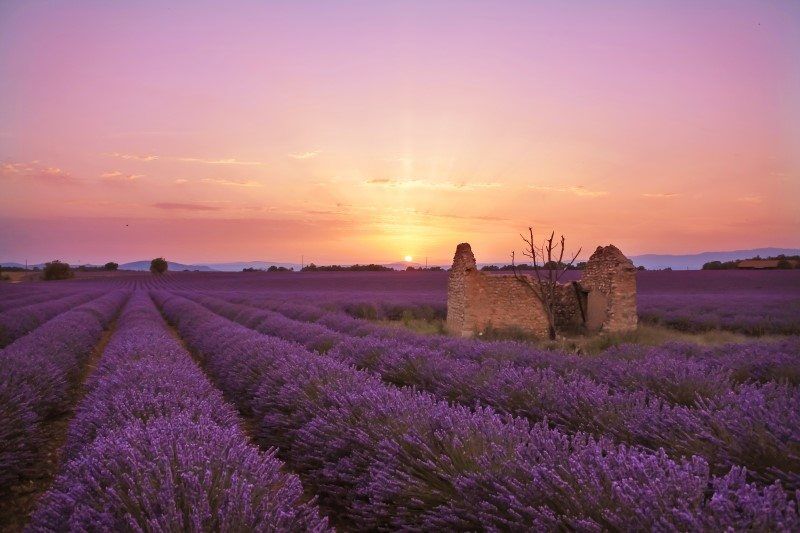
Take Better Photos: Work with the best light – I drove around for hours until I found the perfect spot facing west for sunset in the lavender fields of Provence, France.
#9 SAY HELLO AND SMILE
Learn to say at least ‘Hello’ in the language used in the destination you’ll be visiting. Attempting to communicate with the locals will increase your chances of a better photograph and make people more comfortable in your presence. Nobody wants a snap happy unfriendly tourist lurking around their town!
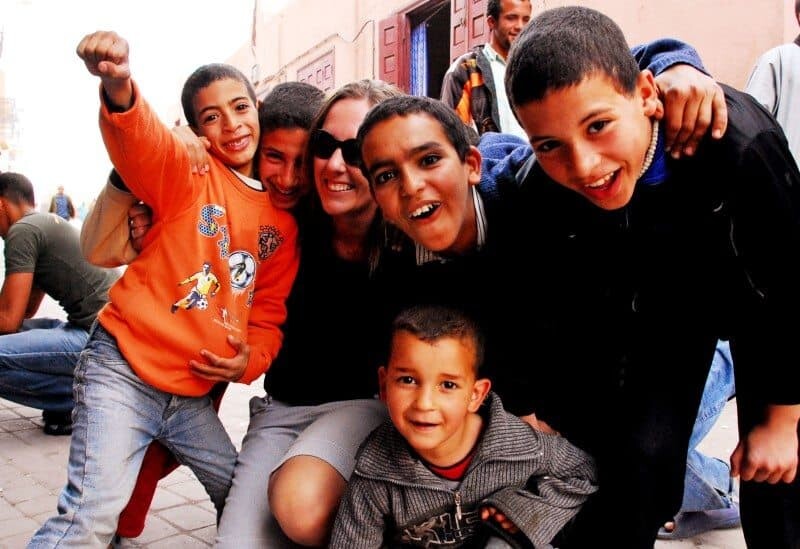
Take Better Photos: After my bike tyre popped in Marrakech, these friendly kids and I played soccer while their older brothers helped get me back on the road. So many smiles!
#10 PREPARE YOUR EQUIPMENT
Having the correct lenses when travelling is essential to taking great photos. If you’re only using a telephoto lens but want to take something close-up, it’s not going to turn out well. The same for a macro lens when you want to take action photos of wildlife…it won’t work. Try and predict what type of photos you’ll want to take on your trip so you can invest in the best equipment to suit your photography. It doesn’t have to be the biggest and best camera, as I’ve said before I believe your photographic eye is more important than the camera but a simple camera kit is essential. Travelling with a zoom lens that has a wide focal range will help you cover all bases and be ready for anything. I typically use my 28-300mm lens which lets me photograph most scenes without the need to change. If you’re going to be around water then prepare for some underwater photos too…I can never pass up an opportunity to jump in the sea to capture some photos so my underwater housing or GoPro is never far away!
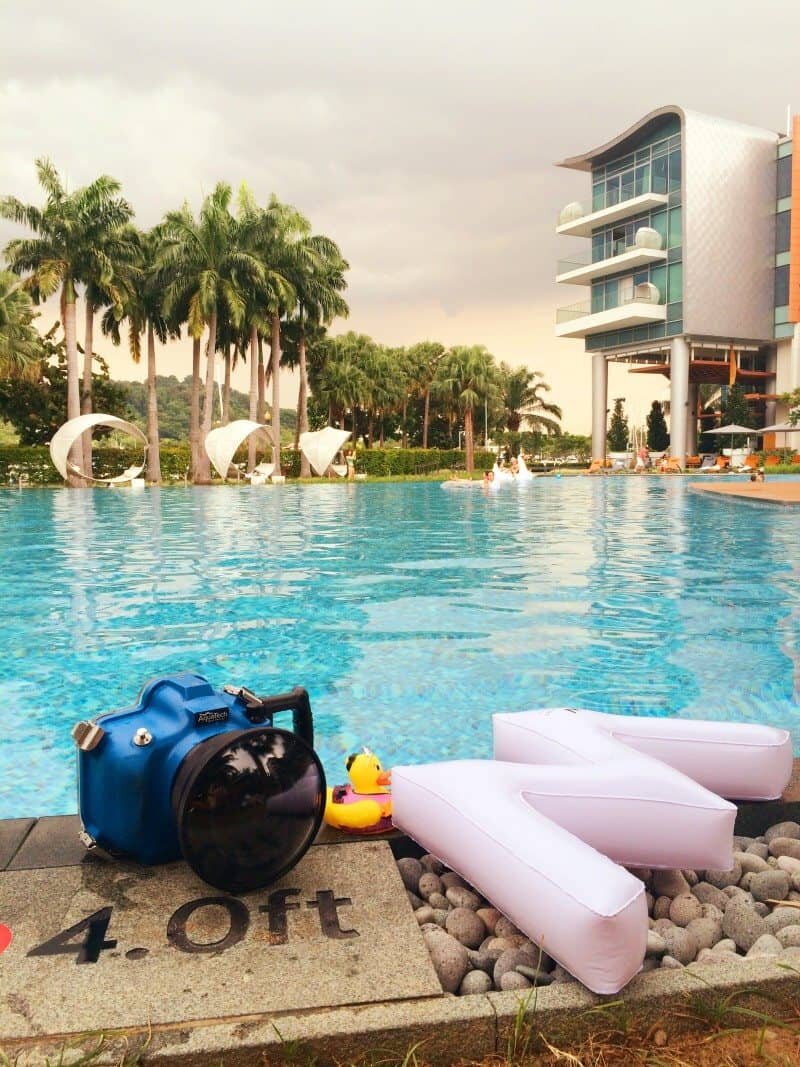
Take Better Photos: Knowing what type of camera you’ll need for your travels will ensure you don’t have to think about it again once you’re wandering the world and will mean you’re ready for those unexpected candid moments when they happen!
To put the above tips into practice, teach yourself how to use your camera so once you’re travelling you can whip it out and photograph like a pro.
The basic buttons you’ll need to locate on your camera are the following –
- ISO: Most cameras will have a button readily available to allow you to change your ISO quickly. If you can’t find it, there should also be a place to manually change your ISO in the menu section of your camera. If you shoot on automatic it won’t be necessary to change your ISO but any other mode such as Aperture or Manual will require you to select what ISO is best. As a general guide ISO 100-400 is best for sunlight, ISO 400-800 is good for shade or cloudy days, ISO 800+ is necessary once the light starts to get low or dark.
- White Balance: On DSLR cameras you’ll find this button (WB) located somewhere accessible and you can adjust with the dial and watch the little icons appear on your screen to select between. Just like ISO, you can also adjust it manually in the menu of most cameras and the little picture icons are very self explanatory.
- Exposure: The button typically has a little +/- sign on it and you use it in conjunction with the dial to add more or less exposure. I love using the exposure button along with my ISO to change the brightness of a photo.
I’ll be posting a guide to camera buttons and settings soon so keep an eye out if you’re keen to learn more about them!
Keen to learn more with The Wandering Lens?
If you’re eager to improve your photography, explore your creative talents and even perhaps work in the industry, you’ll find self-study courses and a library of eBooks and Workbooks via The Wandering Lens Store. I’ve developed online resources for photographers, creatives, dreamers, adventurers, travellers and freelancers. If that sounds like you, maybe we should connect and chat about your photography goals! These creative courses and resources bring together my 17+years of experience and lessons from working in the industry. I want to see others share their talents and get published, sell prints, find clients – to have the confidence to achieve whatever it is you want to within the field of photography. Get in touch via hello@thewanderinglens.com if you’d like to chat about your photography!
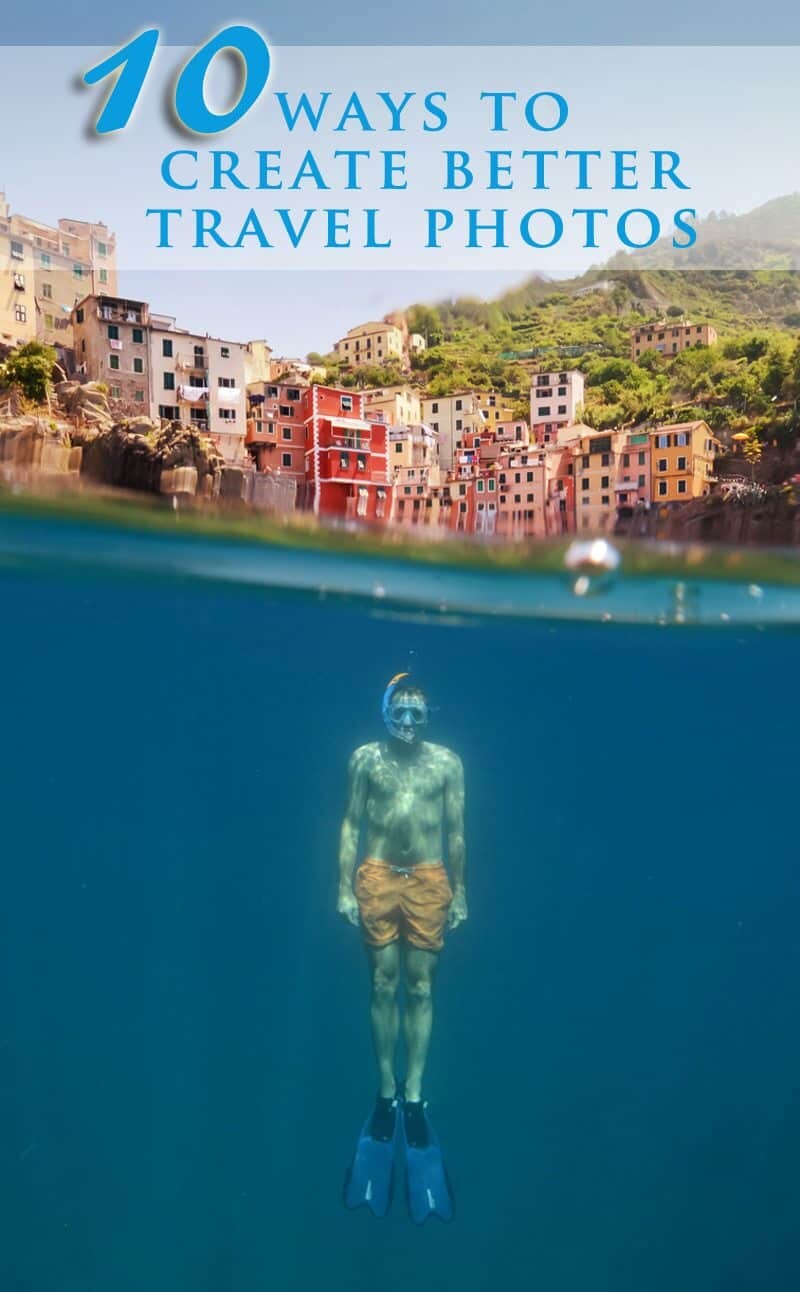
If you love this post, Pin it with one of the photos below!

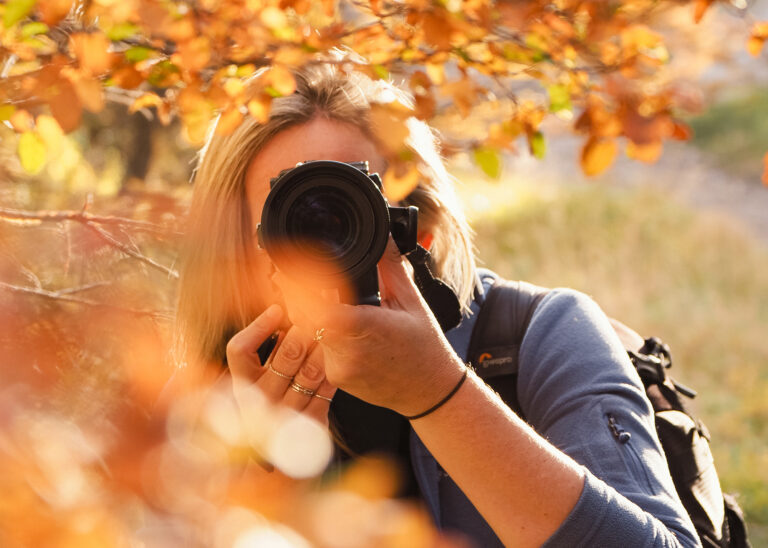
Hello! I’m the founder and photographer behind The Wandering Lens.
With 19+yrs experience as a professional travel and landscape photographer, all advice found on this site is from my personal experience, or that of contributors, on the road. I hope it’s useful for your own travels and would love to hear in the comments about your trips and experiences around the world.
Blog Comments
Taylor Hansen
August 29, 2020 at 2:59 am
I’m wanting to go to Hawaii with my friends next month since the flights are so cheap at the moment. Thanks for mentioning finding the best light at sunrise or sunsets when capturing landscape photos. I’ll keep this in mind as we take memorable pictures for this vacation.
Bea Adventurous
June 19, 2022 at 12:21 am
These are brilliant tips ill be sure to take out with me on my next trip with my camera!
It’s so important to understand these little details which can make a huge difference to your shots! Thank you