
White Balance Photography –
A quick guide to adjusting White Balance Settings
White Balance is simple function that will change the way you photograph forever. If you’ve been using automatic settings on your camera and notice that sometimes the colours are a little weird, this is how to fix it.
All cameras with basic setting ability, regardless of the brand or model should have the ability to manually adjust the tones via the kelvin scale. Provided you aren’t on the automatic setting, you can change your White Balance to control the colour temperature and create images in any light.
What is White Balance?
The gem of a camera setting determines how accurate the colours and tones in your photographs are represented. It refers to the balance of the white tone in your image, whether or not it is warm or cool. On a bright sunny day your camera will read the scene one way, whereas in low light or dark conditions, it will read it another way.
Being able to control this setting means you can tell the camera what tones to produce, resulting in images that look how you want rather than how the camera wants.
Depending on the time of day or light conditions you’re photographing in, controlling this setting enables you to decide how you want the result to appear.
Why not just shoot in Auto WB?
It will allow you to change the tones of your image and perfect the white tones.
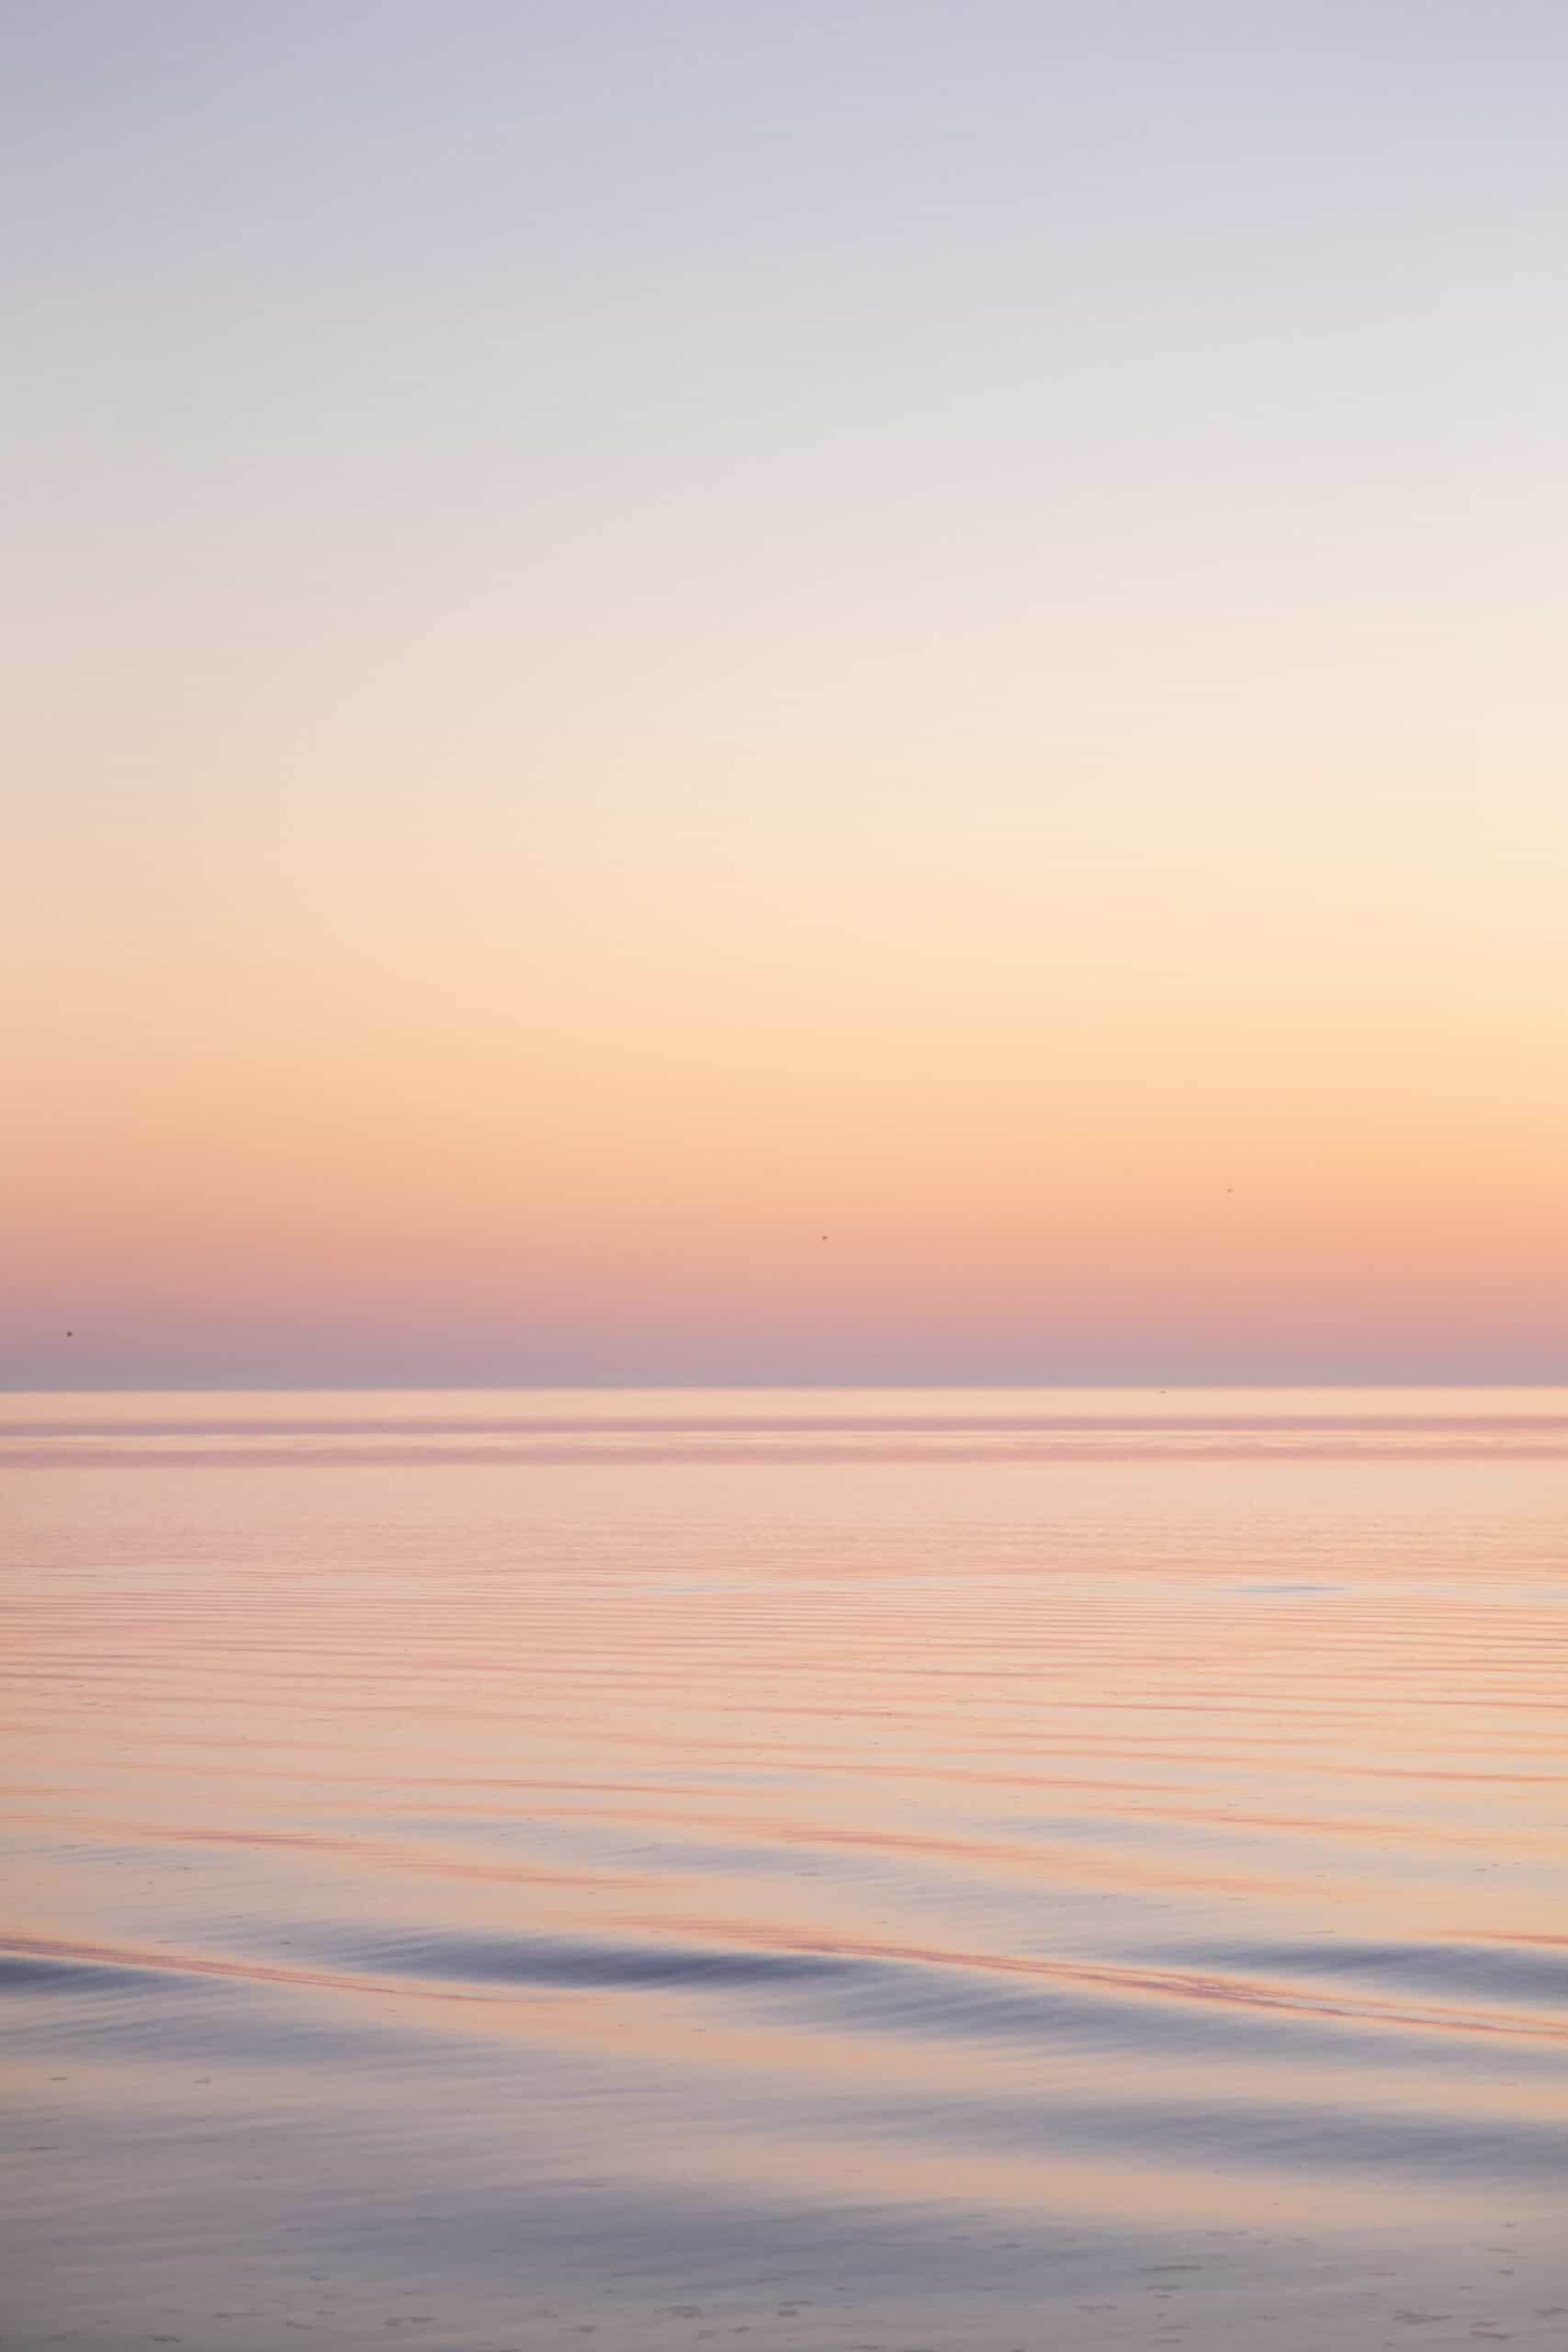
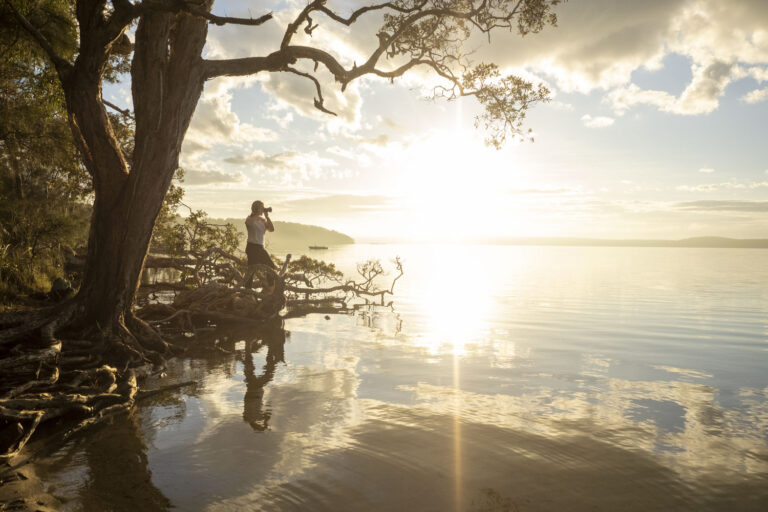
Personally I love to have warm tones in my images; oranges, yellows and a general feeling of warmth rather than cool blues. For this reason, I mainly shoot with my white balance set in ‘Cloudy’ mode which creates a warmer colour palette than ‘Sunny’ for example which tends to be cooler.
Related – Setting the Scene: How to Photograph Sunrise
A little rundown of the available white balance settings in your camera –
Auto: If you want to leave it all up to the wisdom of your camera, this is the best option as it will attempt to read the conditions and perfect the white balance for you.
Daylight/Sunny: Technically you should switch to this mode in sunny conditions but I feel it doesn’t change the white balance too much,
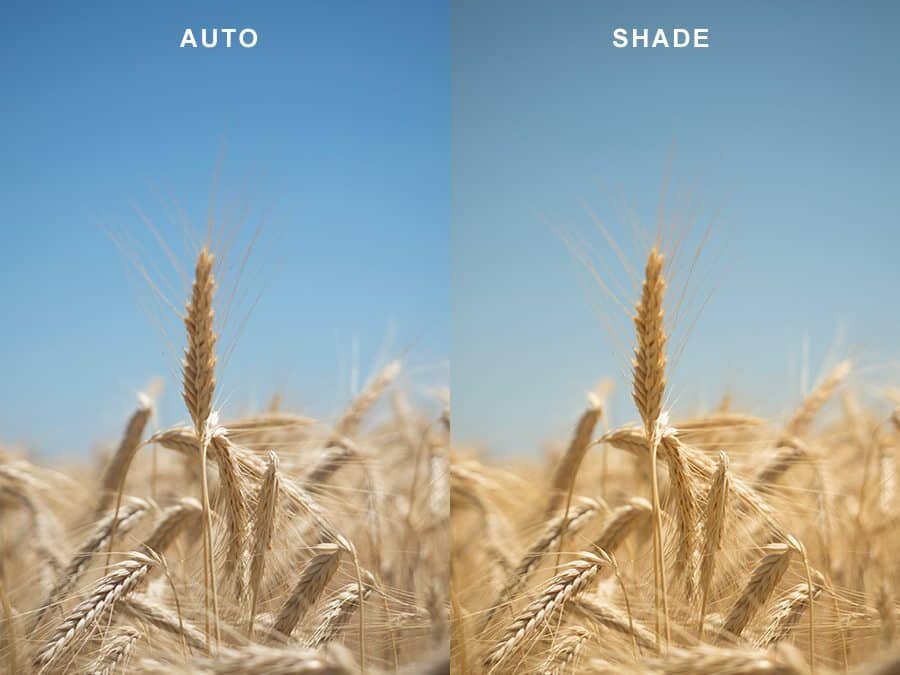
Shade: Use this mode when there’s a lot of shadows or shade present in a scene. It can turn out a little yellow in my opinion in which case I prefer to use Cloudy instead. Definitely a better option than auto in shaded areas though.
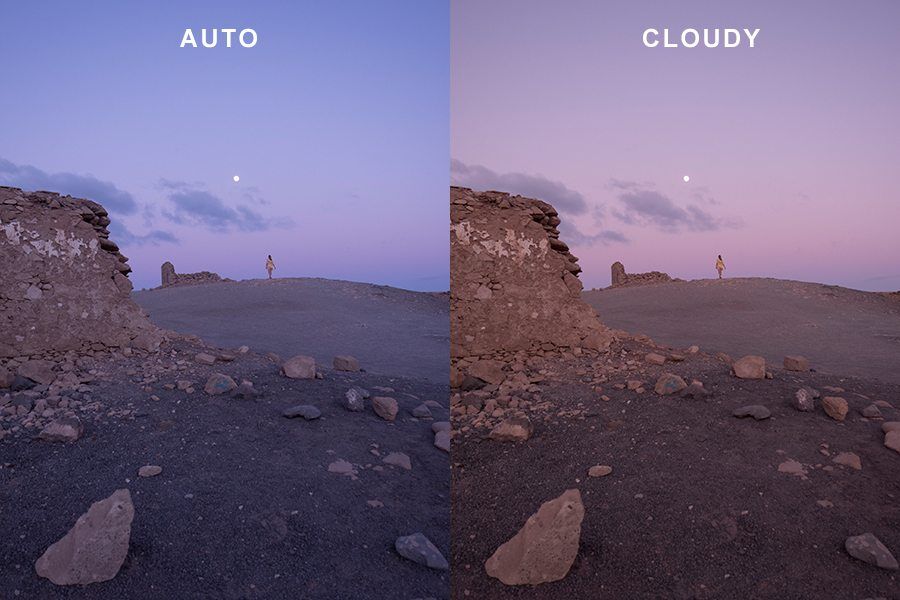
Cloudy: My go-to setting to bring out warm tones. Even when it’s sunny, raining, cloudy I’ll switch to cloudy mode.
Tungsten, Fluorescent + Flash: These are probably the ones you’ll use least as they’re mainly used for interior or dark scenes. Try flicking between them to see which works best for the conditions you’re shooting in. Sometimes fluorescent can work really well for aurora shots in making the stars and sky a little bluer.
Custom/Temperature: Custom settings allowing you to really pin point the exact white balance you’re after.
Below are some screenshots with the white balance settings on my Olympus OM-D E-M1 Mark II and some samples of the modes in use to highlight the change in colour tones.
Difference in Cameras –
Some cameras may differ slightly in their tones so be sure to find what works best for you in terms of output.
With my Olympus OM-D E-M1 Mark II, the cloudy setting is almost constantly on because I love the warm tones it generates.
Playing around with WB will enable you to control your image that bit more than you would on auto. On the OM-D E-M1 Mark II the white balance is easily controlled by clicking ‘OK’ and then adjusting by using the arrow buttons.
Related Articles:
Editing Tips – How to Create Pastel Tones in Photoshop
How to Take Great Beach Photos
10 Ways to Create Better Photos
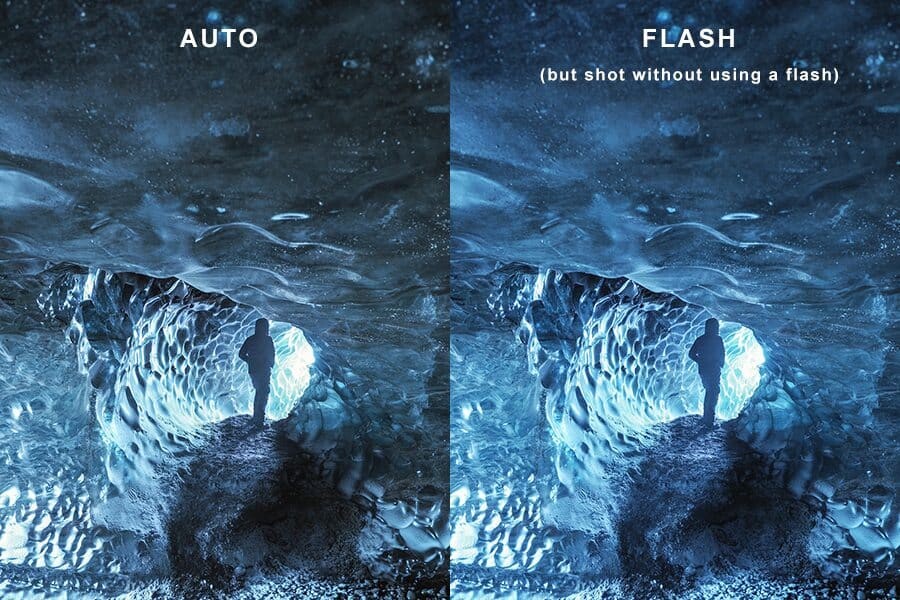
Take a peek at some examples below of how changing your white balance will adjust the image.


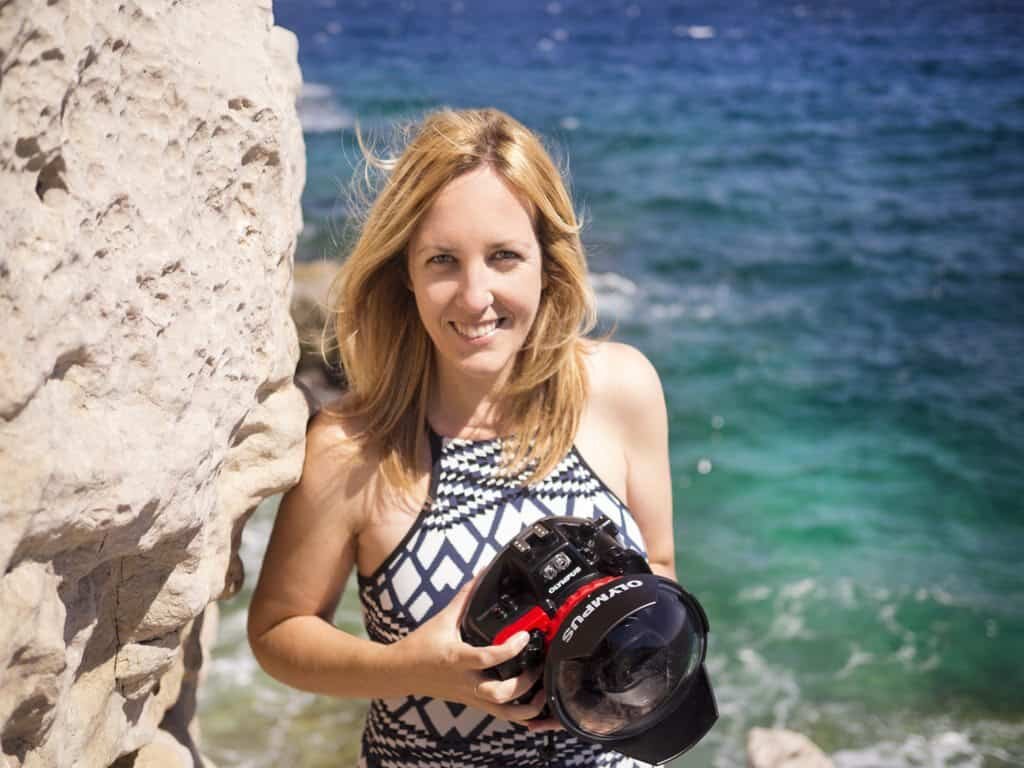
Hello! I’m the founder and photographer behind The Wandering Lens.
With 17+yrs experience as a professional travel and landscape photographer, all advice found on this site is from my personal experience on the road. I hope it’s useful for your own travels and would love to hear in the comments about your trips and experiences around the world.
Blog Comments
Chadwick
October 24, 2017 at 2:23 am
This was one of those really confusing camera settings – until someone explained to me what causes it. So, for those who like me didn’t get it, here’s what I learnt:
Basically, different light sources are actually coloured. For example at sunset, the sunlight is obviously very orange, but in the middle of the day, much less so. What we don’t see is that on a cloudy day, it’s actually a bit bluer than a sunny day, and in the shade, even more blue.
We don’t usually notice it with our eyes, and our brains unconsciously convert the colours so that white things look white, but the camera isn’t clever enough to adapt like that, and it can make everything look the ‘wrong’ colour. The camera’s white balance setting is a compensation to correct the colour cast.
The white balance settings simply apply a colour cast to ‘correct’ the inherent colour of the light source. For example, in the shade, sunlight casts a blueish tone over everything (compared to straight sunlight). The Shade white balance setting neutralises that by applying a slight orange tint to the picture.
Auto attempts to guess what it should be, but as Lisa says, it’s just a machine making a calculation.
Once I’d grasped what was actually going with white balance, I remember the penny dropping, and realising it was a creative tool, just as much as aperture and shutter speed. And if you practice and play with it, you can learn to use it properly like Lisa and get those lovely warm colours.
Iris
November 8, 2017 at 12:31 am
I use the temperature option a lot on white balance, it can really create a different atmosphere. Great pictures that illustrate perfectly that change in mood! 🙂